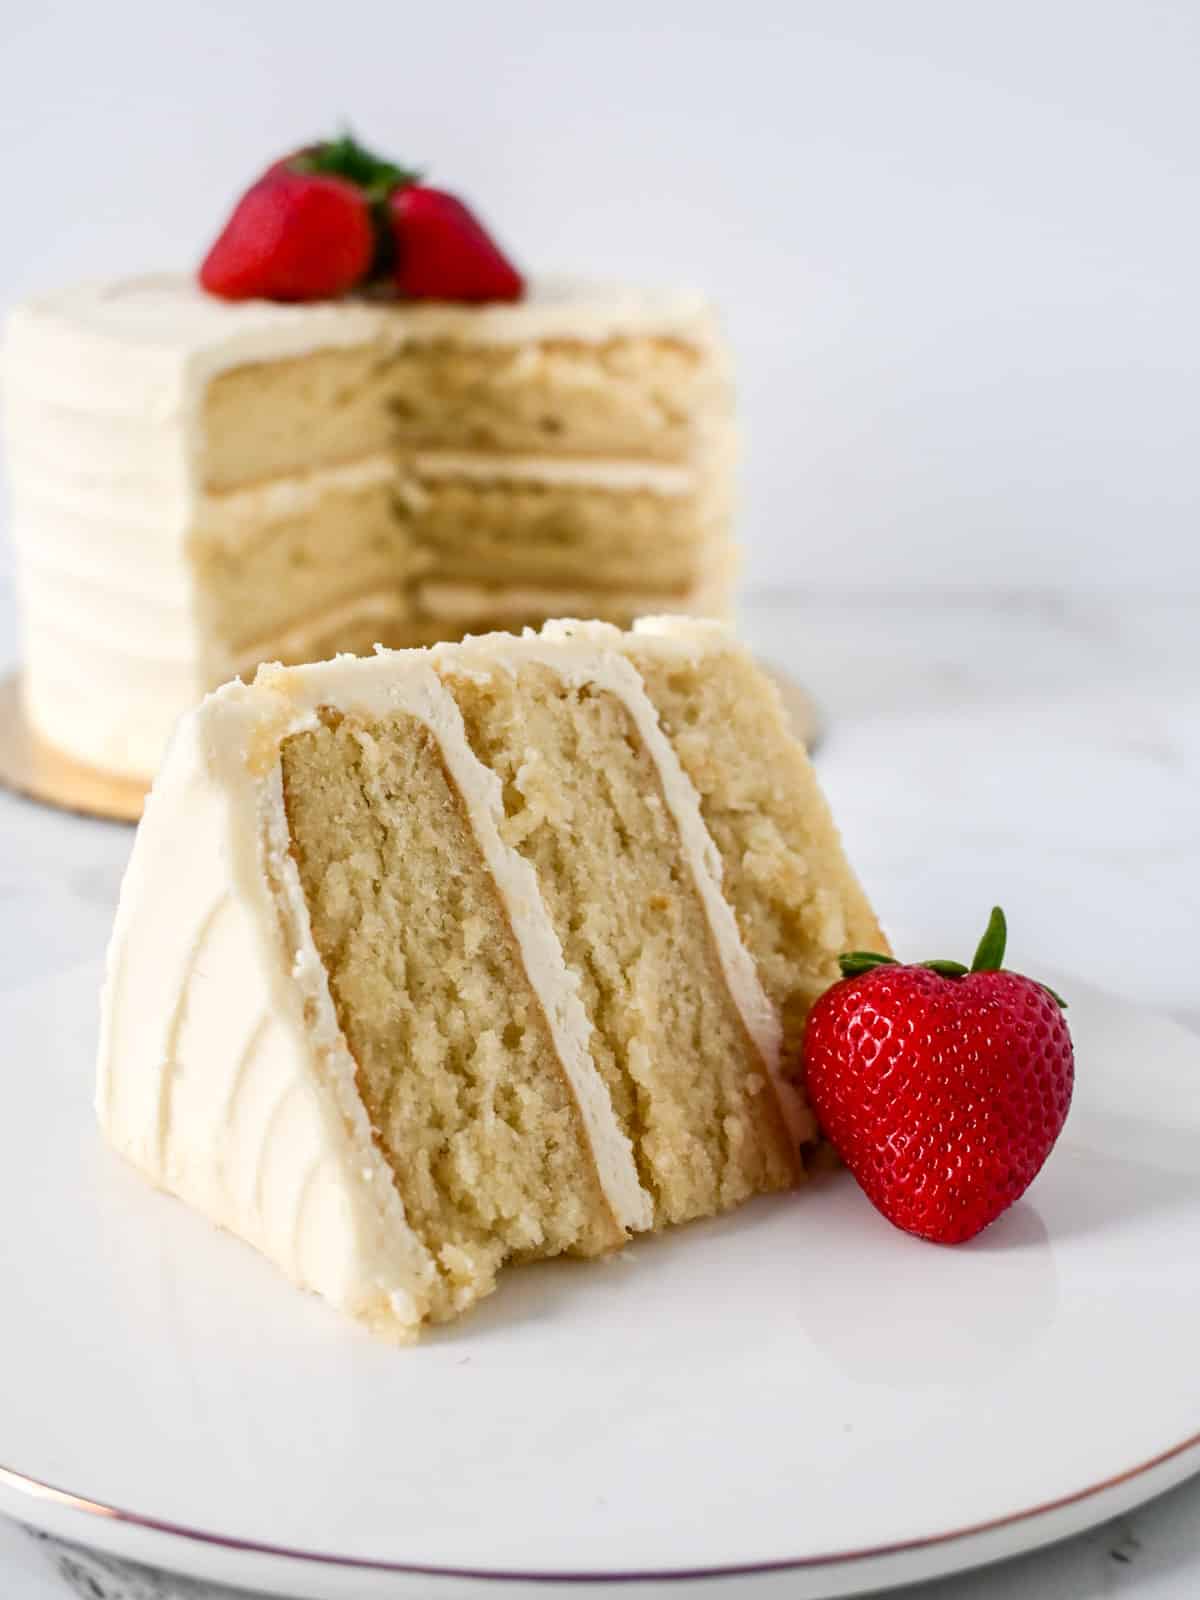
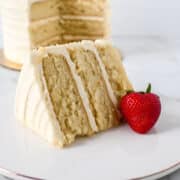
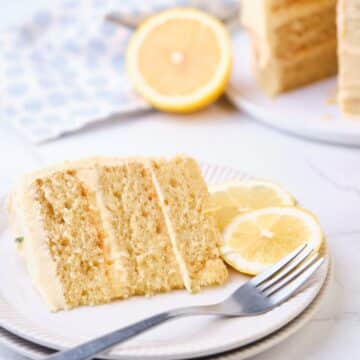
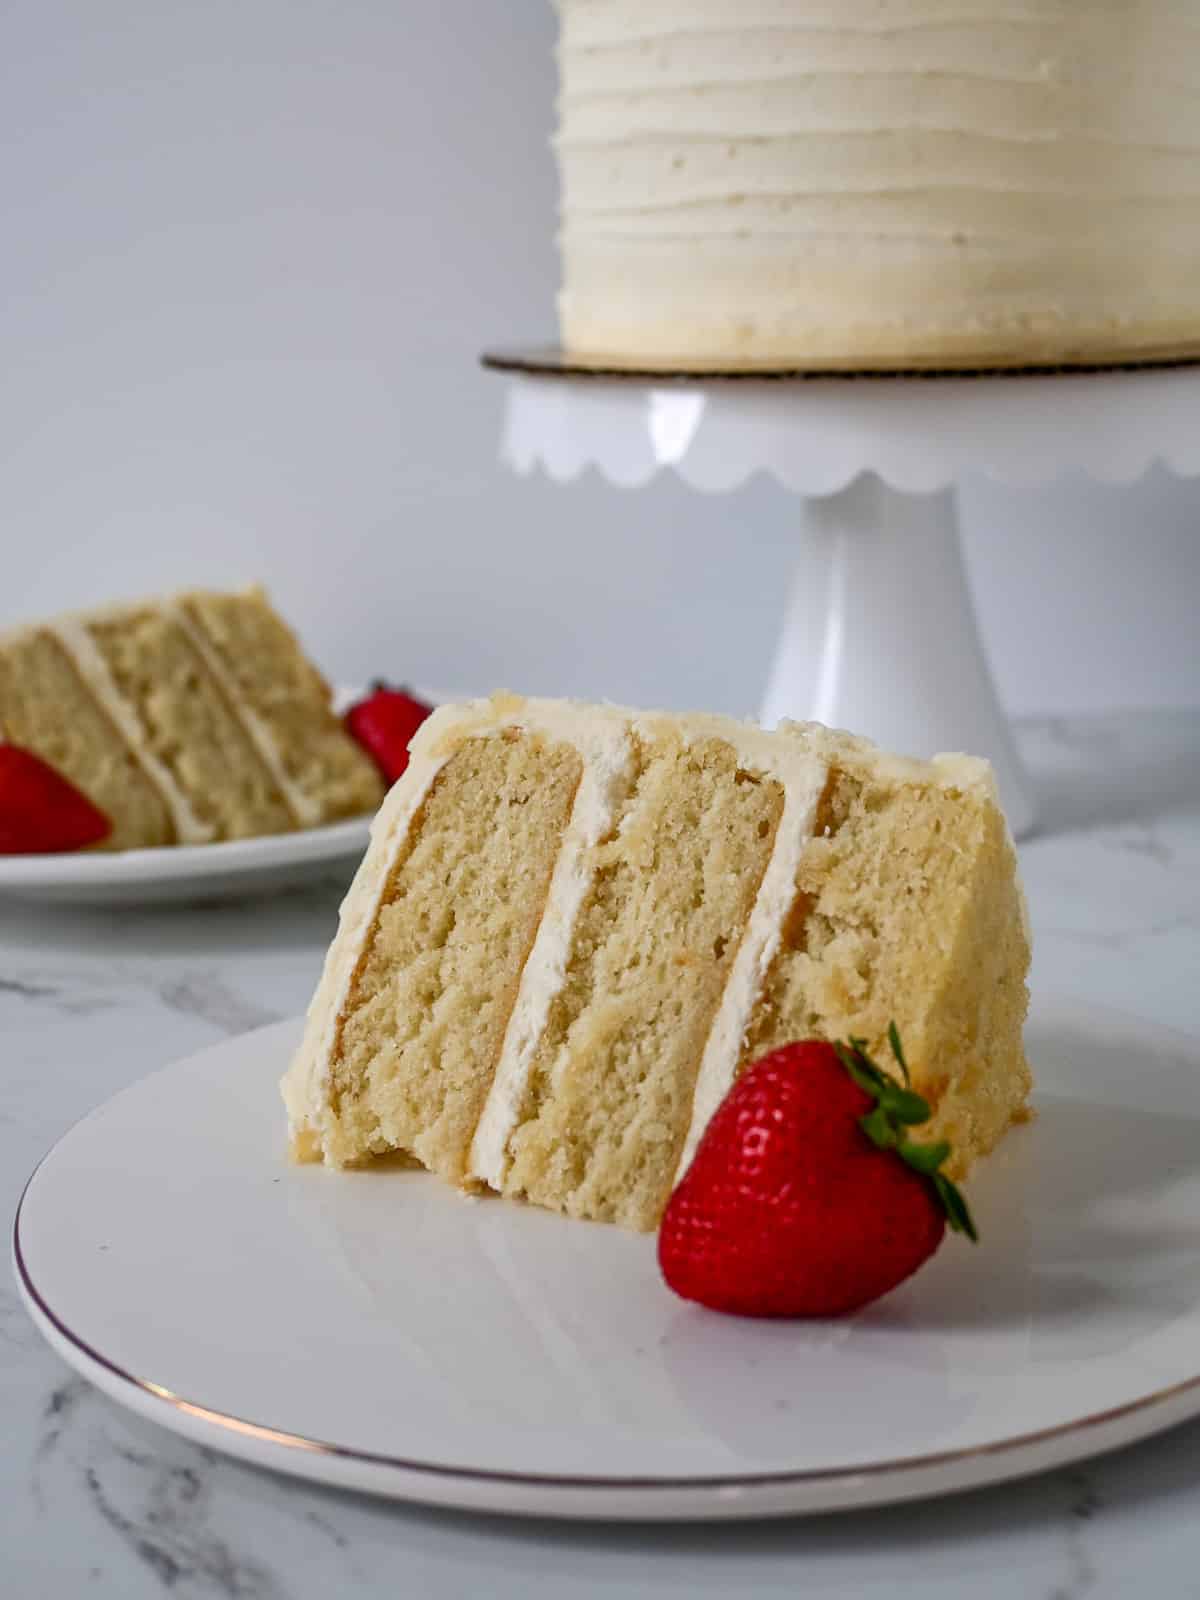
Learn how to make the best vanilla cake ever, the most popular cake from Amycakes Bakery, using my new favorite mixing method: the reverse creaming method. This reverse creaming vanilla cake recipe is loaded with vanilla flavor and is even easier to bake from home!
If you've tried my vanilla almond cake recipe, then you know it's like heaven on earth. It's so light and fluffy, with a little almond to give the vanilla extra oomph. It's been served at countless weddings, anniversaries, baby showers, etc.
Never Miss a Recipe!
I'm sharing my tried-and-true Amycakes Bakery recipes! Sign up to be the first to know about my favorite recipes, baking tips, and bakery secrets!
My go-to method uses the traditional creaming method, which can be challenging, especially for beginners. Some readers have struggled with their cake sinking.
The reverse creaming method is one of my favorite cake mixing methods because it's so much faster, easier, and less prone to shrinking or sinking. Don't worry; the cake is still incredibly soft and very moist.
If you've never tried this method before, you'll definitely want to give it a go. It's perfect for beginners and experienced bakers alike!
Jump to:
Equipment Checklist
Here are some of the equiptment you'll need to create this vanilla cake recipe.
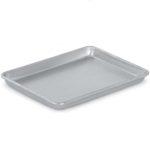
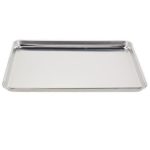
¼ sheet pan for 1x recipe batches
Each of my cake recipes makes enough for ¼ sheet. For a 2x batch, use a regular half sheet pan.
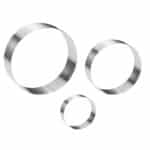
I use the Cut and Stack method, so I use metal rings to cut out perfect cake layers instead of baking in round cake pans.
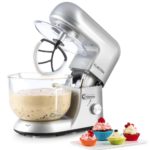
Stand mixer with a paddle attachment
This makes it much easier to make the cake batter. A hand mixer can work, too!
Why You'll Love This Reverse Creaming Vanilla Cake Recipe
- More consistent results - Thanks to the simplicity of the reverse creaming method, you're much less likely to have a cake fail on your hands. Plus, you're likely to end up with a taller, fluffier cake!
- A twist on a classic - This recipe is an alternative way to make my popular vanilla almond cake recipe! This flavor was a bestseller at my former bakery, and has remained a favorite among my blog readers who try it out. It's my go-to vanilla cake recipe, and it makes the best birthday cakes, wedding cakes, anniversary cakes, and more!
- Get creative with fillings and frostings - This white cake recipe is truly the best cake. It can be served with any of my favorite cake filling flavors and is especially great with berry compotes! Keep it simple with my fluffy vanilla buttercream, or try any of the other frosting recipes on the blog. There are so many options!
Ingredients
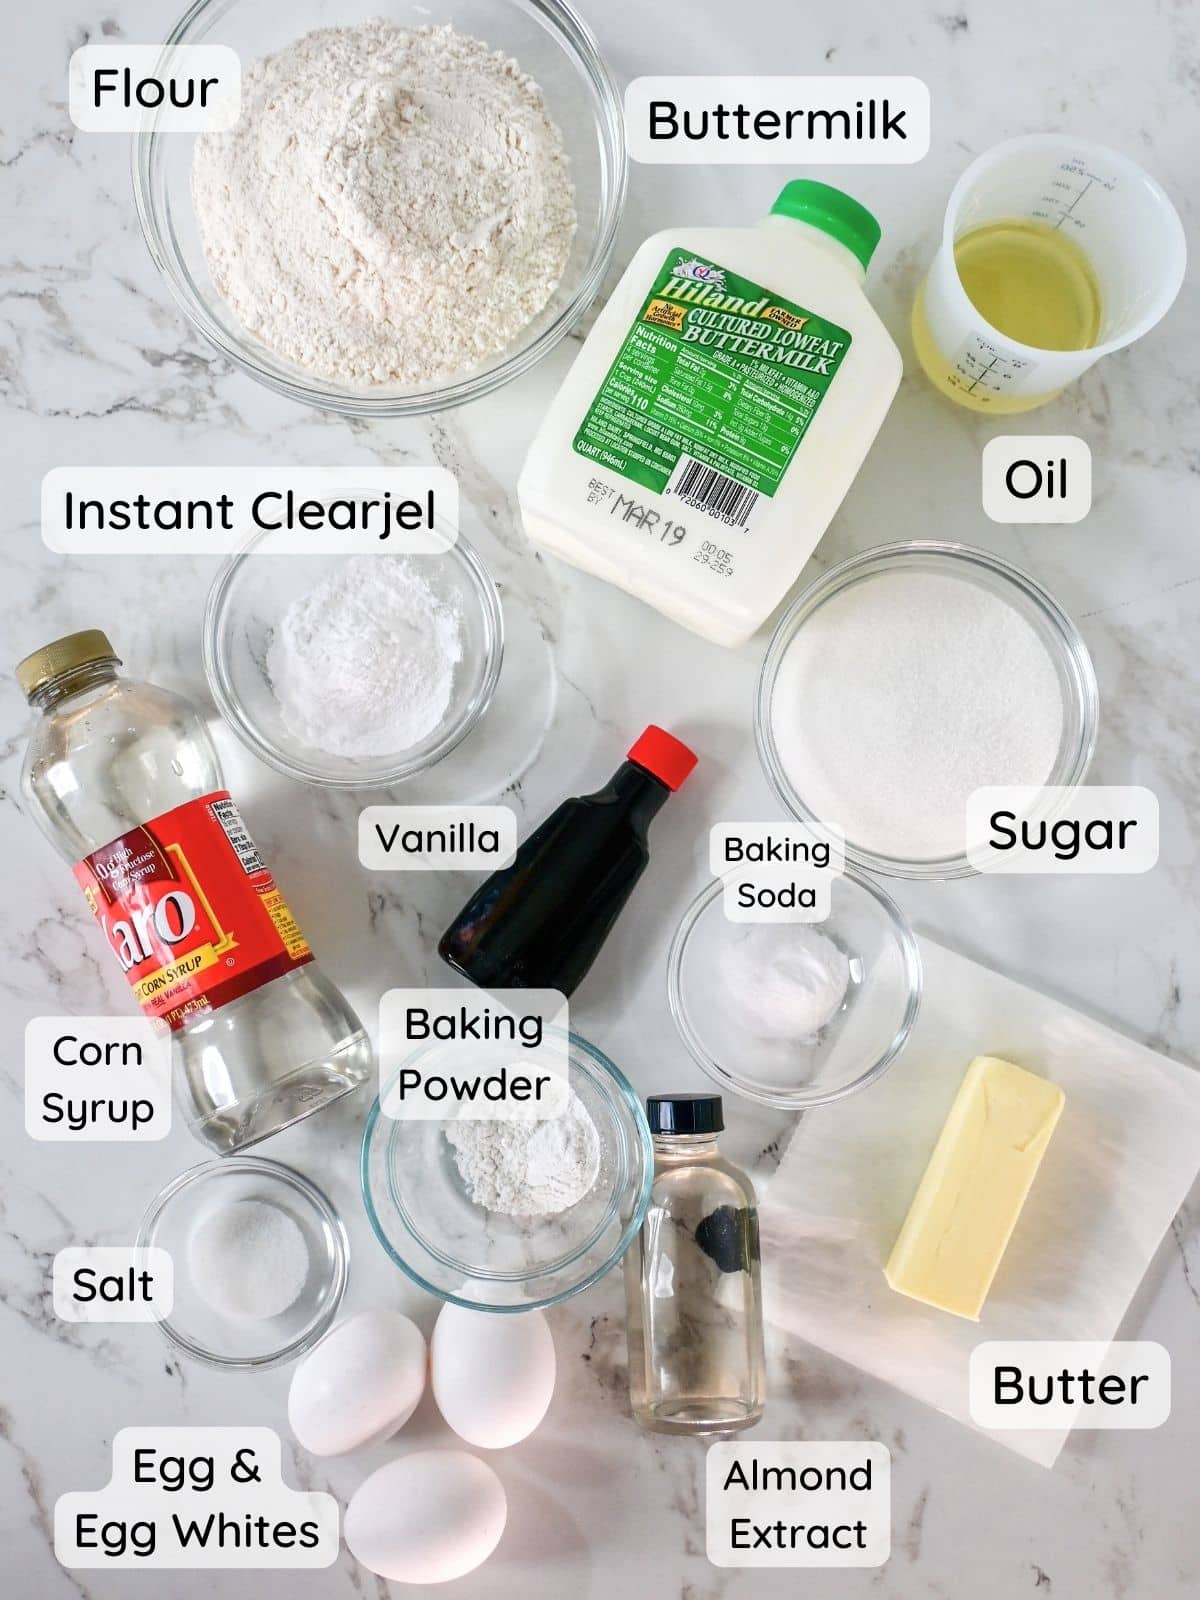
I'm all about baking incredibly moist cakes, and that requires using the right ingredients, like Instant Clearjel, buttermilk, vegetable oil, and melted butter. Get all of the specific measurements and recipe instructions in the recipe card below!
Dry ingredients
- All purpose flour (There's no need to use cake flour! Keep it simple with regular all-purpose.)
- Instant Clearjel or Vanilla Instant Pudding Mix
- Baking powder
- Baking soda
- Salt
- Sugar
The secret to this method of mixing is to mix the dry ingredients with the softened salted butter before you add any liquid ingredients! This process coats the flour with butter, which reduces gluten formation and makes it gives you a finer crumb.
Wet ingredients
- Buttermilk
- Water
- Vanilla extract
- Almond extract
- Vegetable oil
- Light corn syrup
Finally, mix the egg and egg whites in right at the very end before spreading the batter in your cake pan. Easy!
Pro Tip
I recommend using salted butter, not unsalted butter, for a more flavorful cake.
Variations
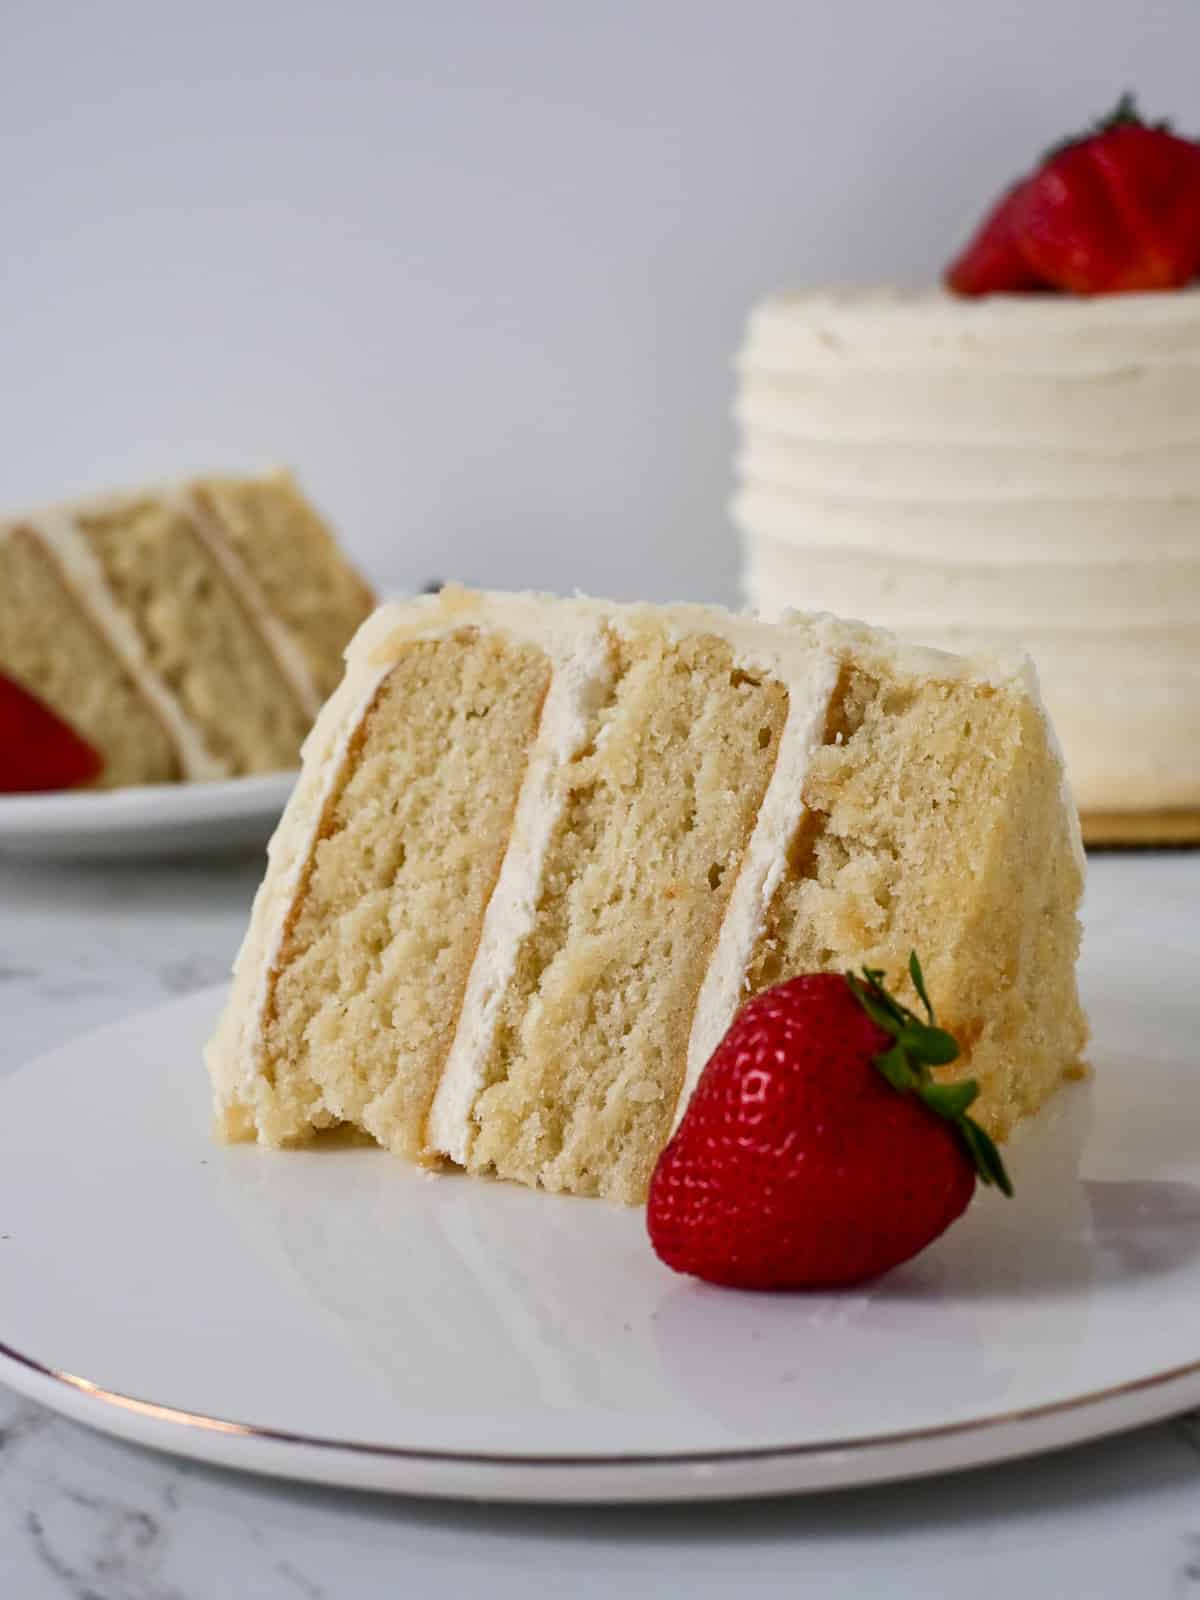
Feel free to make a double or triple batch of this reverse creaming vanilla cake recipe by using the 2x and 3x buttons in the recipe card below! This will allow you to make larger layered cakes or the cutest mini cakes.
One of the best things about this perfect vanilla cake is trying it with all the different fillings and frostings on the blog! Consider this to be your new go-to base recipe. Adjust the extracts, fillings, and frostings to make it your own! These are some of the must-try variations we served at the bakery:
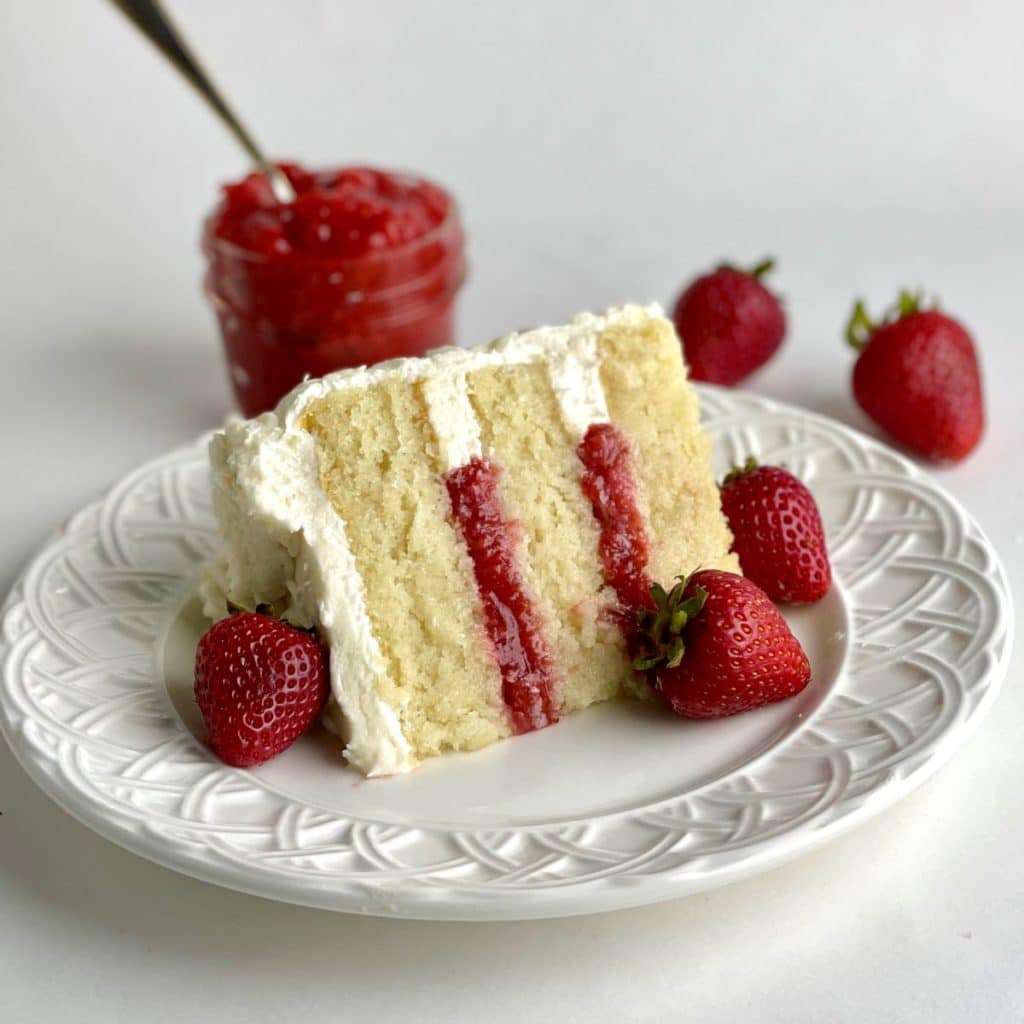
Moist Vanilla Cake with Strawberry Filling
Use this easier reverse creaming version of my favorite white cake recipe and layer it with strawberry compote before decorating the whole thing in my easy buttercream.
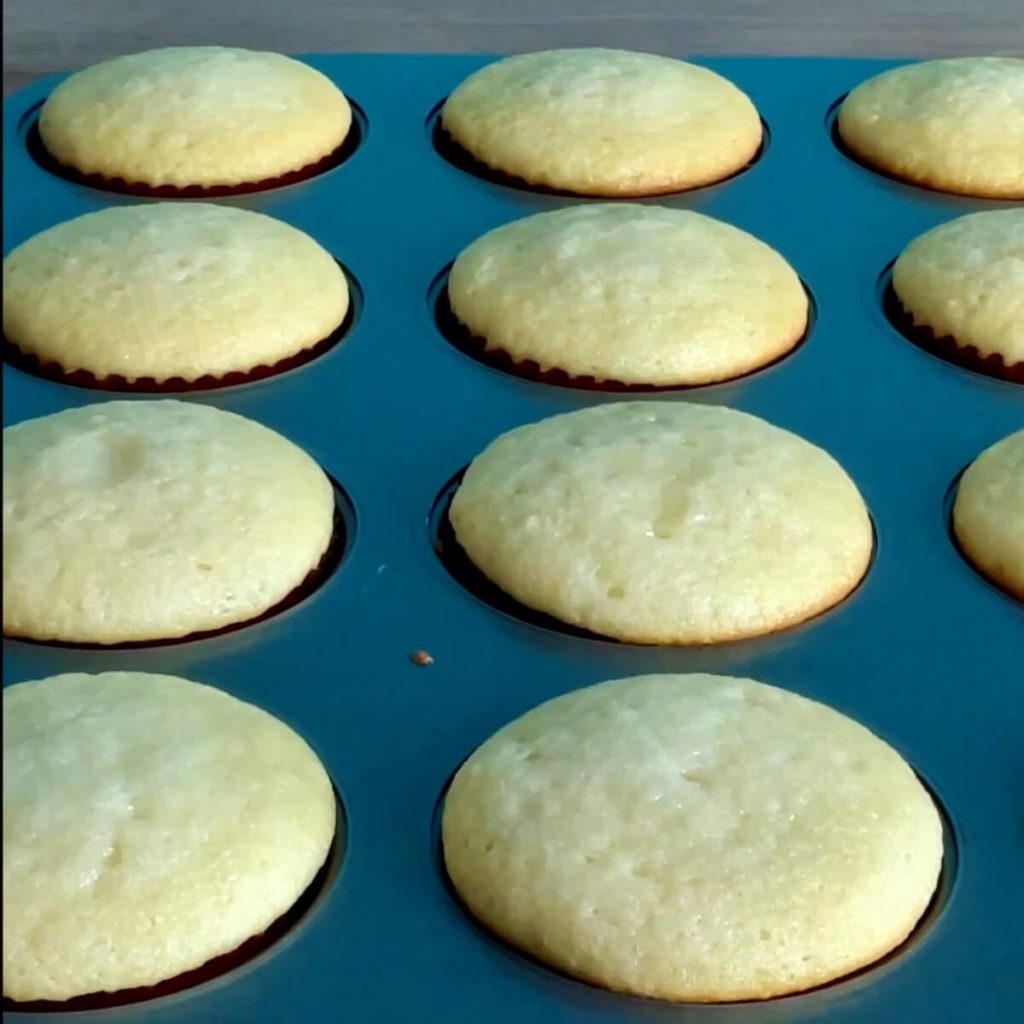
Vanilla Cupcakes
Scoop the batter into muffin tins and bake following the instructions from this vanilla cupcake recipe. They're amazing with vanilla buttercream or stabilized whipped cream for a really light, melt-in-your-mouth texture.
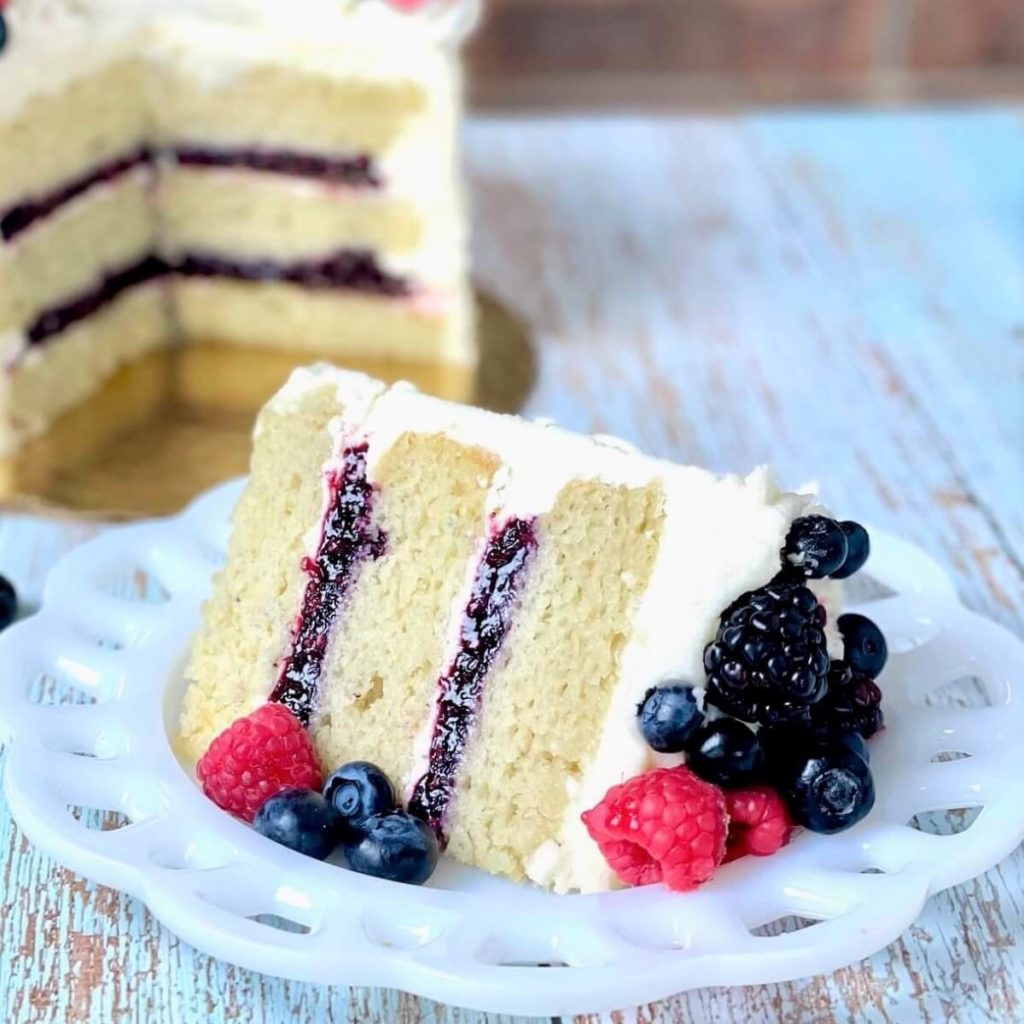
Berries 'n' Cream Cake
Separate each layer with my triple berry compote and decorate with a trio of fresh berries. This one is beautiful enough for a bridal shower or even a wedding!
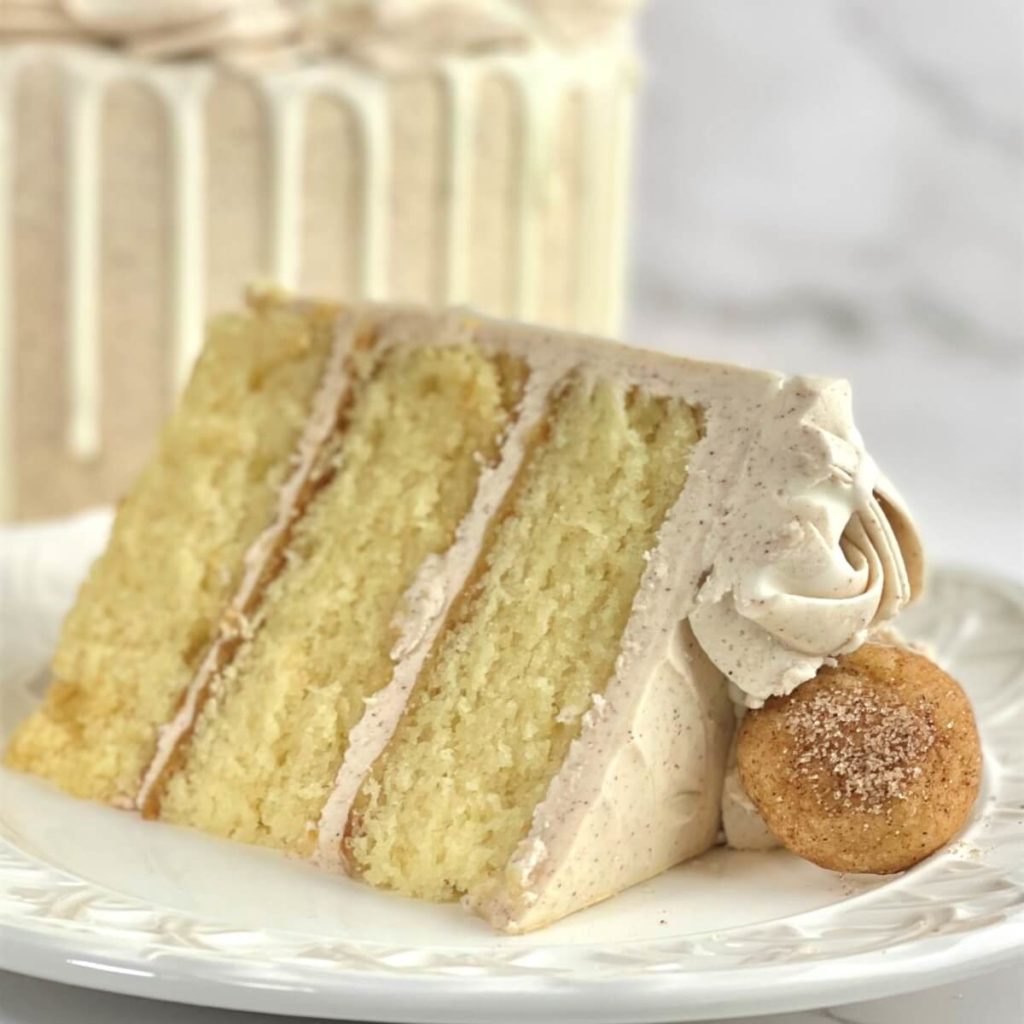
Snickerdoodle Cake
This seasonal option uses a little extra almond extract and fluffy cinnamon buttercream for the perfect holiday cake. It's a must-try!
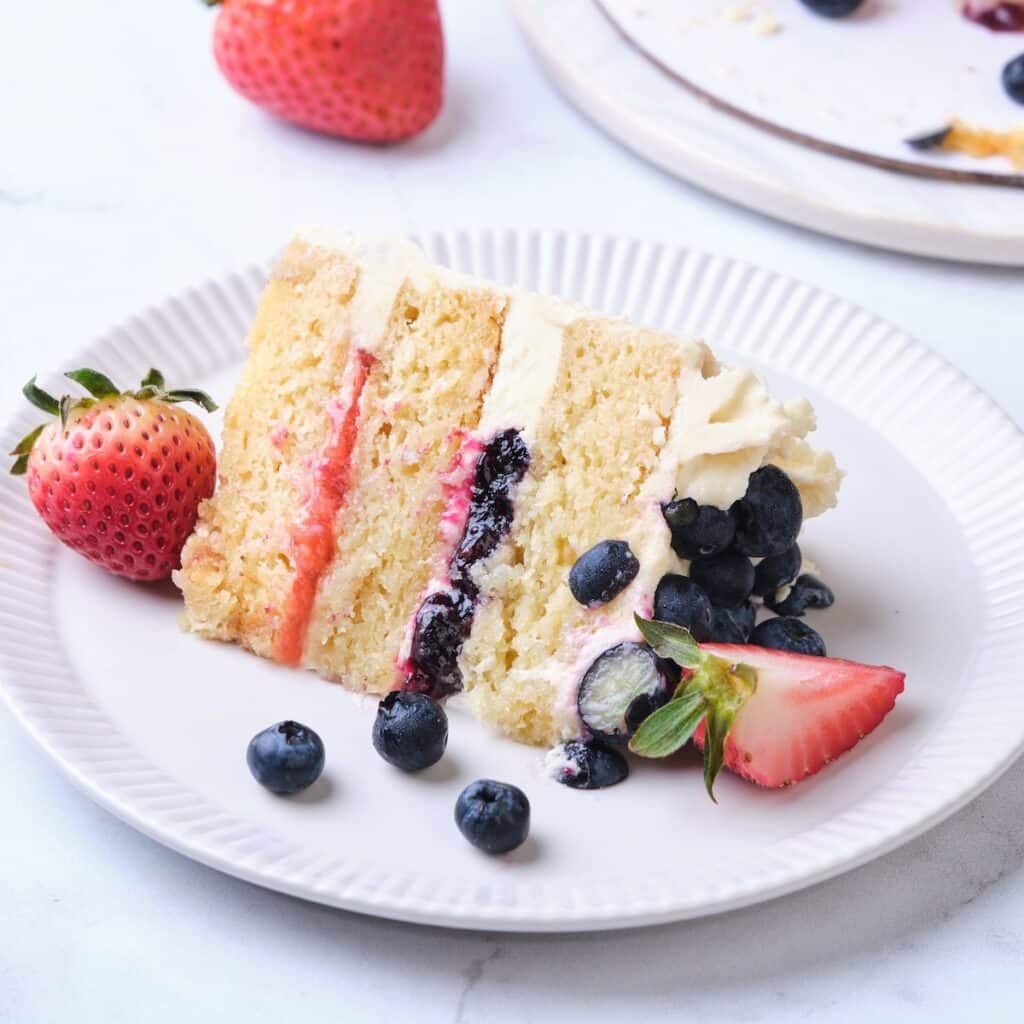
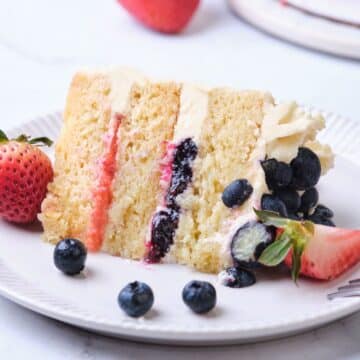
Strawberry and Blueberry Cake
Add one layer of strawberry compote and one layer of blueberry compote for the perfect red, white, and blue cake!
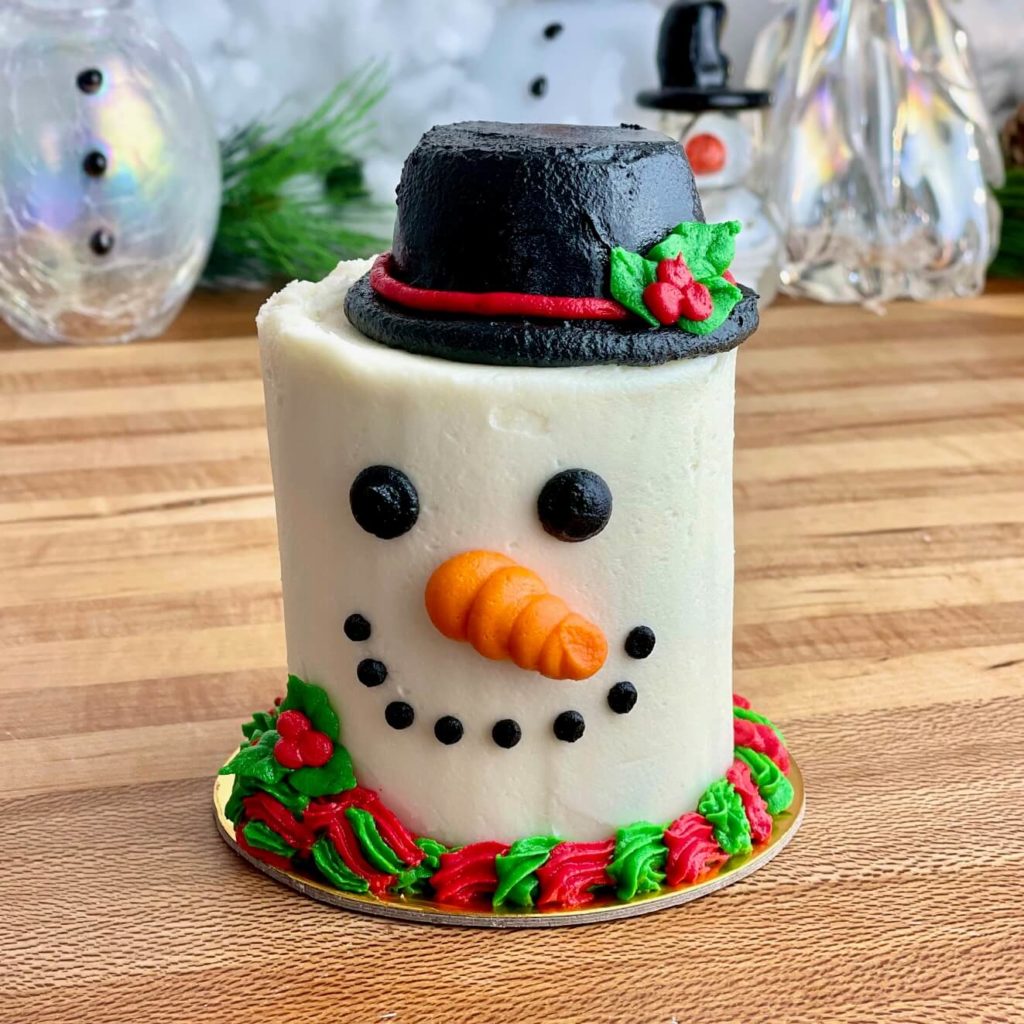
Mini Snowman Cakes
I love using smaller cake layers to make decorative mini-cakes for the holidays. This snowman cake uses this base for the layers! These mini Santa cakes follow the same steps, too!
Storage
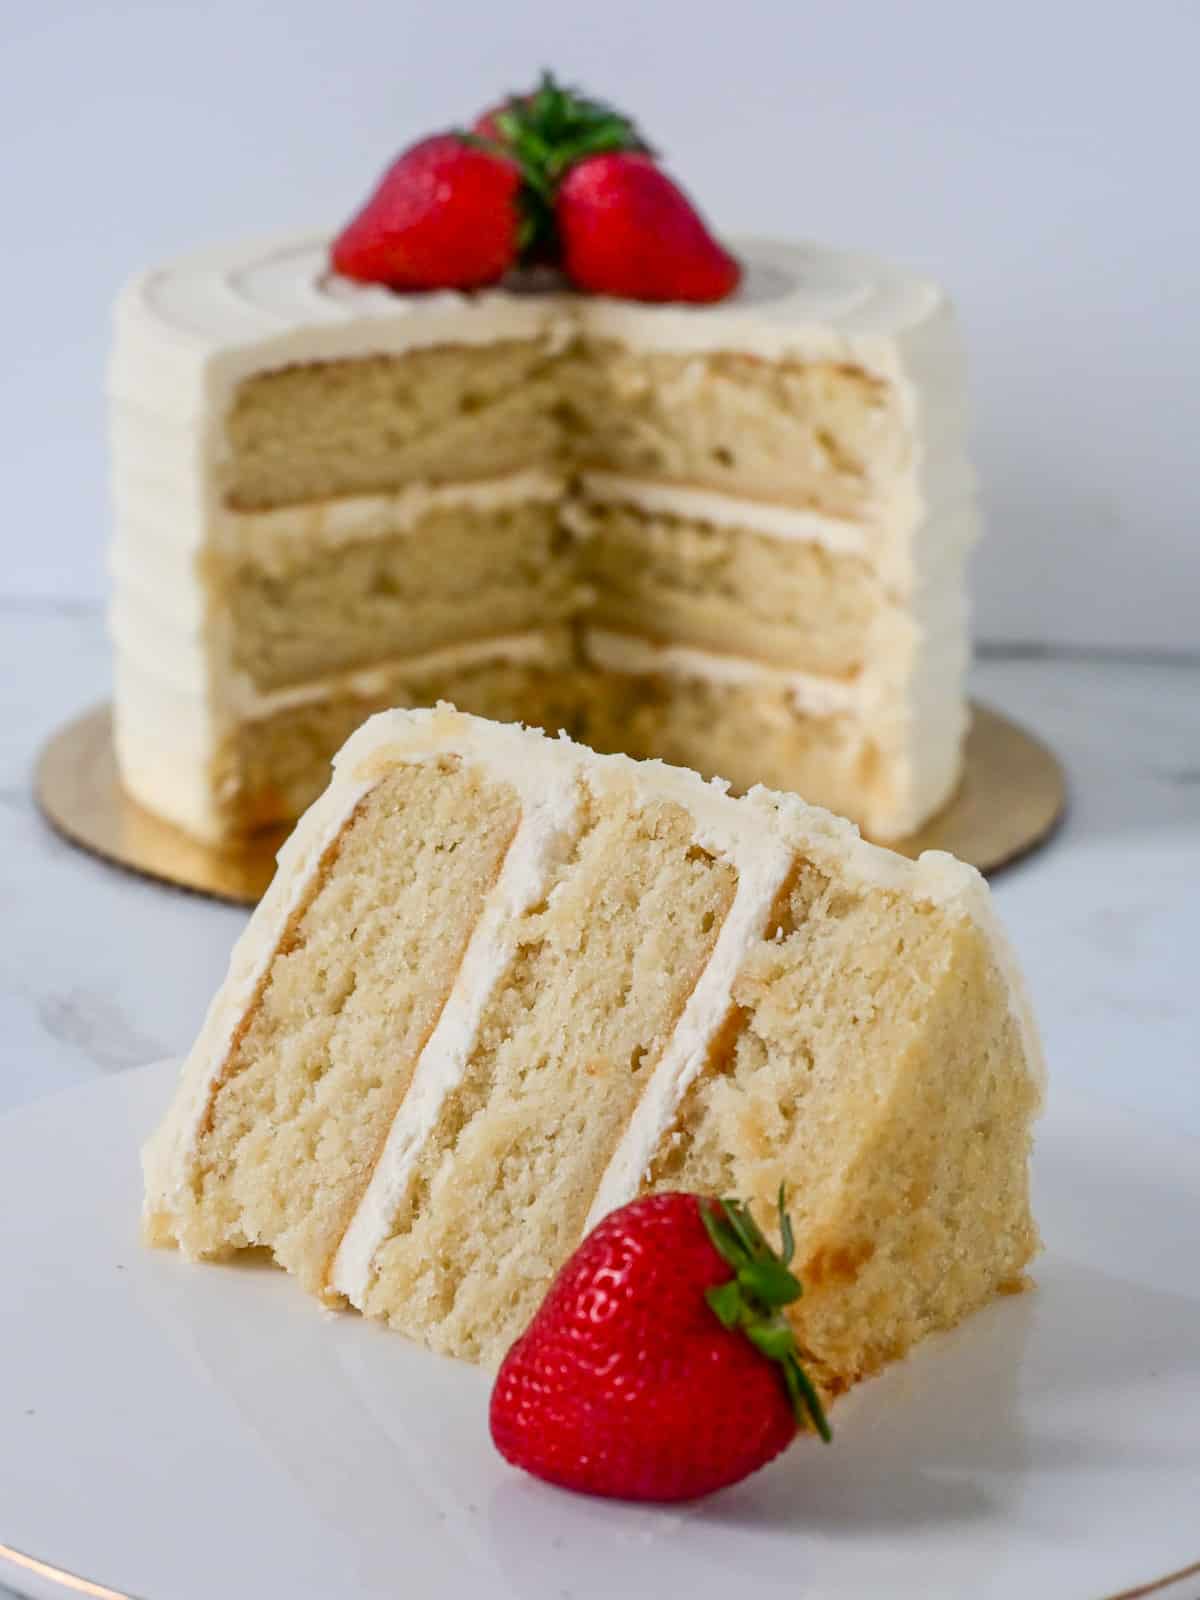
My cakes can be stored at room temperature for up to 24 hours. After that, they should be wrapped well with plastic wrap and then stored in the fridge.
If you won't be able to finish the cake in the next few days, freeze it for later by wrapping either the whole cake or individual slices in several layers of plastic wrap.
Pro Tip
The butter in this cake recipe will make it firm straight from the fridge. I want you to experience this as a super moist cake, so let the slice sit out for 2-3 hours before eating for the best experience.
Key Recipe Notes
- Because the reverse creaming method vanilla cake is still so moist and delicate, I recommend using the sheet pan method described in the recipe or my recommended cake pan chart so that too much batter is not placed in each pan.
- This reverse creaming vanilla cake recipe is easiest to layer from frozen using the Cut and Stack method. The tender cake is much easier to handle when baked on a sheet pan, and you can easily use cake rings to cut each of the layer cakes to size.
Related Recipes
Looking for other recipes like this? Try these:
I hope you enjoy making this deliciously moist vanilla cake with the reverse creaming method as much as I do! Let me know what you think @amycakesbakes on social media, and subscribe to my newsletter for more bakery recipes!
Thanks for Reading. ❤️

📖 Recipe
Moist Vanilla Cake (Reverse Creaming Method)
Equipment
Ingredients
Dry Ingredients
- 233 grams (1 ¾ cups) All-Purpose Flour ((I use Gold Medal))
- 2 Tablespoon Instant Clearjel (*Please make sure it is labeled as INSTANT)
- 1 ½ teaspoons Baking Powder
- 1 teaspoon Baking Soda
- ¾ teaspoon Salt
- 200 grams (1 cup) Sugar
Butter
- ¾ stick (3 ounces) Salted Butter (soft to the touch)
Wet Ingredients
- ¾ cup Buttermilk
- ¼ cup Water
- 1 ½ teaspoons Vanilla Extract
- 1 Tablespoon Almond Extract
- ¼ cup + 2 Tablespoons Vegetable Oil
- ¼ cup Light Corn Syrup
Eggs
- 1 large Egg
- 2 Egg Whites
Additional Ingredients
Instructions
Make the Vanilla Cake with the reverse creaming method
- Preheat Oven to 325 degrees. Line ¼ Sheet pan with parchment paper, and then lightly spray the bottom (on top of the parchment) and sides of the sheet pan with cooking spray.
- Combine and whisk Wet Ingredients in a medium bowl or pitcher until smooth and blended. Whisk the Eggs together in a separate small bowl and set aside.
- Sift and whisk together the Dry Ingredients, then add them with the soft-to-the-touch salted butter to the bowl of a stand mixer. (Or use a large bowl and an electric mixer).
- With a stand mixer (preferred) or handheld mixer on low speed, blend the dry ingredients and softened butter until it has a sand-like texture, scraping the sides of the bowl as needed. Make sure there are no large lumps of butter--it should look like uniform sand.
- On low speed, slowly pour in the Wet ingredients until it is well combined. Scrape sides of the bowl as needed. Turn the mixer up to medium, and beat until the batter is smooth.
- While the mixer is on low, slowly add the beaten eggs into the batter. Scrape down the sides of the bowl, increase the speed to medium-high or high, and beat the cake batter for another 30 seconds to one minute until smooth.
- Spread into prepared pan and make sure the batter is evenly distributed. An offset spatula works well for this.
Bake the Cake
- Bake on the middle or top rack (avoid bottom rack) of the preheated 325-degree oven for 30-35 minutes, or until the cake springs back to the touch or passes the toothpick test. Oven times will vary, so keep an eye on the cake starting after 25 minutes, and don't worry if your cake takes longer in the oven than listed above. Just continue to bake until it passes the toothpick test and springs back when you touch it lightly with your finger. Double batches typically take a few minutes longer than 1x batches.
- The delicate cake will be easiest to layer from cold or frozen--allow the cake to cool, then wrap the cake in the pan thoroughly in plastic wrap. Freeze the cake in the pan for at least 2 hours or up to 2 weeks ahead of time.
Layer, Decorate, and Serve
- The easiest way to layer the cake is to layer the cake from frozen the day before you plan to serve it. If serving the cake the same day you are layering it, use refrigerated cake layers instead of frozen (but it will be more difficult to layer). Cut the cake layers with cake rings as described in How to Bake and Layer Cakes Like a Pro.
- Fill each cake layer with prepared Creamy Vanilla Bakery Buttercream. An offset icing spatula (I use the small and medium-size on all my cakes) helps with this.
- I recommend frosting a thin crumb coat of buttercream on the outside of the vanilla cake which will catch all the crumby edges, then allow it to set up in the freezer for about 10 minutes until the buttercream is firm. The remaining cake scraps can be used for cake truffles if desired.
- Allow the completed cake to set up in the fridge, but remove it from the fridge 1-3 hours before serving so it can come back to room temperature. This cake has the best texture at room temperature. Enjoy!

