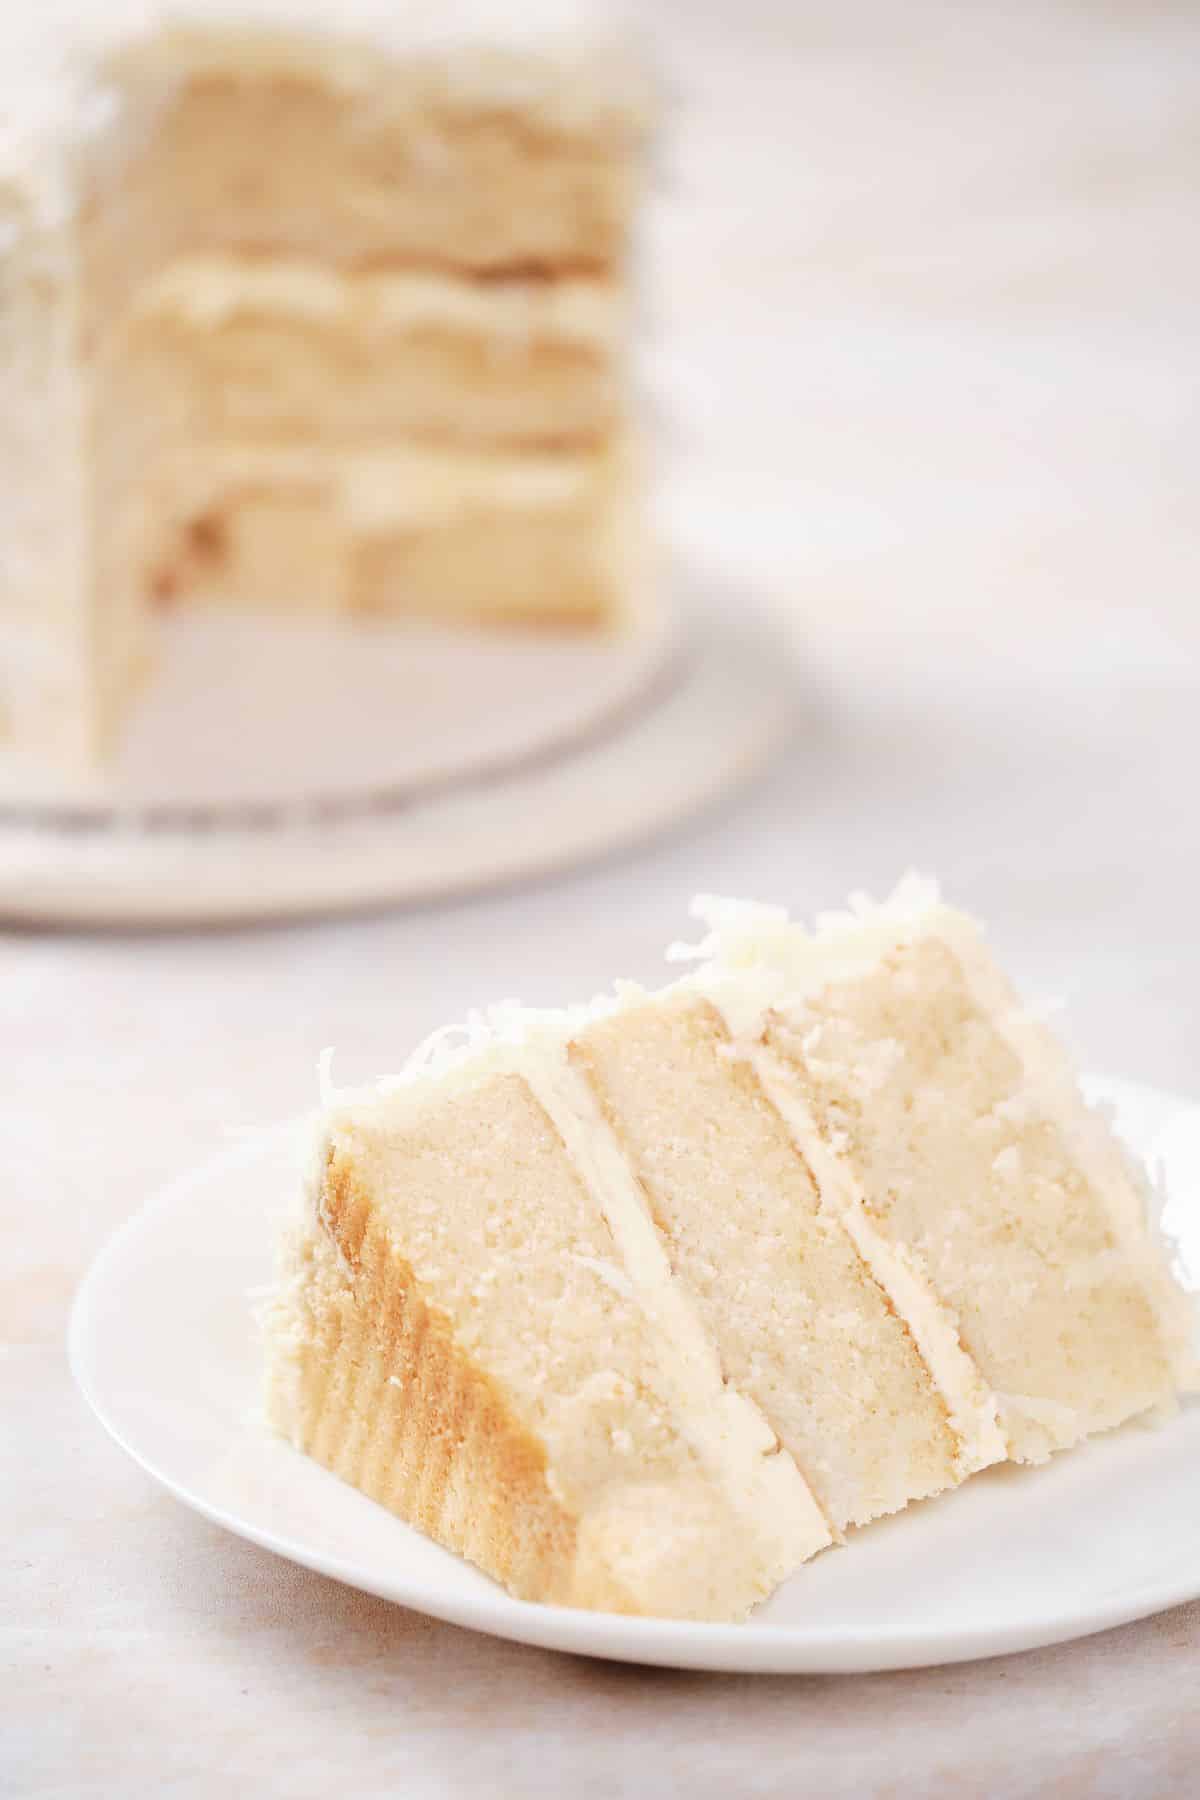
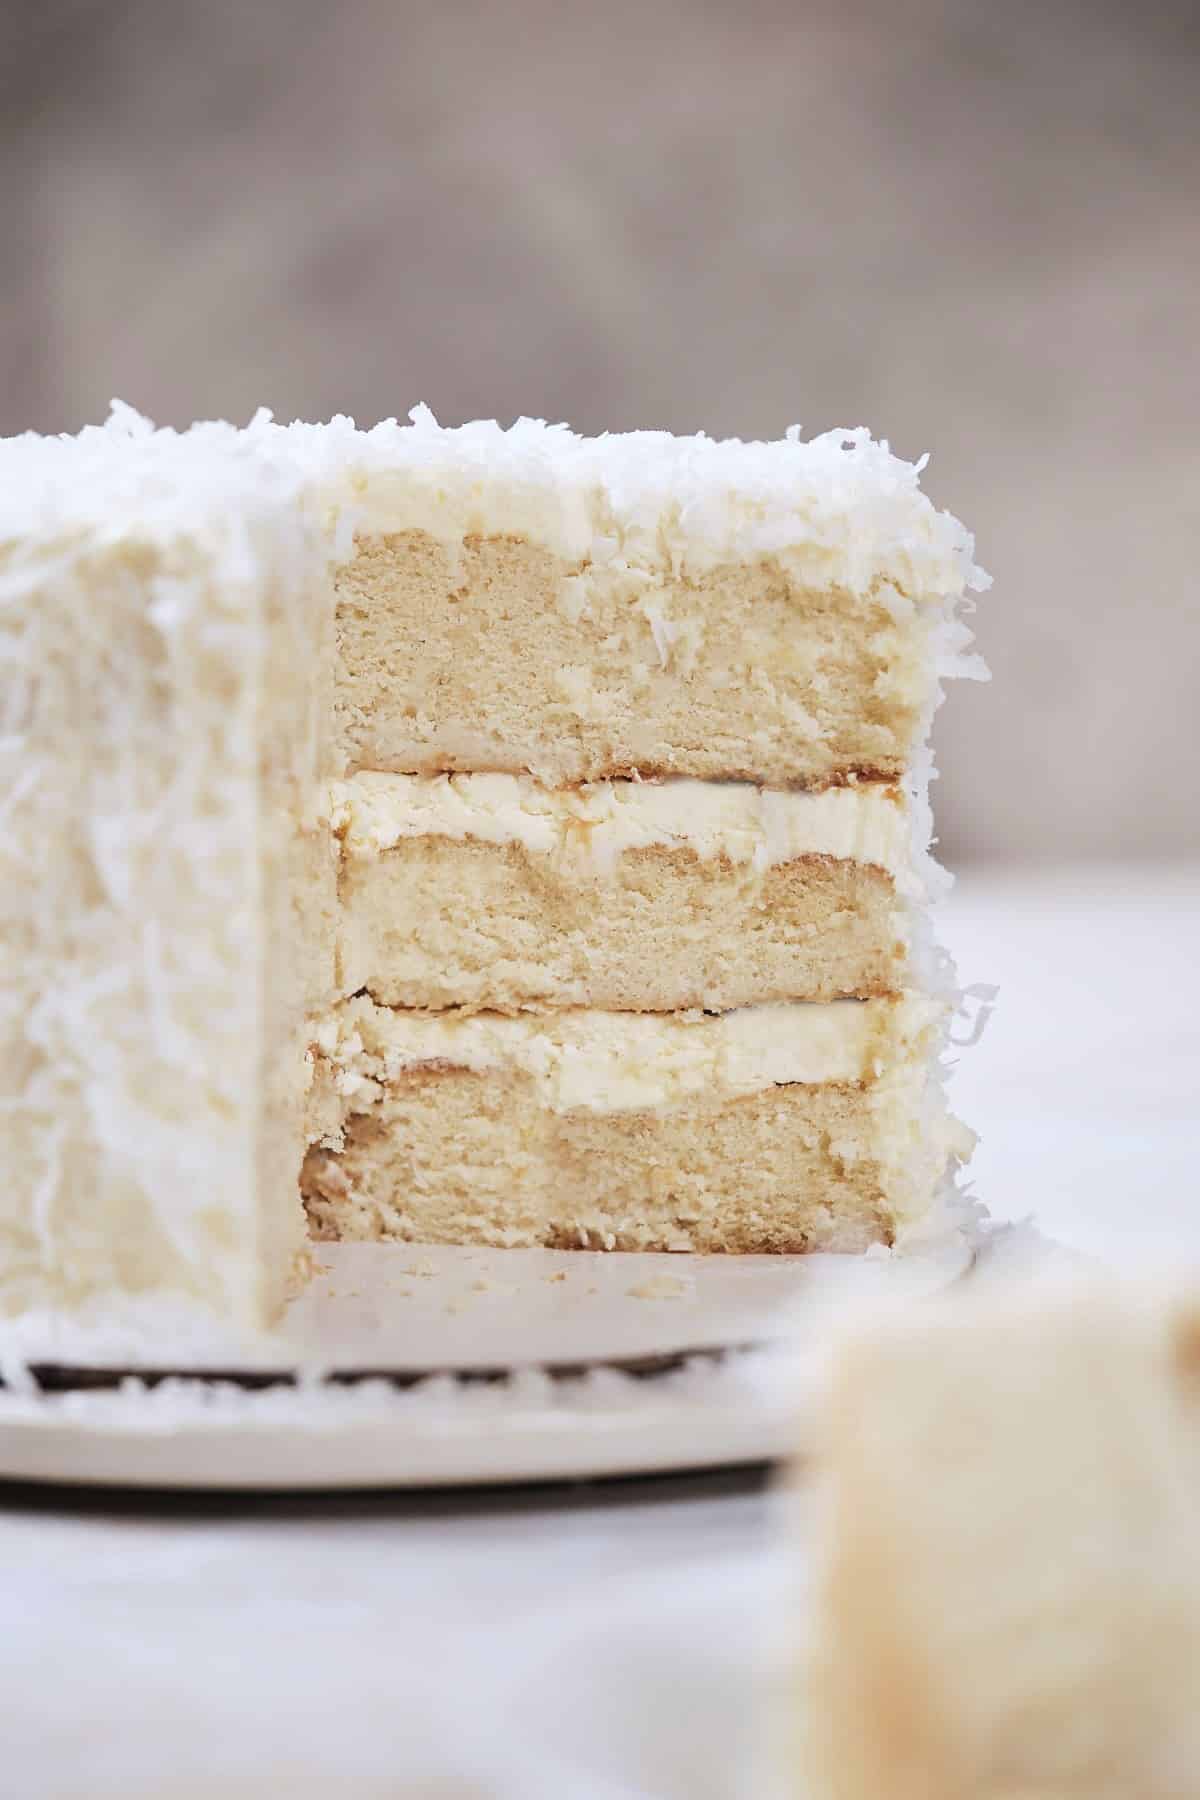
With the most incredible coconut flavor, this sour cream coconut cake recipe is the absolute best cake for coconut lovers! Thanks to the reverse creaming method, it's pretty much foolproof, too, so even beginning home bakers can nail this great cake recipe!
The best thing about this cake, besides the rich coconut flavor, is just how easy it is. Since it uses the reverse creaming method, you're much less likely to deal with a dense, deflated cake. It will be tender and light every time! This method is much easier than the traditional creaming method, and the cakes are even taller and lighter this way!
Never Miss a Recipe!
I'm sharing my tried-and-true Amycakes Bakery recipes! Sign up to be the first to know about my favorite recipes, baking tips, and bakery secrets!
This coconut cream cake is my mom's favorite birthday cake. Sour cream adds extra moisture to this tender, fluffy cake, ensuring it is never too dry or crumbly while balancing the sweet coconut flavor.
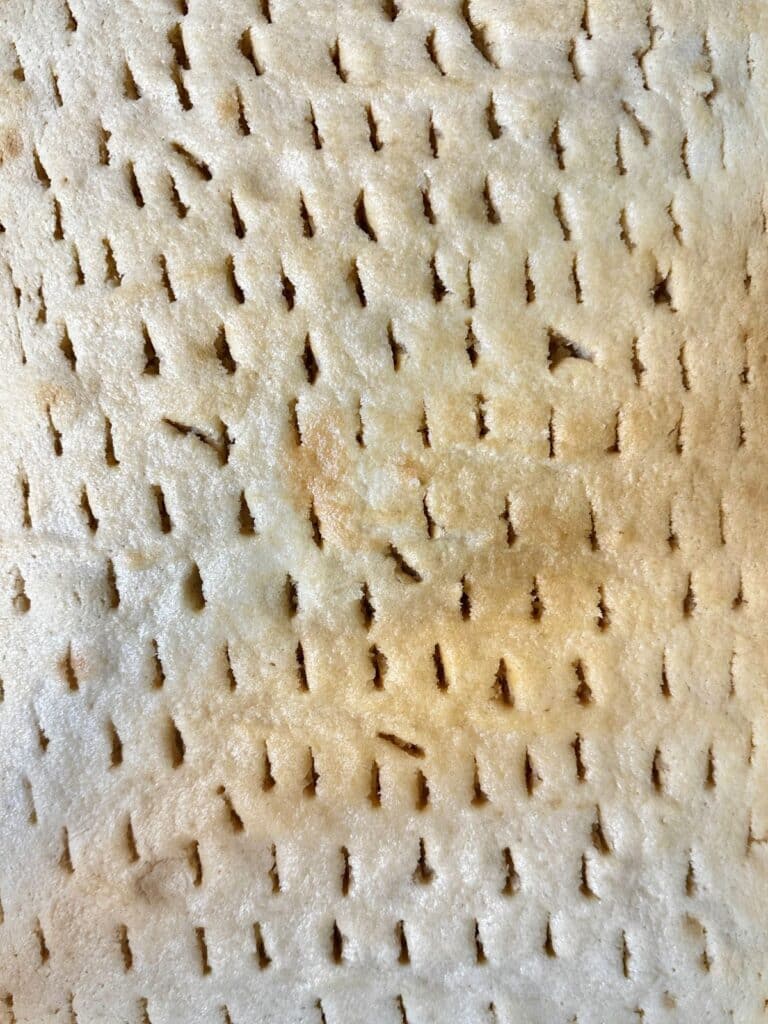
The best part of this "poke cake" is the cream of coconut you pour over the top that locks that coconut flavor in while adding extra moisture!
Our extremely popular, never-too-sweet vanilla buttercream brings this whole cake together. We can't get enough of this easy sour cream coconut cake, and you'll be serving this one for birthdays, bridal showers, baby showers, anniversary parties, and pretty much every special occasion!
Jump to:
Why you'll love this sour cream coconut cake recipe
- Foolproof method: This cake is made with a special mixing method: the reverse creaming technique. To do this, we blend the softened butter with all the dry ingredients first. Then we slowly add the wet ingredients and then the eggs. This produces a taller, fluffier cake that is much less likely to sink or become overmixed.
- Lots of coconut flavor: The combination of flavors is absolutely spot on! The tangy sour cream gives mellow coconut an extra boost, and the cream of coconut makes this cake taste like you're in an island paradise. It's so coconutty!
- Moist and so tender: The sour cream gives this cake the most wonderful moist texture while still keeping it incredibly light and fluffy. Plus, the coconut cream drizzled on top that takes the whole cake over the top!
Ingredients
This homemade coconut cream cake comes together with my favorite ingredients for baking moist cakes every time, ensuring each bite has the perfect flavor and texture.
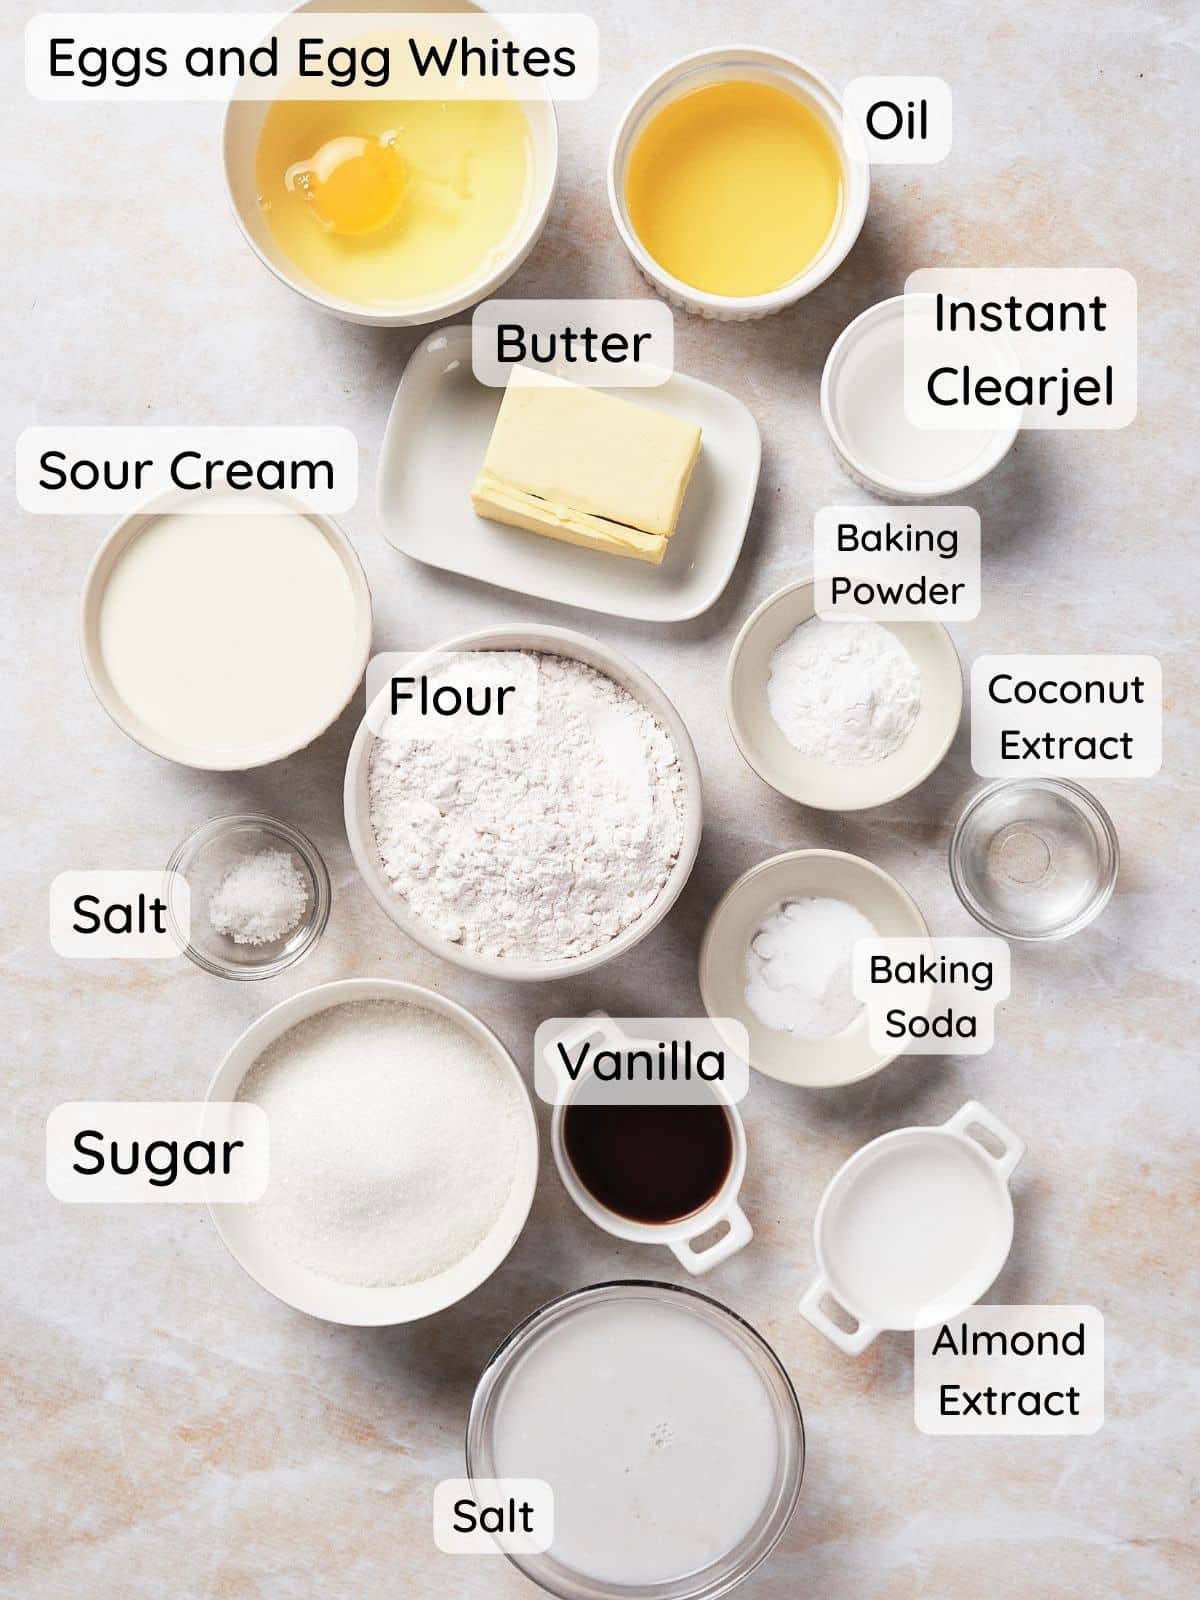
This cake is different because the dry ingredients are mixed with the salted butter first. This makes sure that moist, buttery flavor is evenly distributed without overworking the batter.
- All purpose flour
- Instant Clearjel (a secret baking ingredient that you've got to try! It makes the moistest cakes)
- baking powder
- baking soda
- salt
- sugar
- salted butter
The wet ingredients ensure this cake has a rich, nutty flavor and a moist texture.
- sour cream
- water
- vanilla extract
- almond extract
- pure coconut extract (this is important to get the best flavor. I use and love OliveNation pure coconut extract.)
- vegetable oil
You'll also need to beat an egg with two egg whites, which will be added separately.
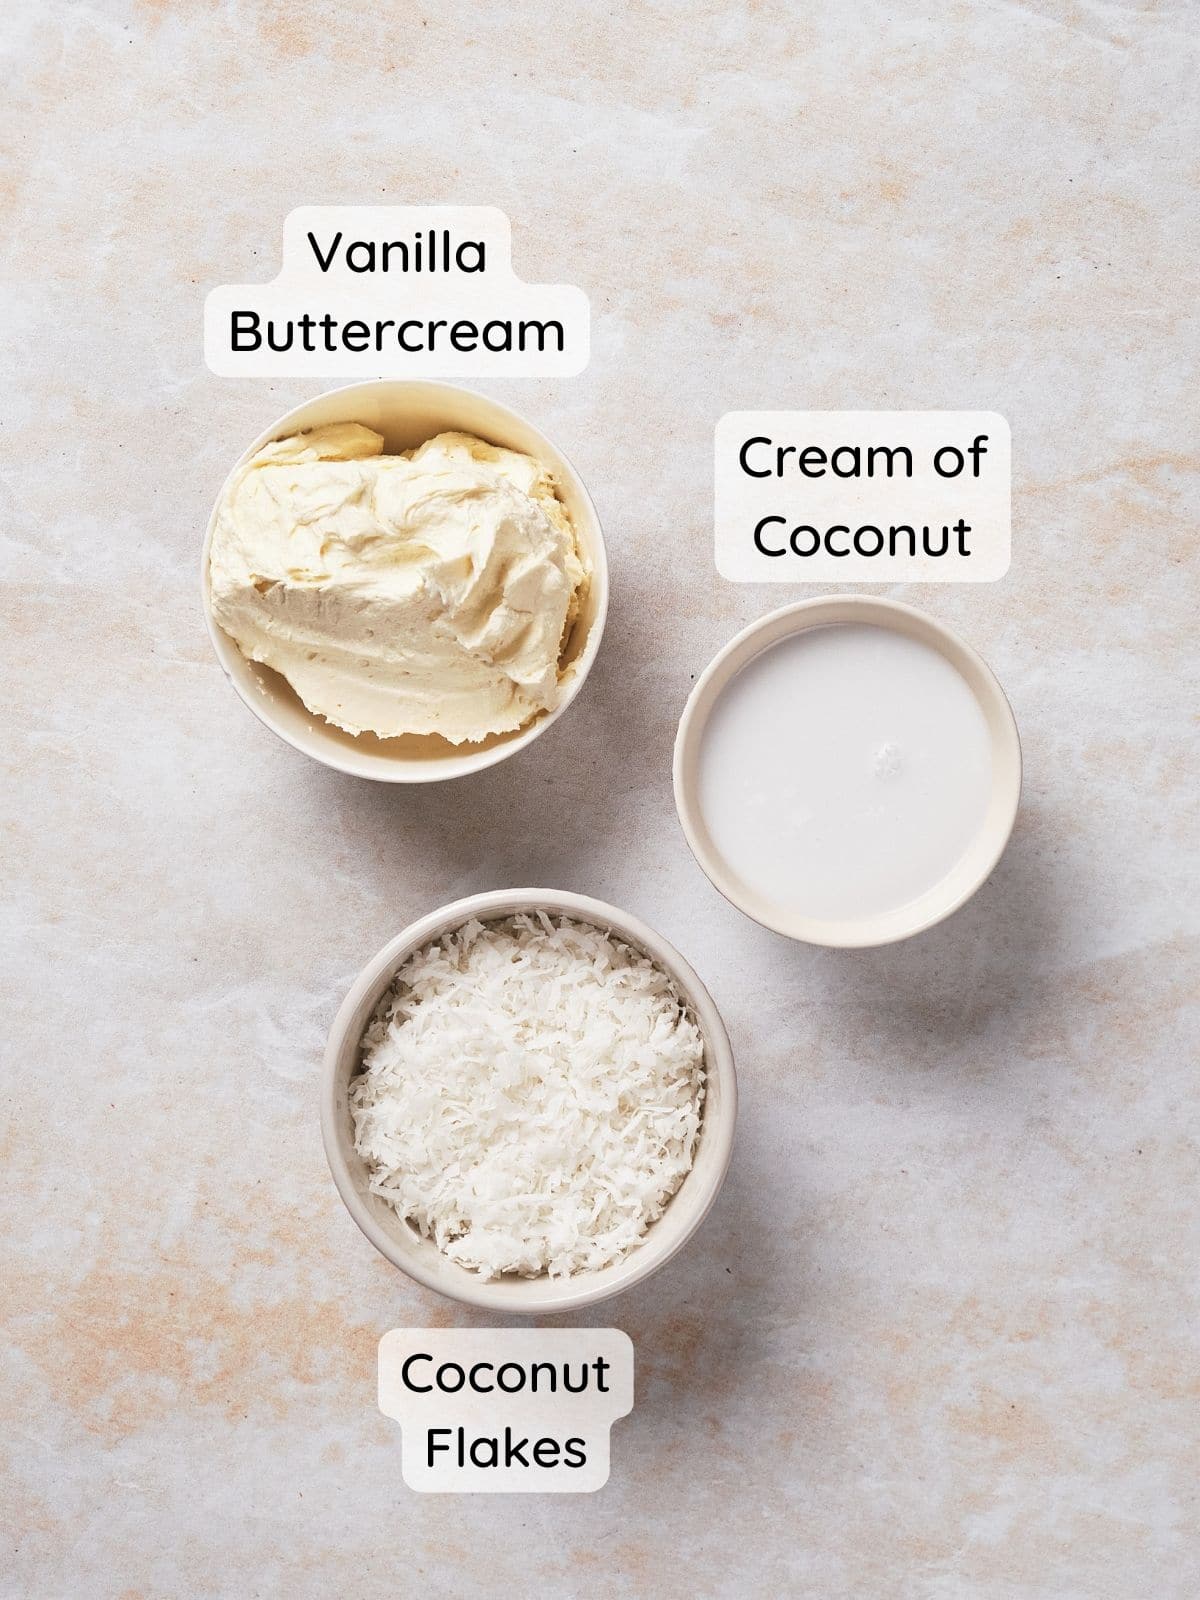
The secret ingredient for this particular cake is cream of coconut. This is not coconut milk; it's the sweetened creamy stuff used for cocktails. Top it all off with my creamy vanilla buttercream and coconut flakes!
Instructions
Here's a quick overview of the process so you know what to expect! For specific measurements and details, be sure to check out the complete recipe card below.
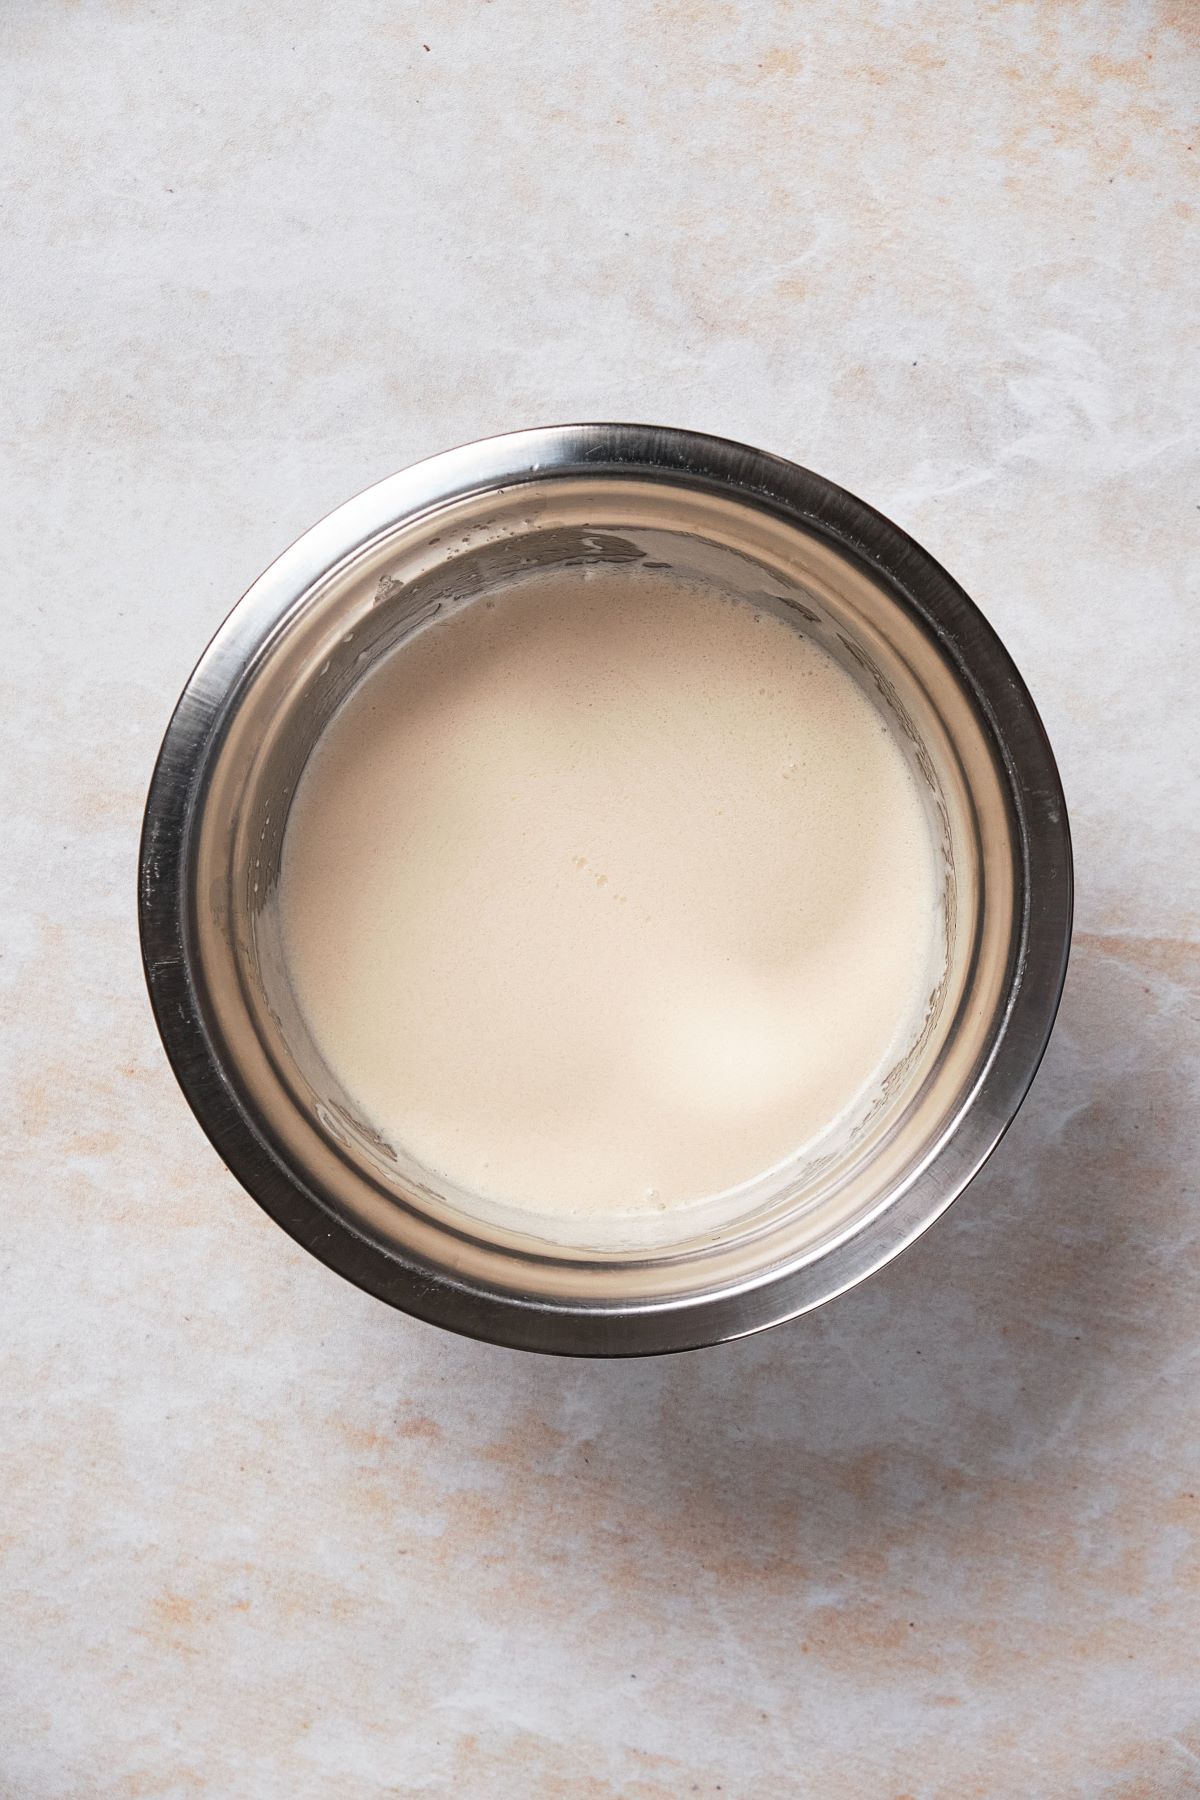
Preheat the oven and prepare your cake pan. Whisk together the wet ingredients in a large mixing bowl and whisk the eggs in another bowl.
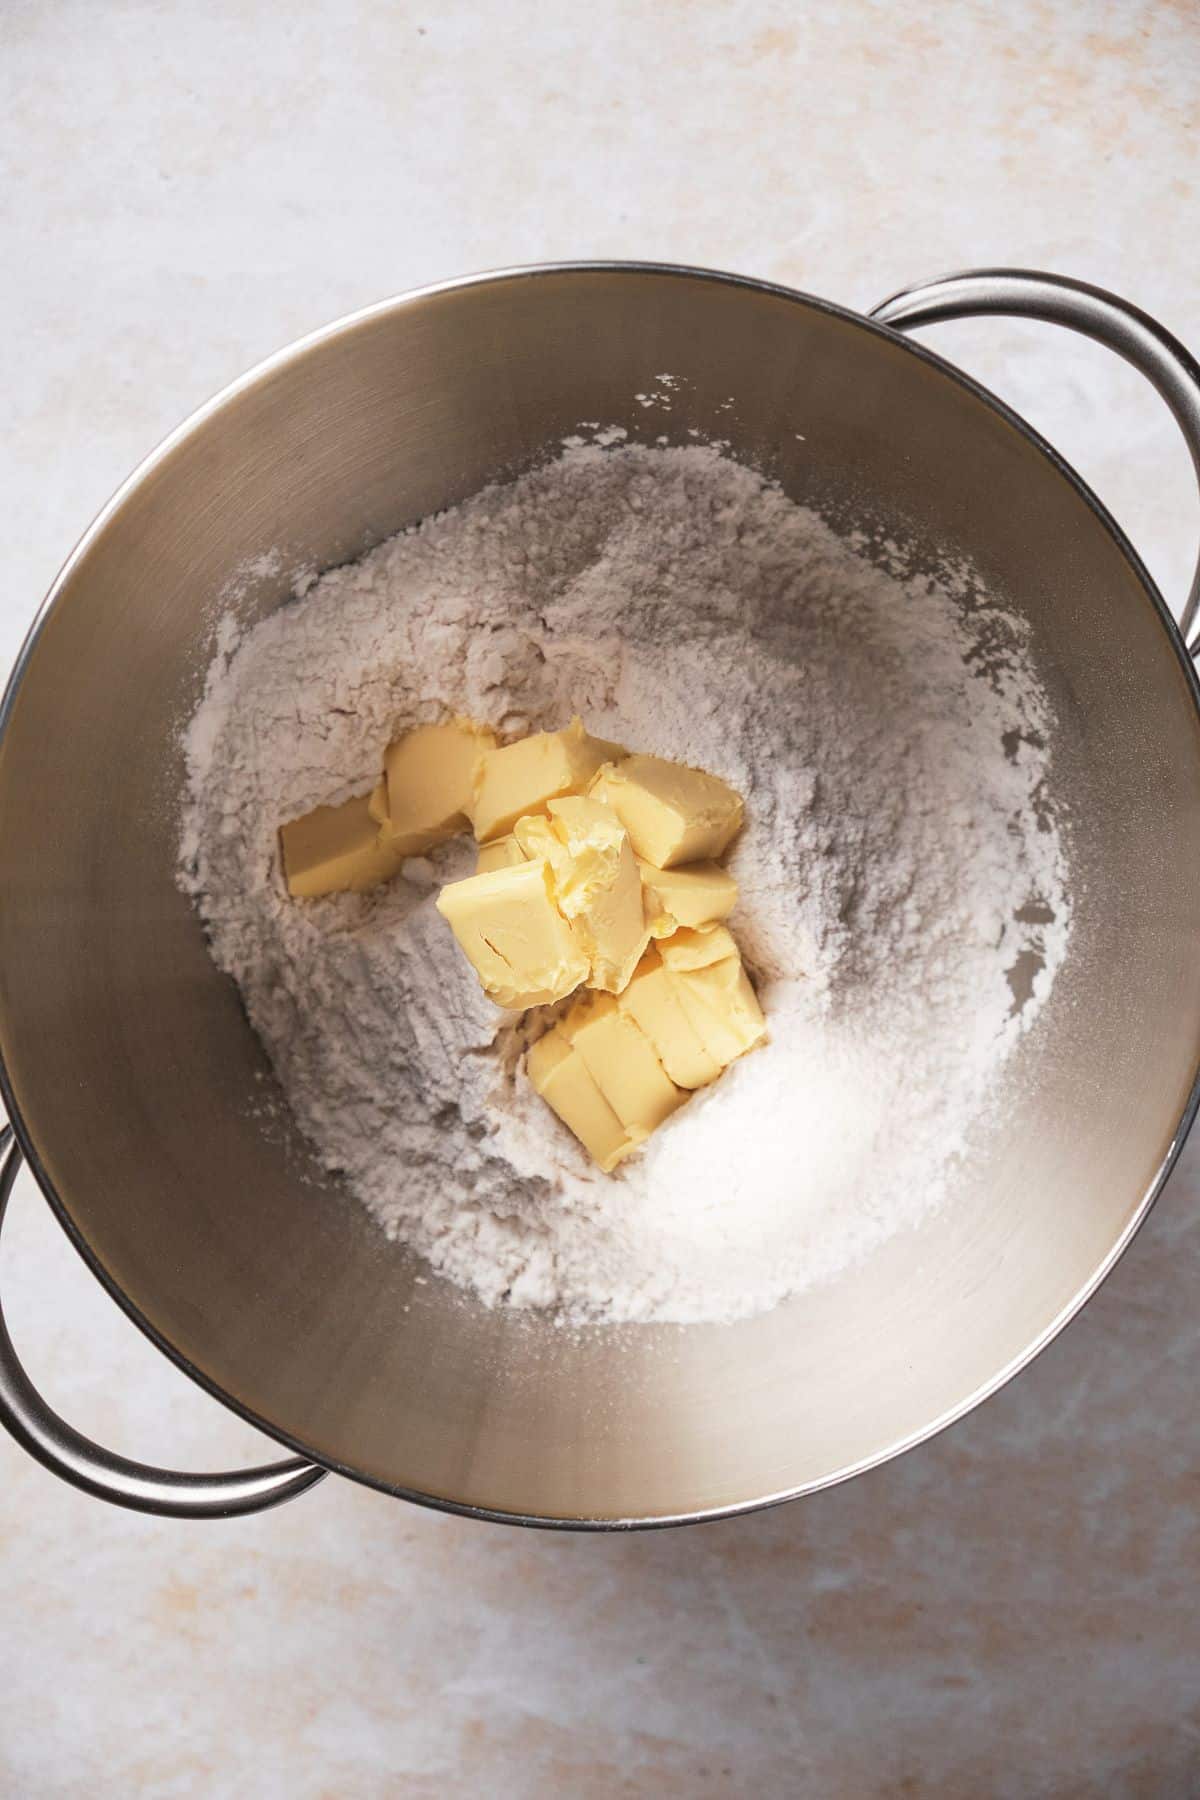
To start the reverse creaming method, add the dry ingredients and the soft butter together in the bowl of a stand mixer using the paddle attachment.
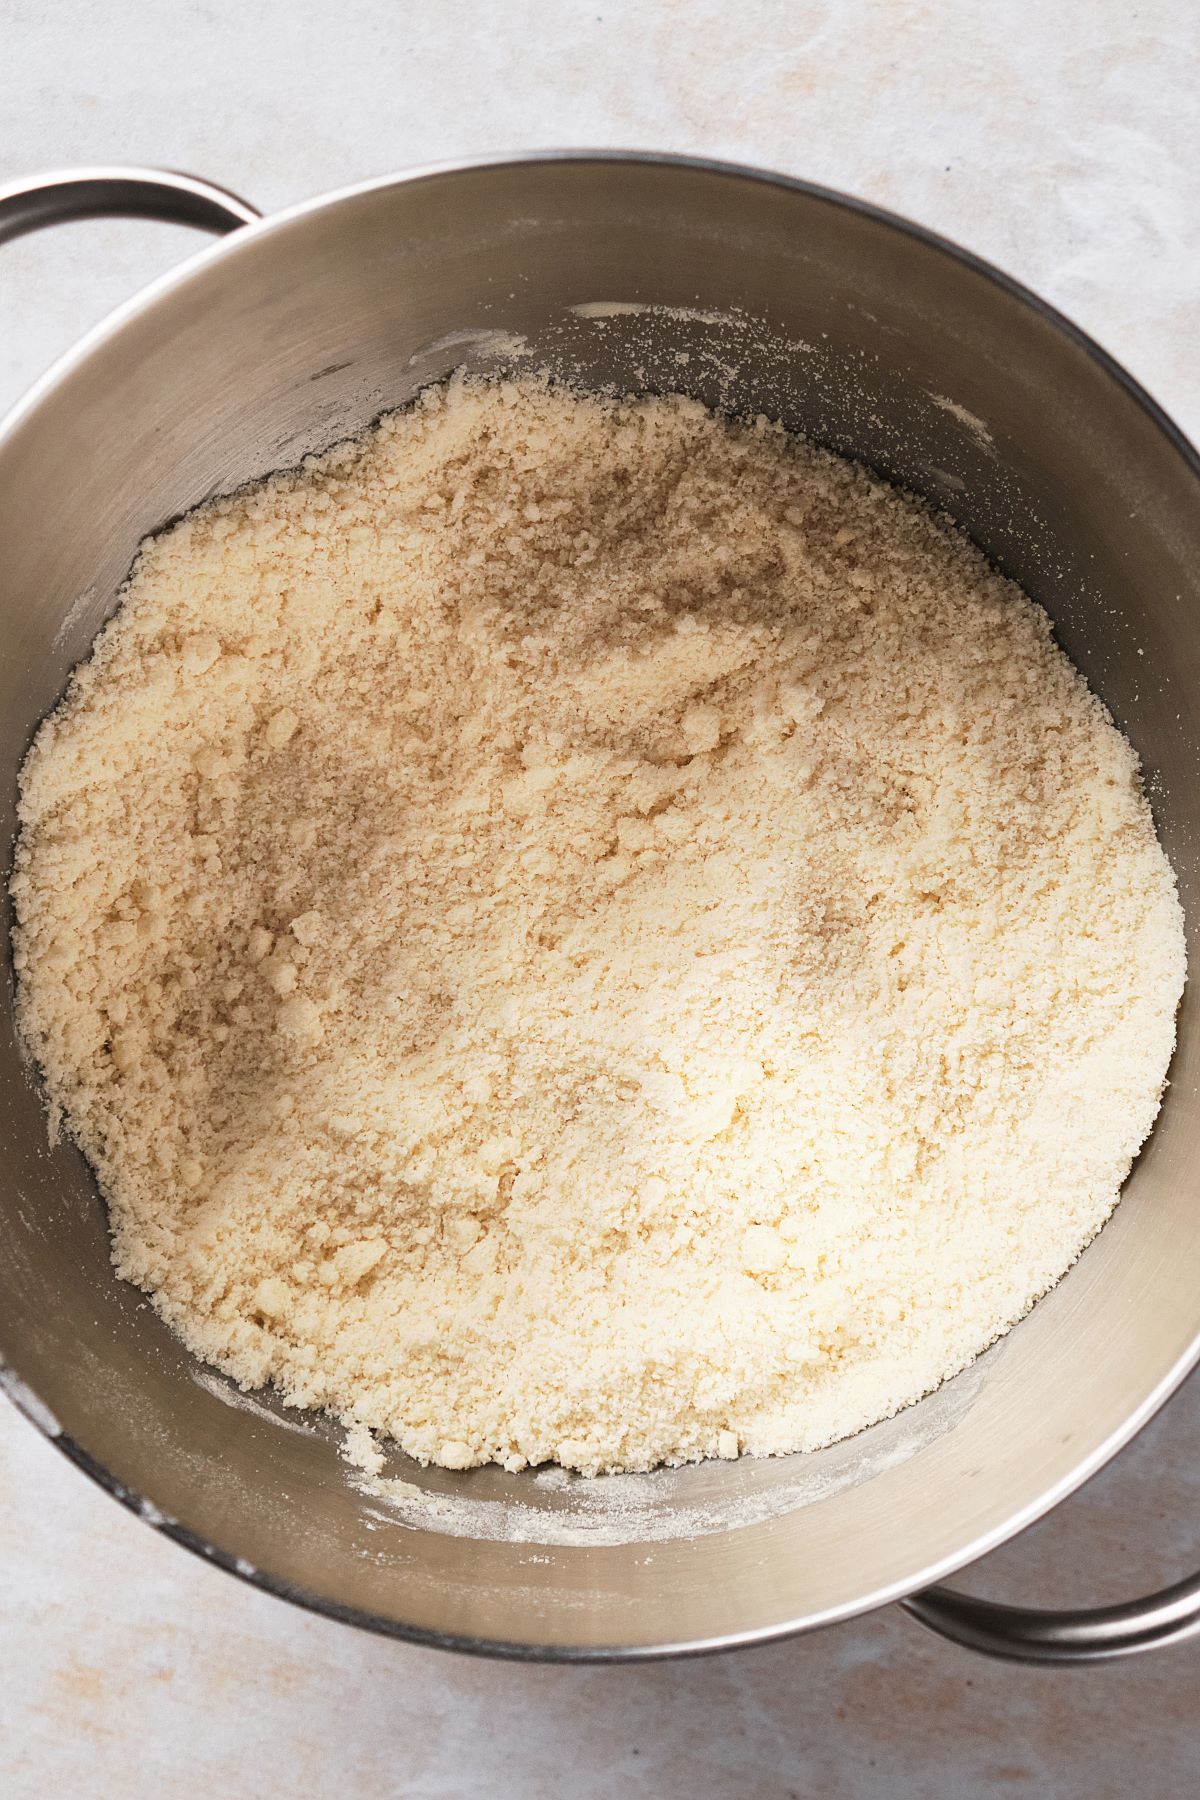
Mix the dry ingredients and butter together until sandy. Then, mix in the wet ingredients.
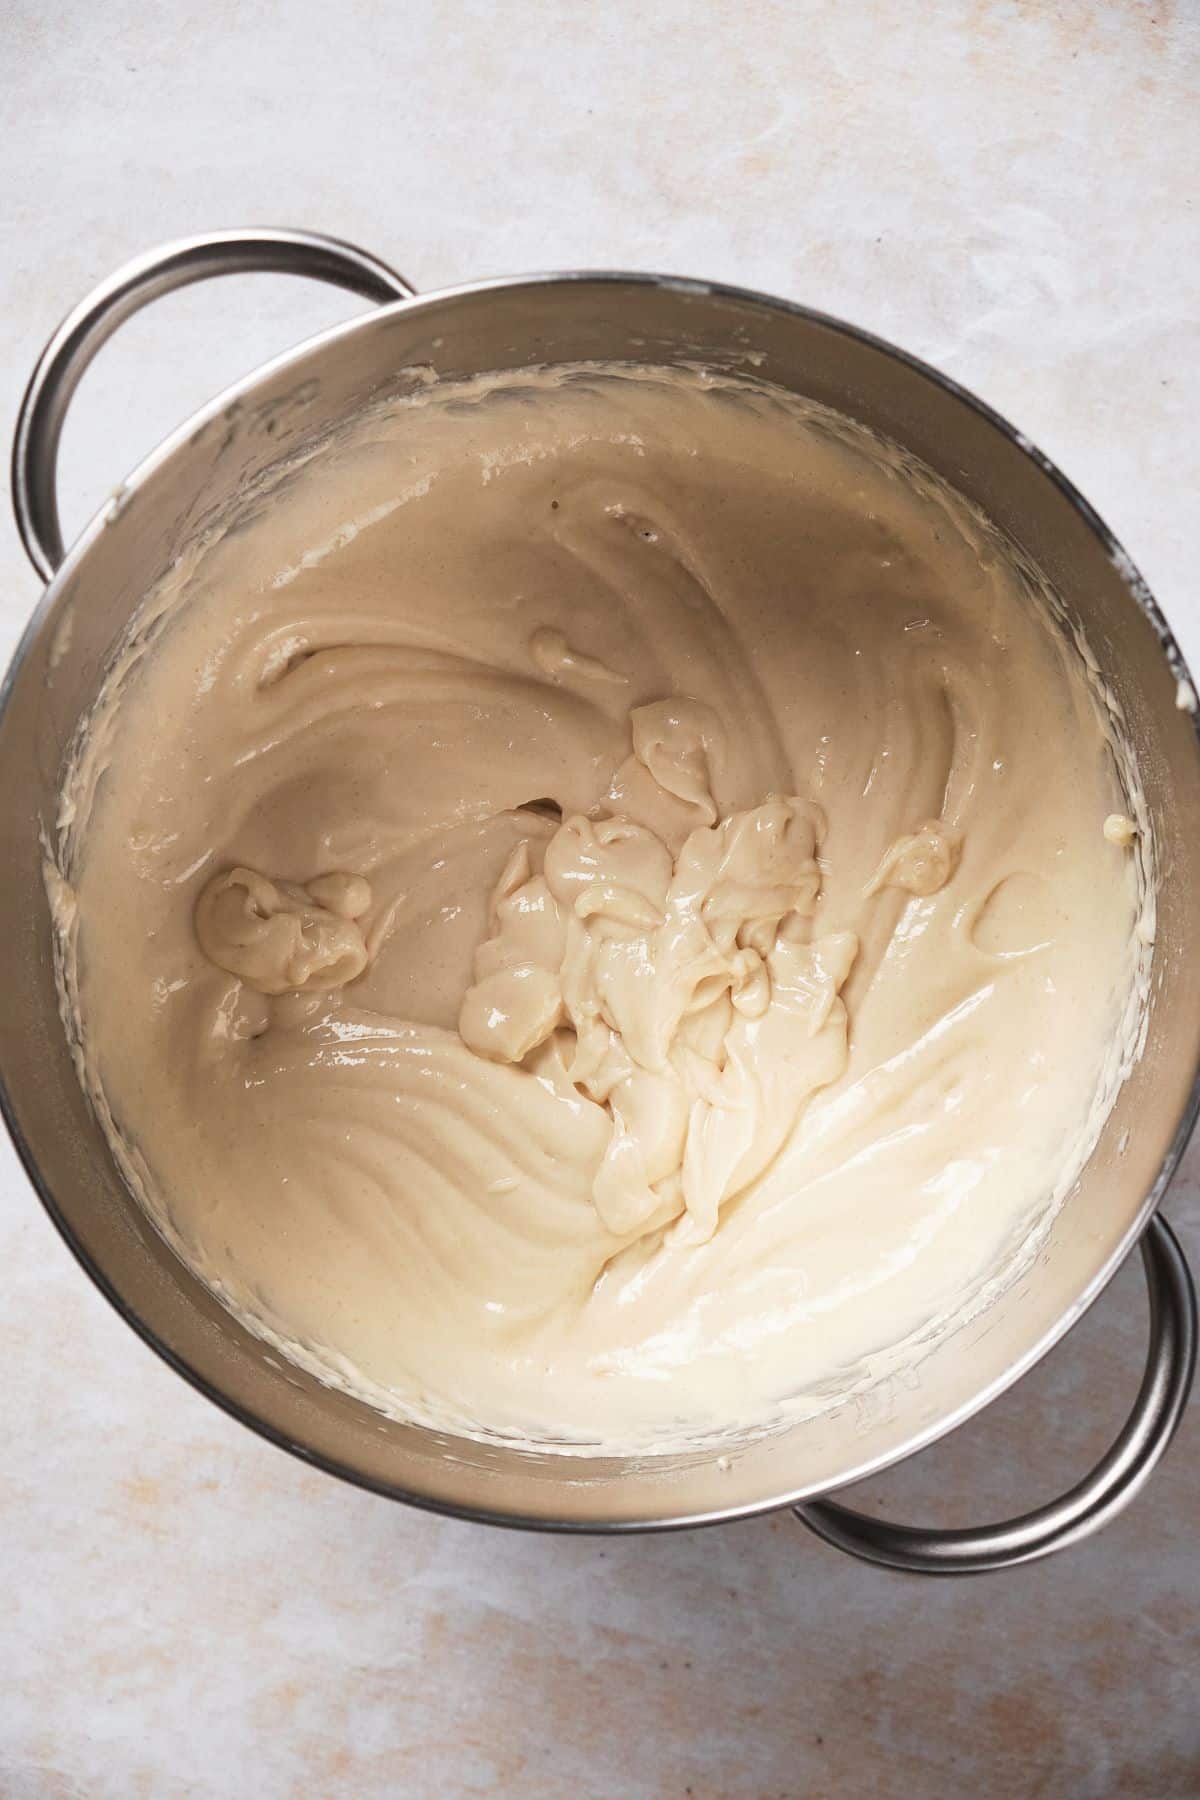
Carefully mix in the beaten eggs until fully incorporated.
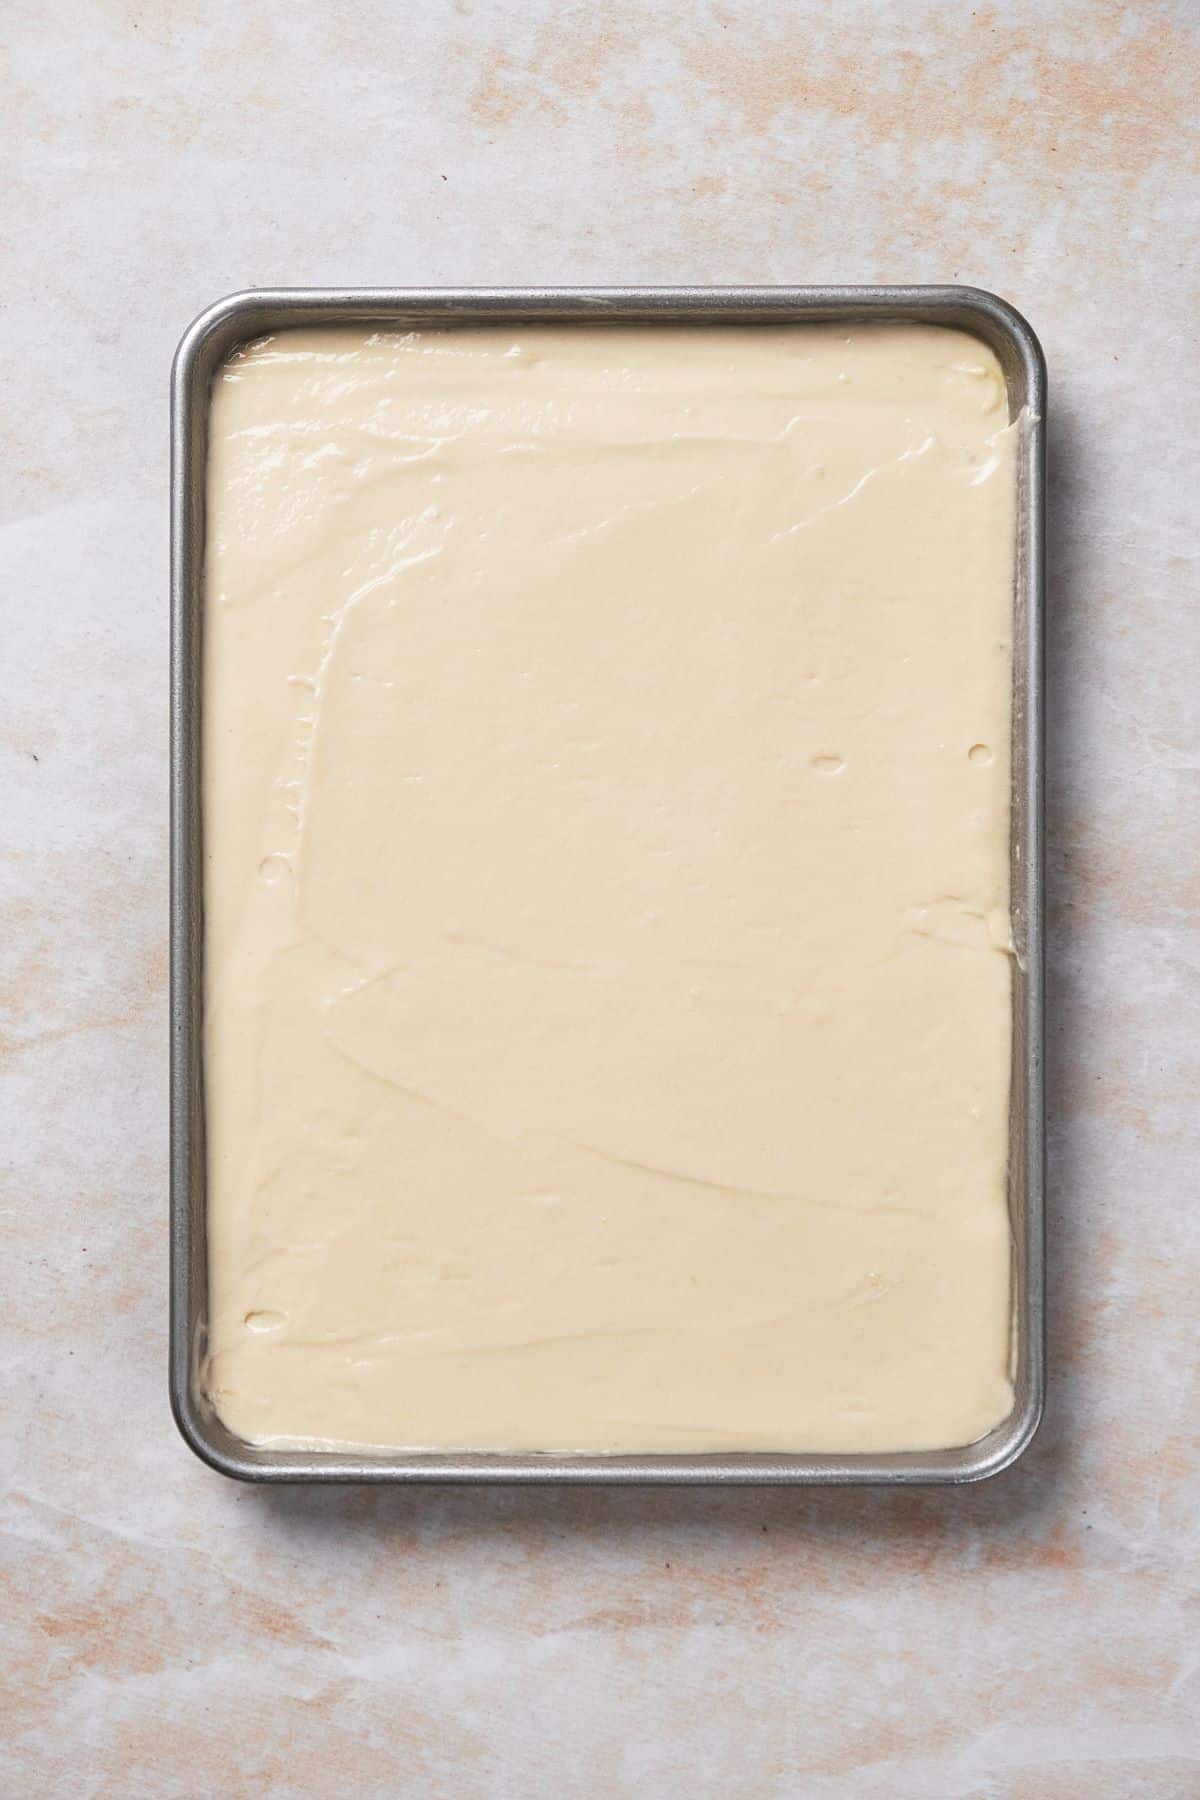
Pour batter into the prepared pans and bake.
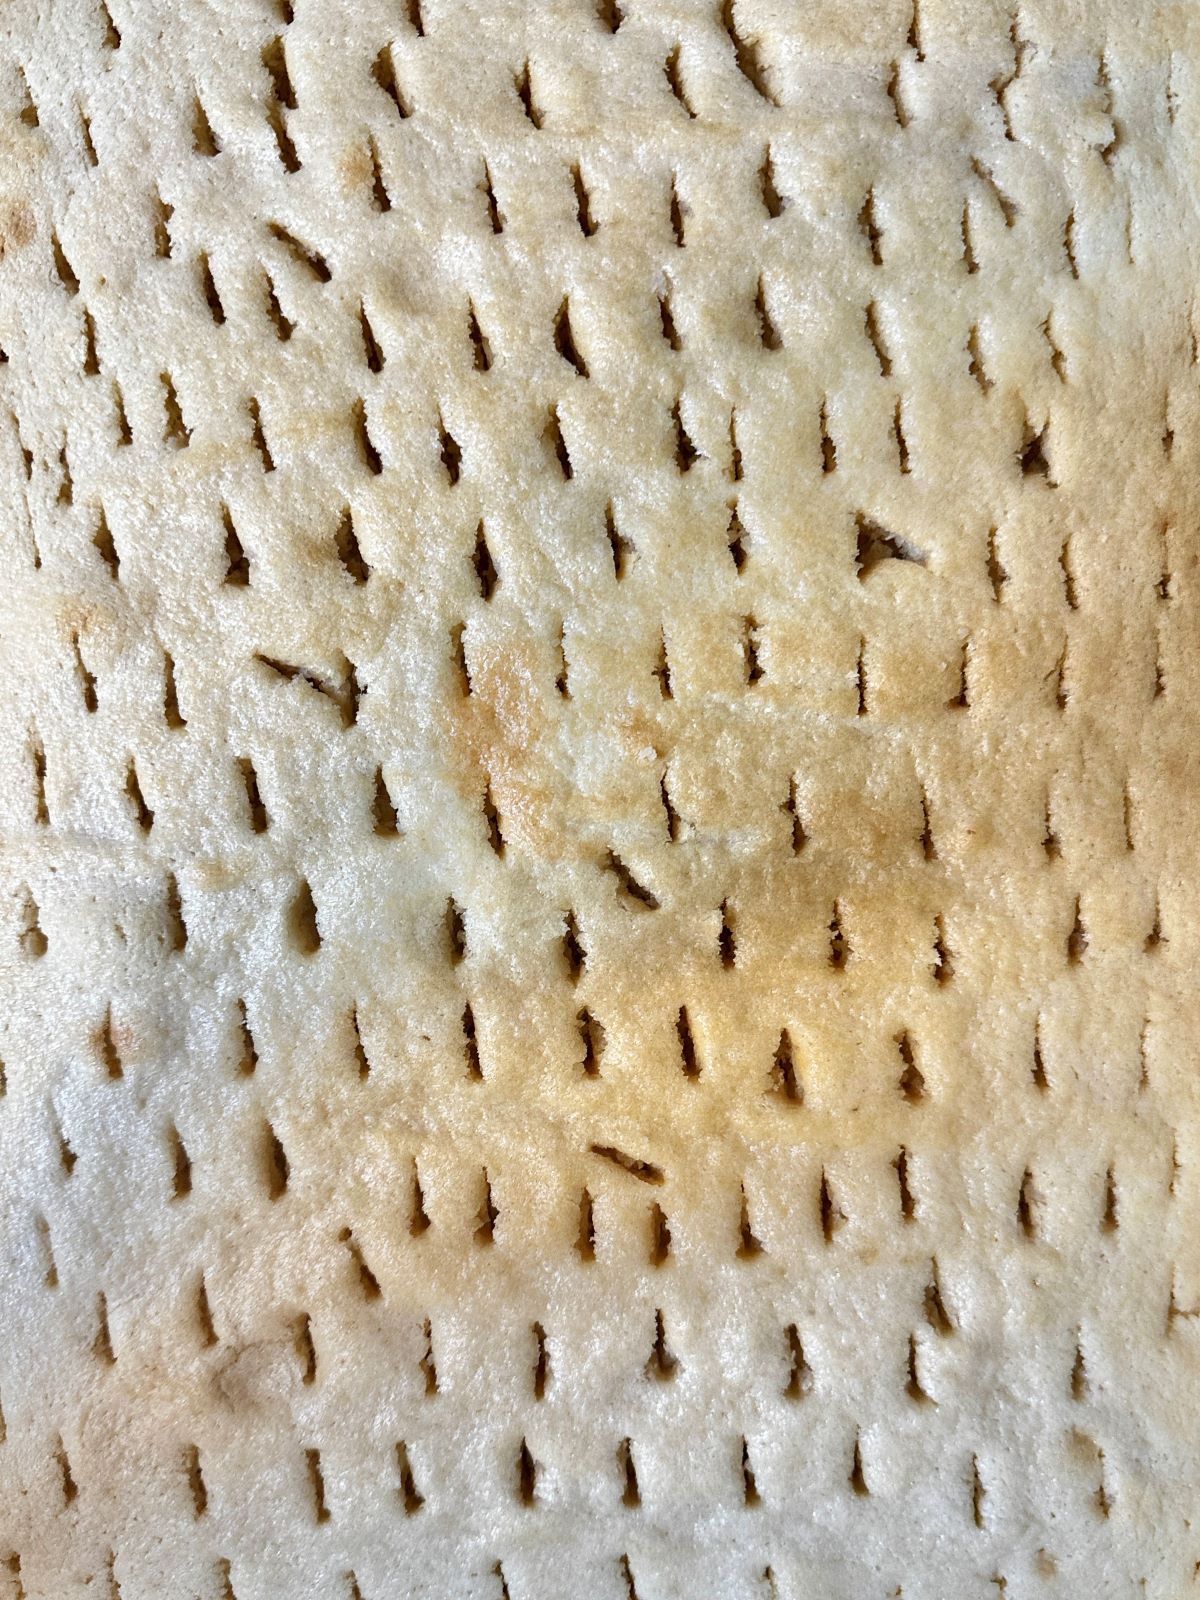
While still warm, poke the cake with a paring knife and pour over the cream of coconut mixture so it melts into the cake. Cool the cake completely before wrapping it with plastic wrap and refrigerating or freezing overnight.
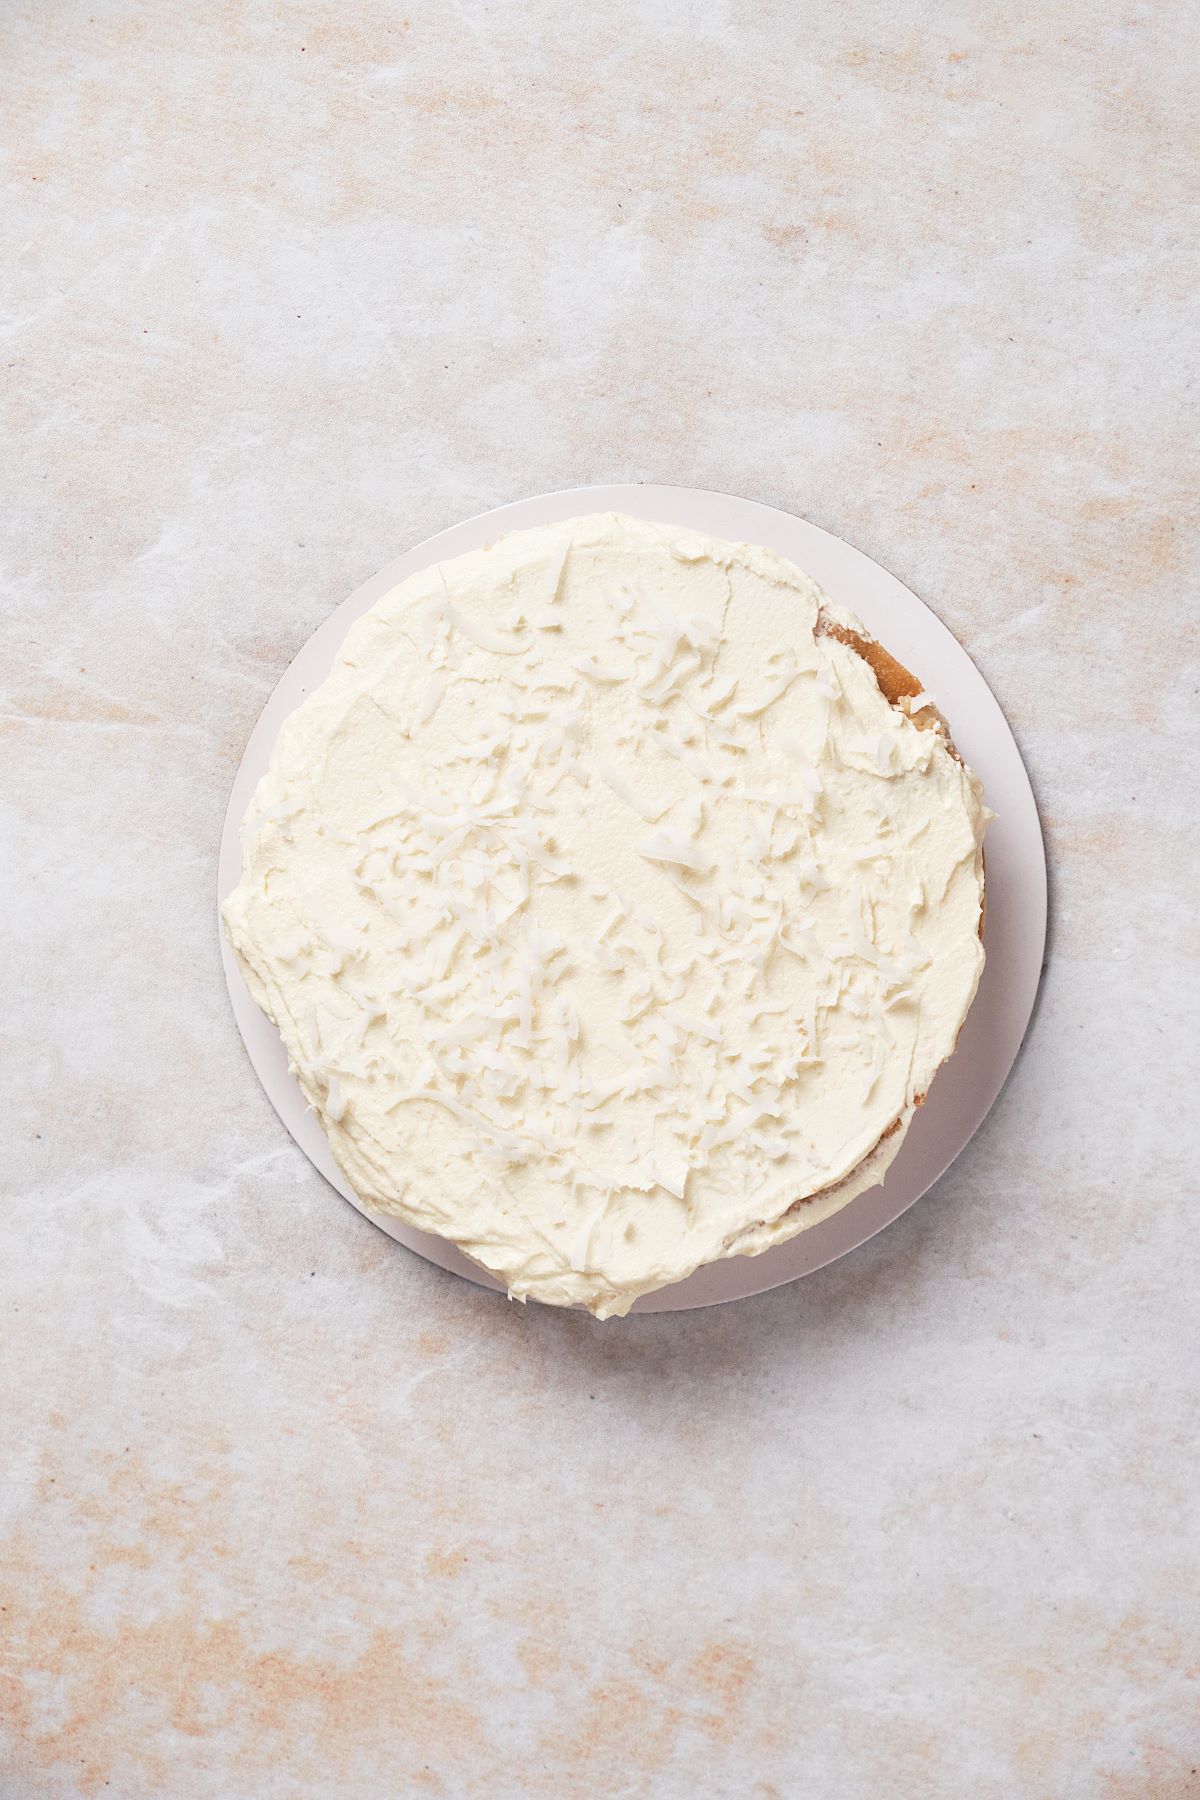
The next day, cut the layers following the Cut and Stack Method (instructions through this link!). Place frosting and shredded coconut on top of the first layer, then add the top layer.
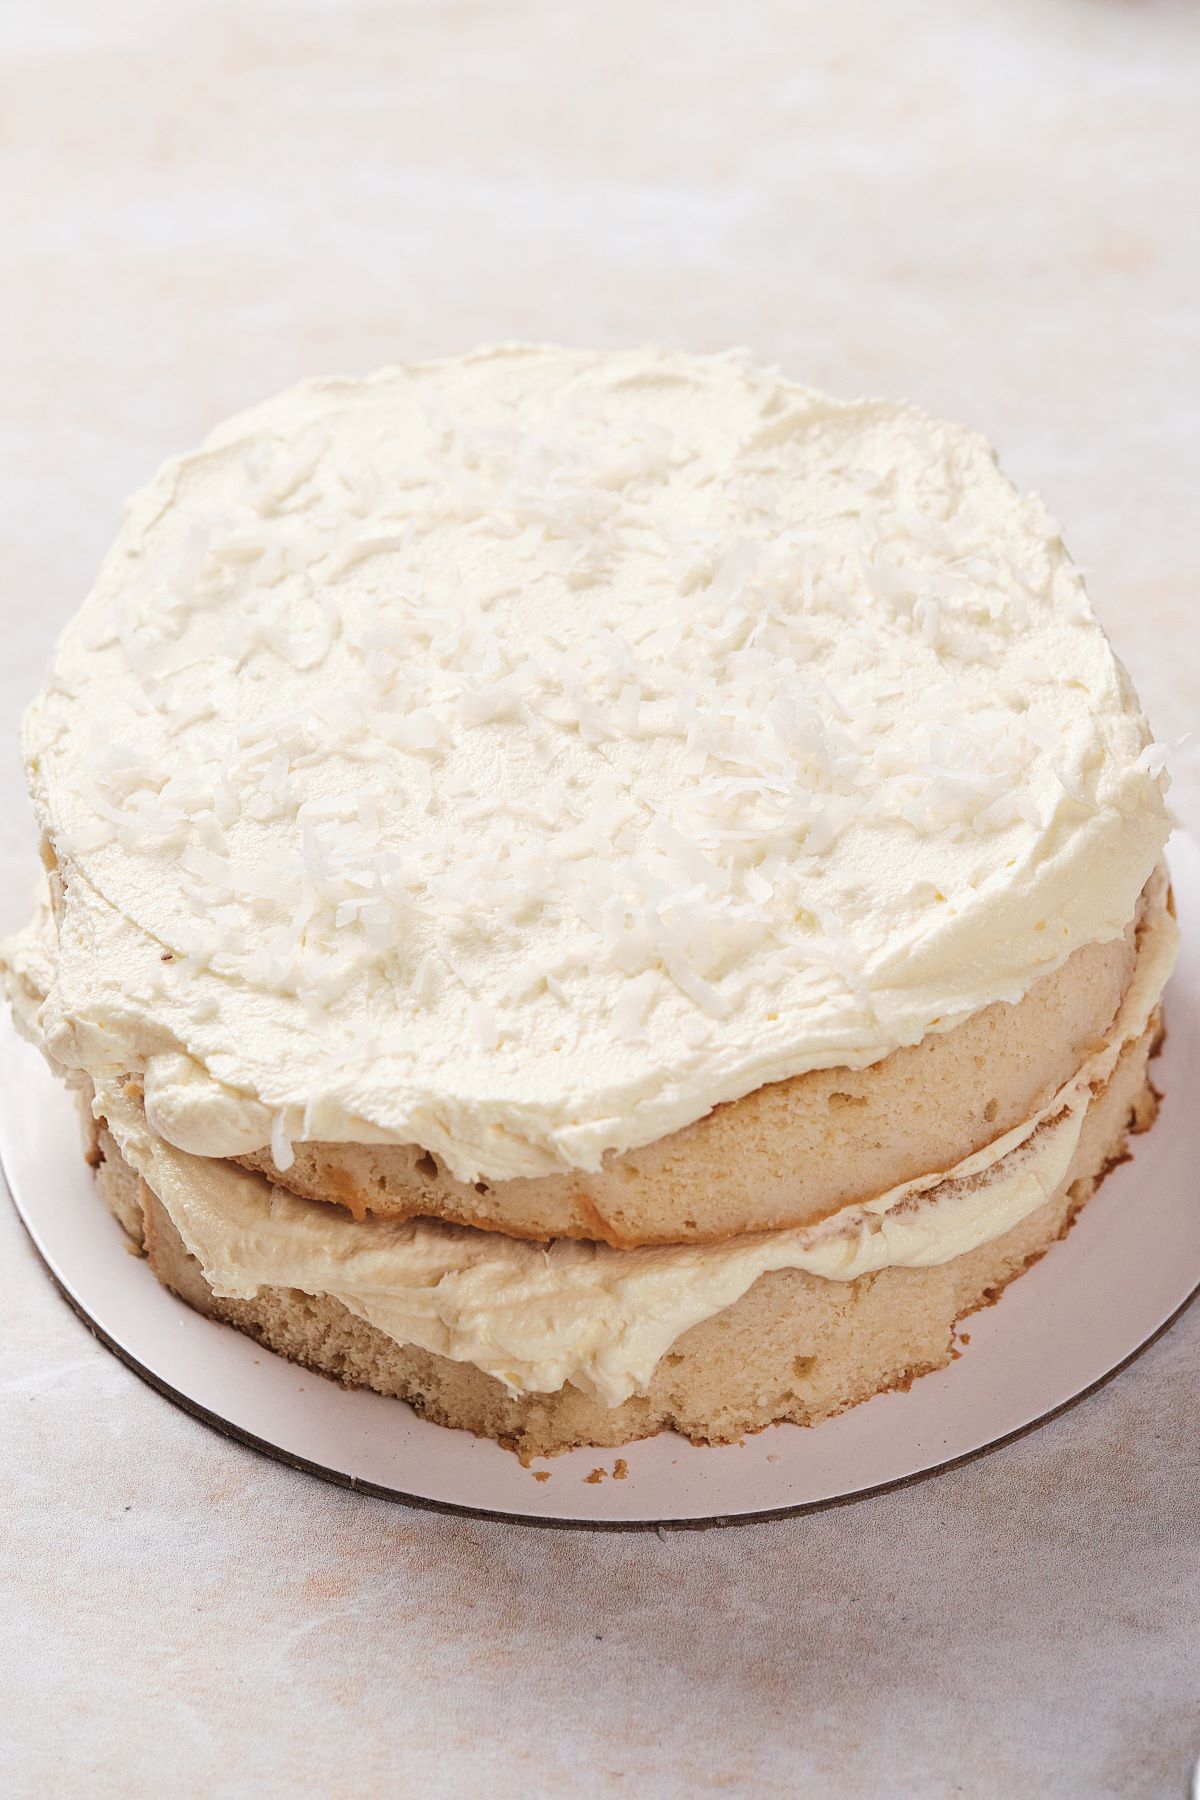
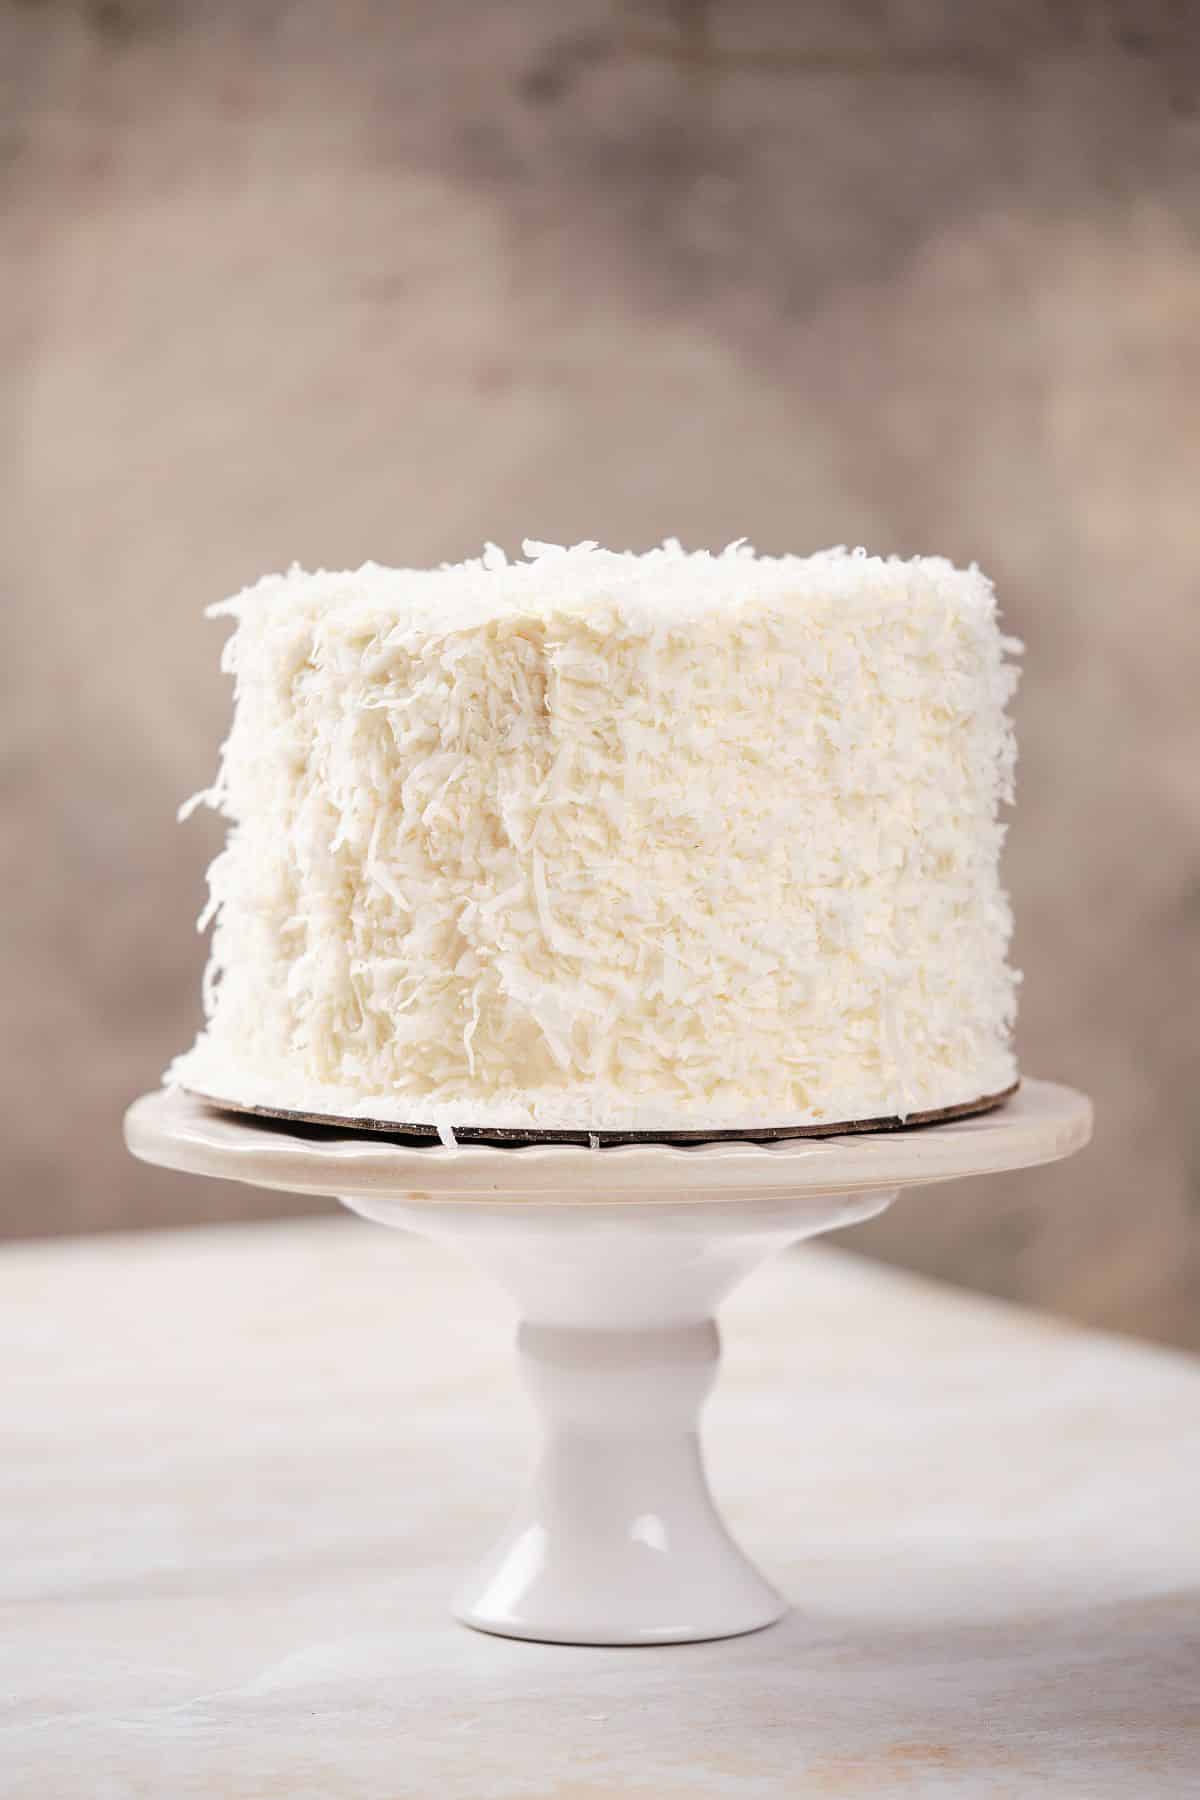
Then, crumb coat the cake, chill, and finish frosting. Add coconut flakes on the sides of the cake and serve!
Tip: To make the best coconut cake, use the reverse creaming method. This makes getting a light, fluffy cake much easier, and it has less room for error. In traditional creaming, there are air pockets in the sugar and butter mixture, which can deflate once you add the flour. This can cause the cake to develop too much gluten, which affects the texture of the cake.
🎥 Recipe Video
Watch the coconut cream poke cake come together in the quick video below!
🎥 I hope you enjoy the video above (you may have to hit "play" twice on mobile devices). You can also view all my bakery recipe videos and tips on the following channels:
Variations
A 1x batch of this recipe can make the following options:
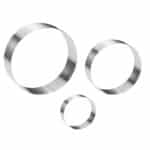
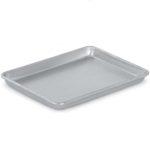
- A 6" 3-layer cake cut from a ¼ sheet pan of cake with cake rings (as described within the recipe card)
- A 4-layer 6" round cake (using four 6" round cake pans)
- A short 2-layer 8" round cake (using two 8" round pans)
- A shorter (Texas-style) small sheet cake (using a ¼ sheet pan)
Pair it with Fudgy Ganache Filing and Chocolate buttercream for a chocolate coconut cake.
It's delicious with stabilized whipped cream as seen in these Coconut Cupcakes. Whipped cream is best in a sheet cake version rather than a layer cake (the cake layers are heavier than the whipped cream, so the layers need more stability from a buttercream that can firm up in the fridge).
Feel free to frost this easy coconut cake recipe with our homemade cream cheese frosting for a creamy, tangy flavor.
Storage
Leftovers can be left at room temperature for up to 24 hours. After that, they should be wrapped in plastic wrap and stored in the fridge. You can also wrap individual slices and store them in an airtight container in the freezer for later.
FAQs
This is one of those skills that seems easy but can actually be tricky in practice! The best tip is to pour your toasted coconut or coconut flakes into a dish, then use your dominant hand to scoop a lot of the flakes into your hand. Gently press your hand onto the outside of the cake until the flakes stick.
It's best to do this right after frosting so the frosting doesn't have time to firm up. Continue this process around the whole cake and fill in any gaps.
There are so many reasons why you might end up with a dry cake! One common reason is that you're not properly measuring your ingredients. For example, if you don't scoop and level your flour, you will add too much, which can cause a dry cake. Another reason is that you're overbaking your cake. When it's done, a cake tester should come out clean, and the cake should be slightly springy to the touch.
For a tender, moist coconut cake every time, you want to use a high-fat dairy product like sour cream in the batter. It can also be beneficial to use the reverse creaming method, which will help give your cakes a light texture without overworking the batter!
If you've ever tried baking coconut cake before, you probably know it can be a challenging flavor to capture! The flavor can be quite subtle unless you use a lot of it. The trick is to use ingredients with a concentrated or rich coconut flavor, like pure coconut extract and the sweetened cream of coconut mixture you use for cocktails.
Coconut extract will add a notable coconut flavor to the cake batter, and the sweet cream of coconut mixture will give it a strong coconut flavor and a moist texture.
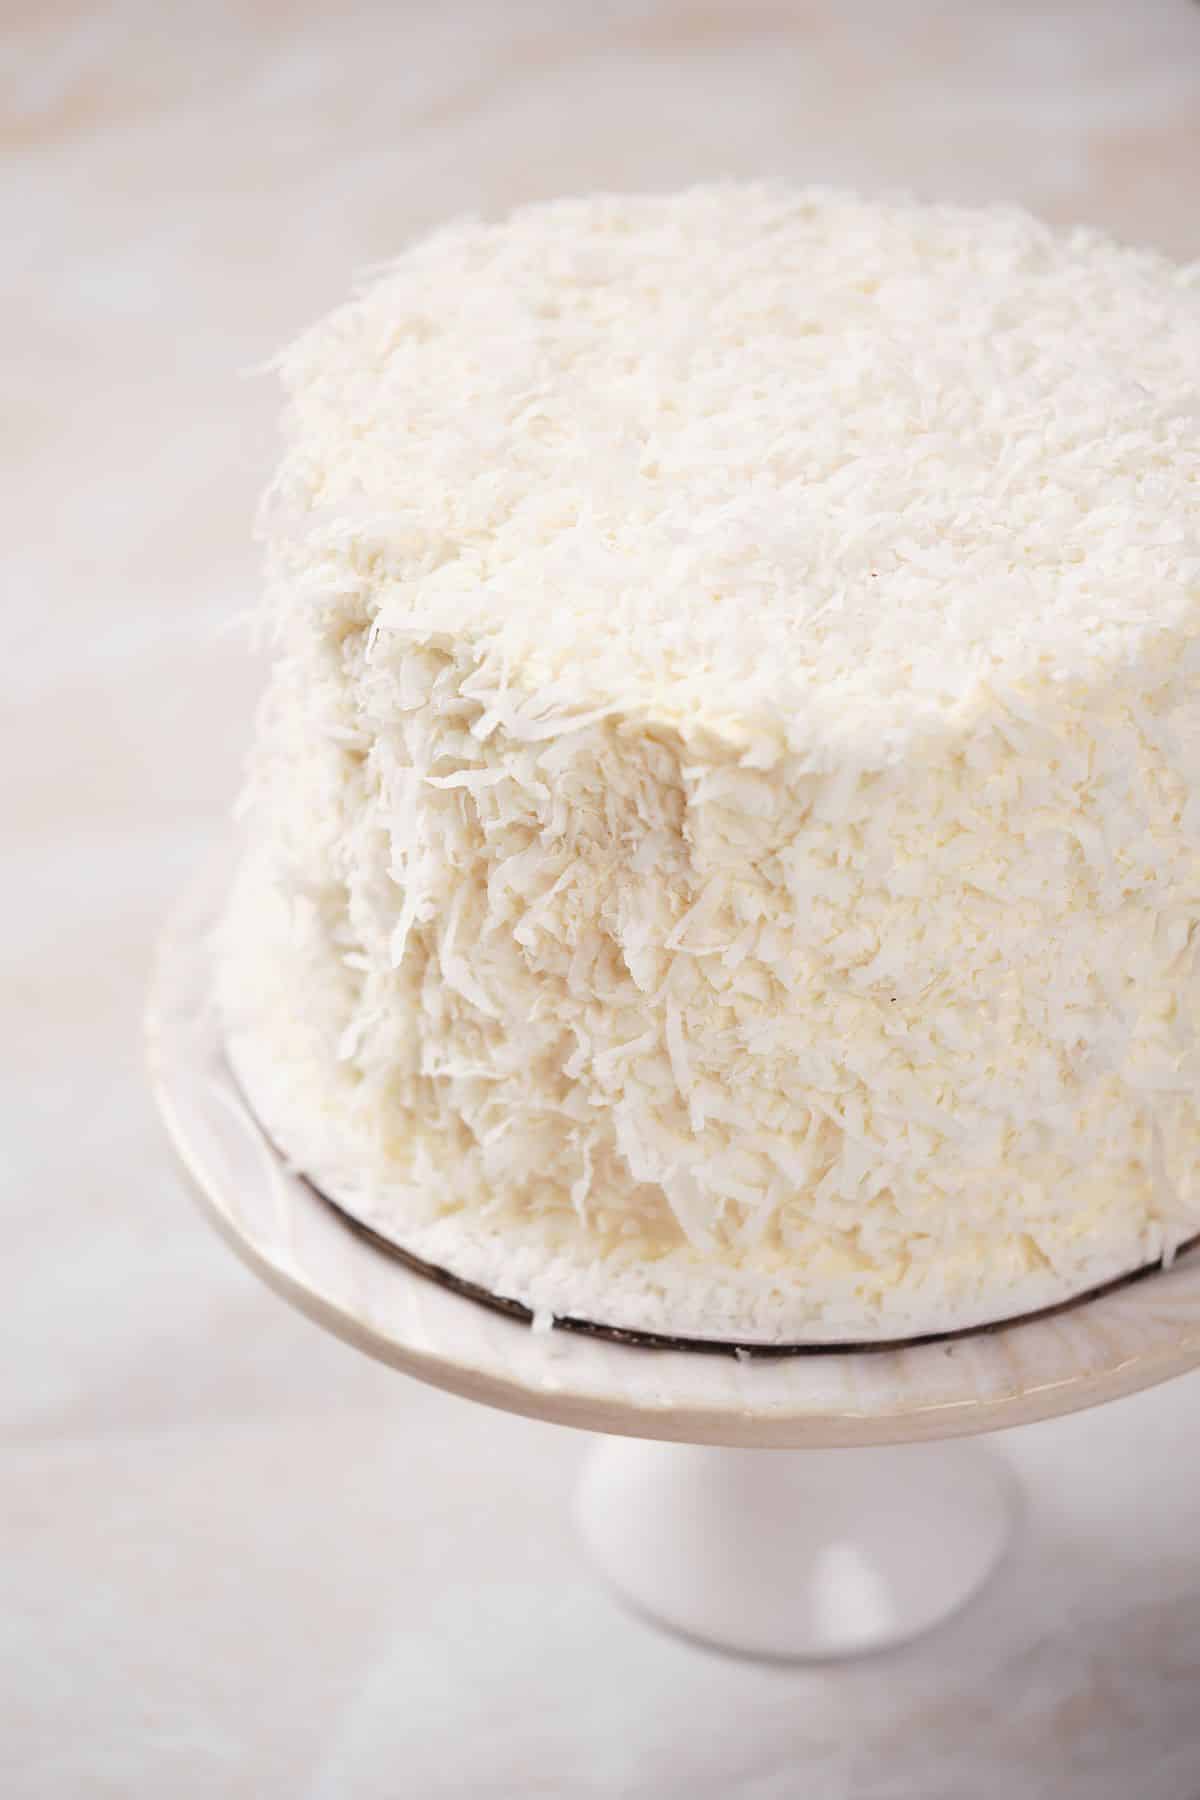
Isn't this cake absolutely gorgeous? It's a fantastic birthday coconut cake that would pair well with your favorite fresh fruits, like fresh strawberries or pineapple for a pina colada cake.
It's a hit with all ages, too, making it a great recipe for any special occasion. If you need more foolproof cakes, try these bakery cakes! They're all my famous bakery recipes sized down for home bakers.
If you get a chance to make this cake for a coconut lover in your life, be sure to tag @amycakesbakes on Instagram! I'd love to see your cakes and cheer you along. Happy Baking!
Thanks for Reading. ❤️

📖 Recipe
Extra Moist Sour Cream Coconut Cream Cake
👩🍳 For the most accurate baking results, use the grams measurements with a kitchen scale. Watch the quick recipe video
Equipment
Ingredients
Dry Ingredients
- 233 grams (1 ¾ cups) All-Purpose Flour ((I use Gold Medal))
- 2 Tablespoon Instant Clearjel (*Please make sure it is labeled as INSTANT)
- 1 ½ teaspoons Baking Powder
- 1 teaspoon Baking Soda
- ¾ teaspoon Salt
- 200 grams (1 cup) Sugar
Butter
- ¾ stick (3 ounces) Salted Butter (soft to the touch)
Wet Ingredients
- ¾ cup Sour Cream
- ¼ cup Water
- 1 ½ teaspoons Vanilla Extract
- ¾ teaspoons Almond Extract
- 2 ½ teaspoons Pure Coconut Extract
- ¼ C + 2 Tablespoons Vegetable Oil
Eggs
- 1 large Egg
- 2 Egg Whites
Additional Ingredients
- 200 grams (⅔ cup) Cream of Coconut (Shaken or stirred till smooth. Not to be confused with coconut cream. Cream of Coconut is sweetened and often found in the beverage mixer aisle. See Note #1.)
- 1 x batch prepared Vanilla Bakery Buttercream Frosting
- 1 cup coconut flakes
Instructions
Make the Coconut Cake
- Preheat Oven to 325 degrees. Line ¼ Sheet pan with parchment paper, and then lightly spray the bottom (on top of the parchment) and sides of the sheet pan with cooking spray.
- Combine and whisk Wet Ingredients in a medium bowl or pitcher until smooth and blended. Whisk the Eggs together in a separate small bowl and set aside.
- Sift and whisk together the Dry Ingredients, then add them with the soft-to-the-touch salted butter to a stand-mixer bowl. (Or use a large mixing bowl and handheld mixer).
- With a stand mixer (preferred) or handheld mixer on low speed, blend the dry ingredients and softened butter until it has a sand-like texture, scraping the sides of the bowl as needed. Make sure there are no large lumps of butter--it should look like uniform sand.
- On low speed, slowly pour in the Wet ingredients until it is well combined. Scrape sides of the bowl as needed. Turn the mixer up to medium, and beat until the batter is smooth.
- While the mixer is on low, slowly add the beaten eggs into the batter. Scripe down the sides of the bowl, increase the speed to medium-high or high, and beat the cake batter for another 30 seconds to one minute.
- Spread the prepared batter evenly into the prepared pan and make sure the batter is evenly distributed. An offset spatula works well for this.
Bake the Coconut Cake
- Bake on the middle or top rack (avoid bottom rack) of the preheated 325-degree oven for 25 minutes, or until the cake springs back to the touch or passes the toothpick test. Oven times will vary, so keep an eye on the cake starting after 20 minutes, and don't worry if your cake takes longer in the oven than listed above. Just continue to bake until it passes the toothpick test and springs back when you touch it lightly with your finger. Double batches typically take a few minutes longer than 1x batches.
- While the cake is still warm, poke it repeatedly all over the cake with a small paring knife, around ½ inch apart, then drizzle evenly with the stirred cream of coconut on top of the cake. Allow the cream of coconut to sink into the cake holes, and spread any on top of the cake evenly over the cake to the edges.
- The delicate cake will be easiest to layer from cold or frozen--allow the cake to cool, then wrap the cake in the pan thoroughly in plastic wrap. Freeze the cake in the pan for at least 2 hours or up to 2 weeks ahead of time.
Layer, Decorate, and Serve
- The easiest way to layer the cake is to layer the cake from frozen the day before you plan to serve it. If serving the cake the same day you are layering it, use refrigerated cake layers instead of frozen (but it will be more difficult to layer). Cut the cake layers with cake rings as described in How to Bake and Layer Cakes Like a Pro.
- Fill each cake layer with prepared Creamy Vanilla Bakery Buttercream. An offset icing spatula (I use the small and medium-size on all my cakes) helps with this. If you'd like extra coconut flavor, you can sprinkle coconut in between the layers on top of each layer of frosting.
- I recommend frosting a thin crumb coat of buttercream on the outside of the cake which will catch all the crumby edges, then allow it to set up in the freezer for about 10 minutes until the buttercream is firm. The remaining cake scraps can be used for cake truffles if desired. Decorate the outside with shredded coconut flakes.
- Allow the completed cake to set up in the fridge, but remove it from the fridge 1-3 hours before serving so it can come back to room temperature. This cake has the best texture at room temperature. Enjoy!
Notes
- I use Coco Real Cream of Coconut which comes in a squeeze bottle. Whichever brand you use, just make sure it is labeled as "cream of coconut" and not "coconut cream." Cream of coconut is often found in the beverage mixer aisle. Stir or shake your cream of coconut before using it.

