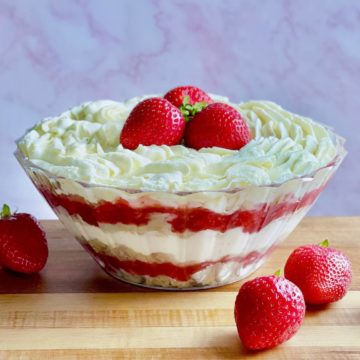
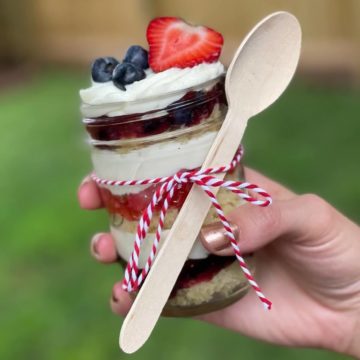
This easy cake cups recipe is an absolute must-try for any home baker! They're a fantastic make-ahead option for birthday parties and outdoor events in particular and are endlessly customizable. Plus, you can make them with your extra cake scraps and frosting to avoid any waste!
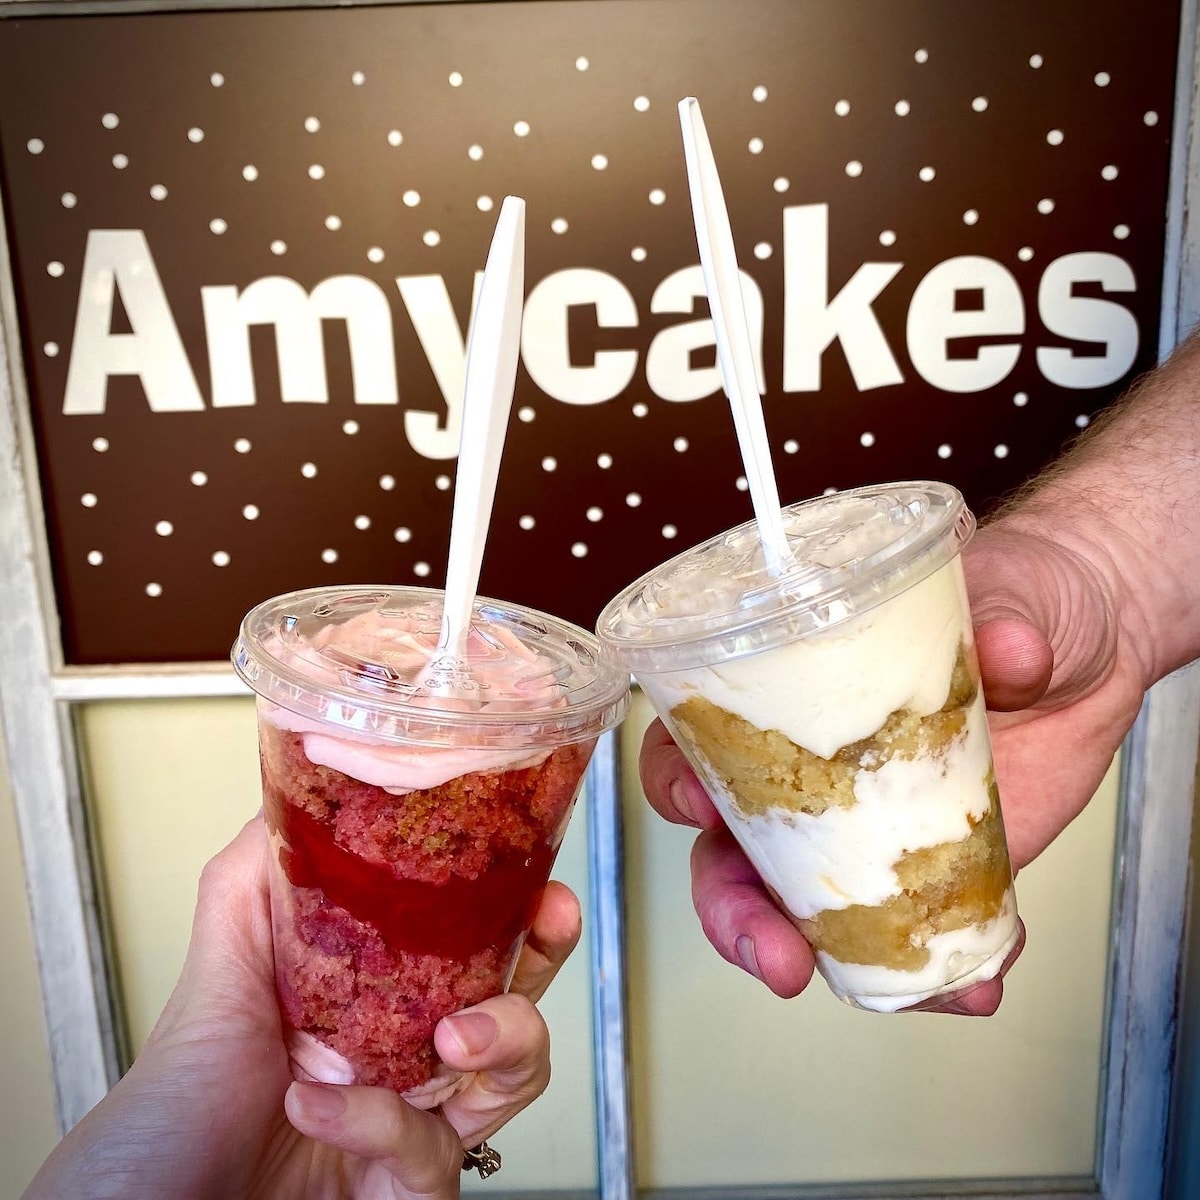
These cake cups were one of my favorite ways to sell off extra cake at the bakery and offer a grab-and-go option at the same time! They can be made with leftover cake scraps from using the Cut and Stack method, or you can get about six full-sized cake cups from a single batch of any of my recipes.
Never Miss a Recipe!
I'm sharing my tried-and-true Amycakes Bakery recipes! Sign up to be the first to know about my favorite recipes, baking tips, and bakery secrets!
Since you can see all of the layers at once, they're also really beautiful! These Red White and Blueberry Cake Parfaits are perfect for summer barbecues and the 4th of July, but there are so many options!
Jump to:
Equipment Checklist
You can keep this project really simple and use jars and cups you already have on hand or use the specific products I used in my bakery. The most important thing is that your guests can see through the container and that they're easy to carry and serve!
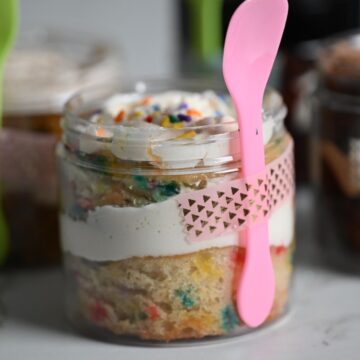
8 to 9-ounce clear plastic cups make the best size for individual servings, about the size of a generous slice of cake. A standard plastic spoon fits in the straw hole.
Mini cake sampler cups and lids (no holes in the lids for spoons)
These are great for smaller servings and samples. If you’d like the lids with the straw hole for a mini sampler spoon, you can the 4 oz cups and lids separately in bulk on Webstaurant Store.
They fit perfectly in mini sampler cups with straw lids and make the cups even easier to pass out.
My favorite tip for an easy, pretty icing look around the edges of the cake cups. I use this tip in an 18-inch disposable pastry bag that fits a bit more frosting.
Why You'll Love This Cake Cups Recipe
- Perfect for outdoor gatherings - Since these cake cups are served in disposable plastic dixie cups, they're great for picnics, outdoor events, and kids' birthday parties!
- Serve a crowd quickly - Instead of slicing each cake to order, pass out single servings of cake in just a few minutes. They're really wonderful for large events!
- Endlessly customizable - There are literally no limits here. You can use any type of cake, frosting, filling, sprinkles, etc!
Ingredients
The best part about this recipe is that you can pick from any of my cake flavors, fillings, and frostings! Just make sure the cake is fully cooled before assembling so you don't have any melted frosting. There are step-by-step instructions in the recipe card below to guide you through this easy recipe!
Cake Options
This method works with any of my bakery-style cake recipes. I always recommend using homemade cake for the best flavor and texture, but this method will even work with boxed cake mix!
Frosting
Use any of my fillings and frostings. You can easily follow the flavor suggestions from each of the recipes or mix and match. Keep it simple with just one cake and frosting, or add a compote, curd, or filling for another layer of flavor and texture. It's fun to mix and match, too!
Toppings
These are entirely optional, but they can really take your sweet treats to the next level. Add some sprinkles, fresh fruit, chocolate chips, or other toppings to add a final touch!
Pro Tip
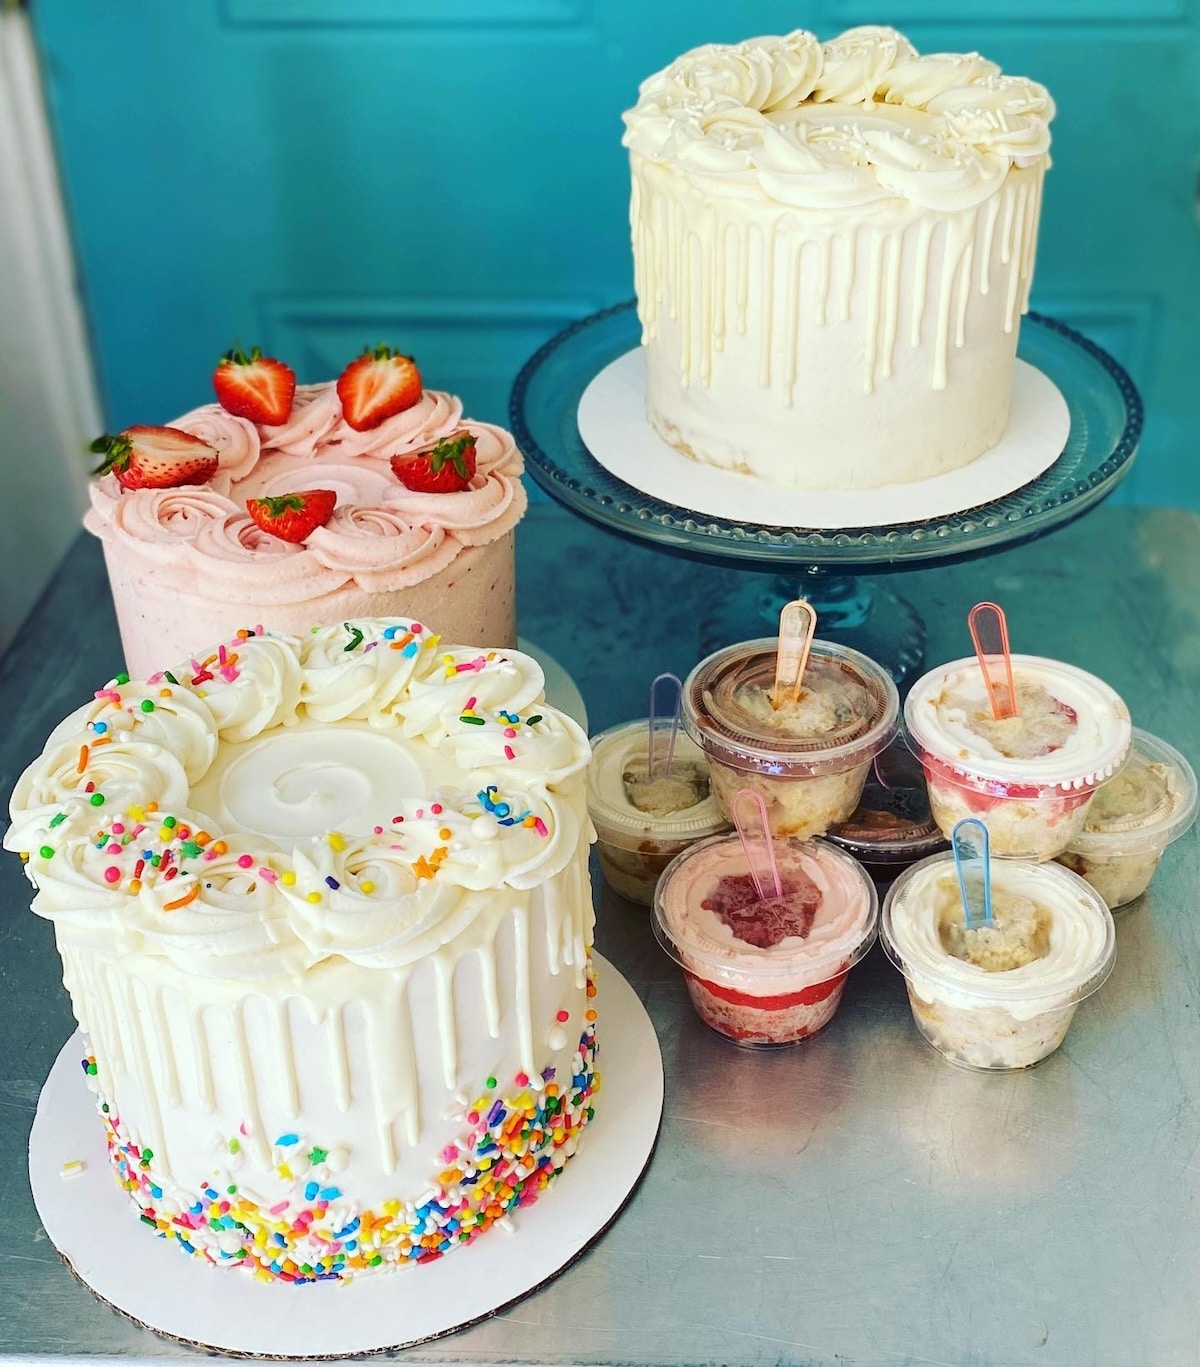
Cake Truffles are a great way to use cake scraps, too!
Variations
You'll get about 6-8 8 to 9 oz cups of cake from one single batch of my cake recipes (¼ sheet pan.). You can get double that amount if you use smaller 4-ounce cups and little sampler spoons.
Vanilla Raspberry
Make a batch of vanilla bean cake, my raspberry filling, and fluffy vanilla buttercream. Serve with fresh raspberries on top!
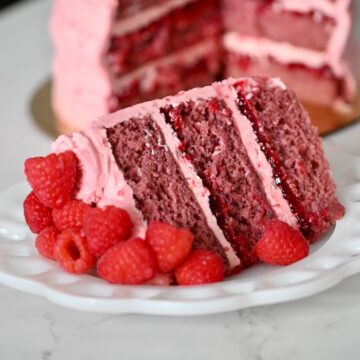
Red Velvet Cake Cups
Pair this extra moist red velvet cake with cream cheese filling. Add some crumbled graham crackers for crunch!
Strawberry Shortcake Cake Cups
You can even turn my strawberry shortcake trifle into cake cups by layering my vanilla almond cake, strawberry compote, and stabilized whipped cream. Perfect for summer!
Triple Chocolate Cake
Make a batch of my moist chocolate cake, then add homemade ganache, chocolate frosting, and mini chocolate chips for four layers of chocolate flavor!
Birthday Cake Cups
Layer this vanilla cake recipe with the strawberry frosting I use on my strawberry cake and rainbow sprinkles for a perfect, kid-friendly dessert for birthday parties.
Chocolate Peanut Butter
My chocolate cake with peanut butter is a real crowd-pleaser! Be sure to add some extra peanut butter cups on top.
Blueberry Cake Cups
Either make this blueberry cake or my favorite yellow cake, then top it off with homemade blueberry compote and blueberry frosting. Don't forget to add some fresh blueberries on top!
Dirt Cup
Make a classic kid-friendly treat by pairing some homemade chocolate cake with chocolate pudding and crushed Oreo cookies on top of the pudding. Sprinkle a few gummy worms on top for the cutest little dirt cakes!
Storage
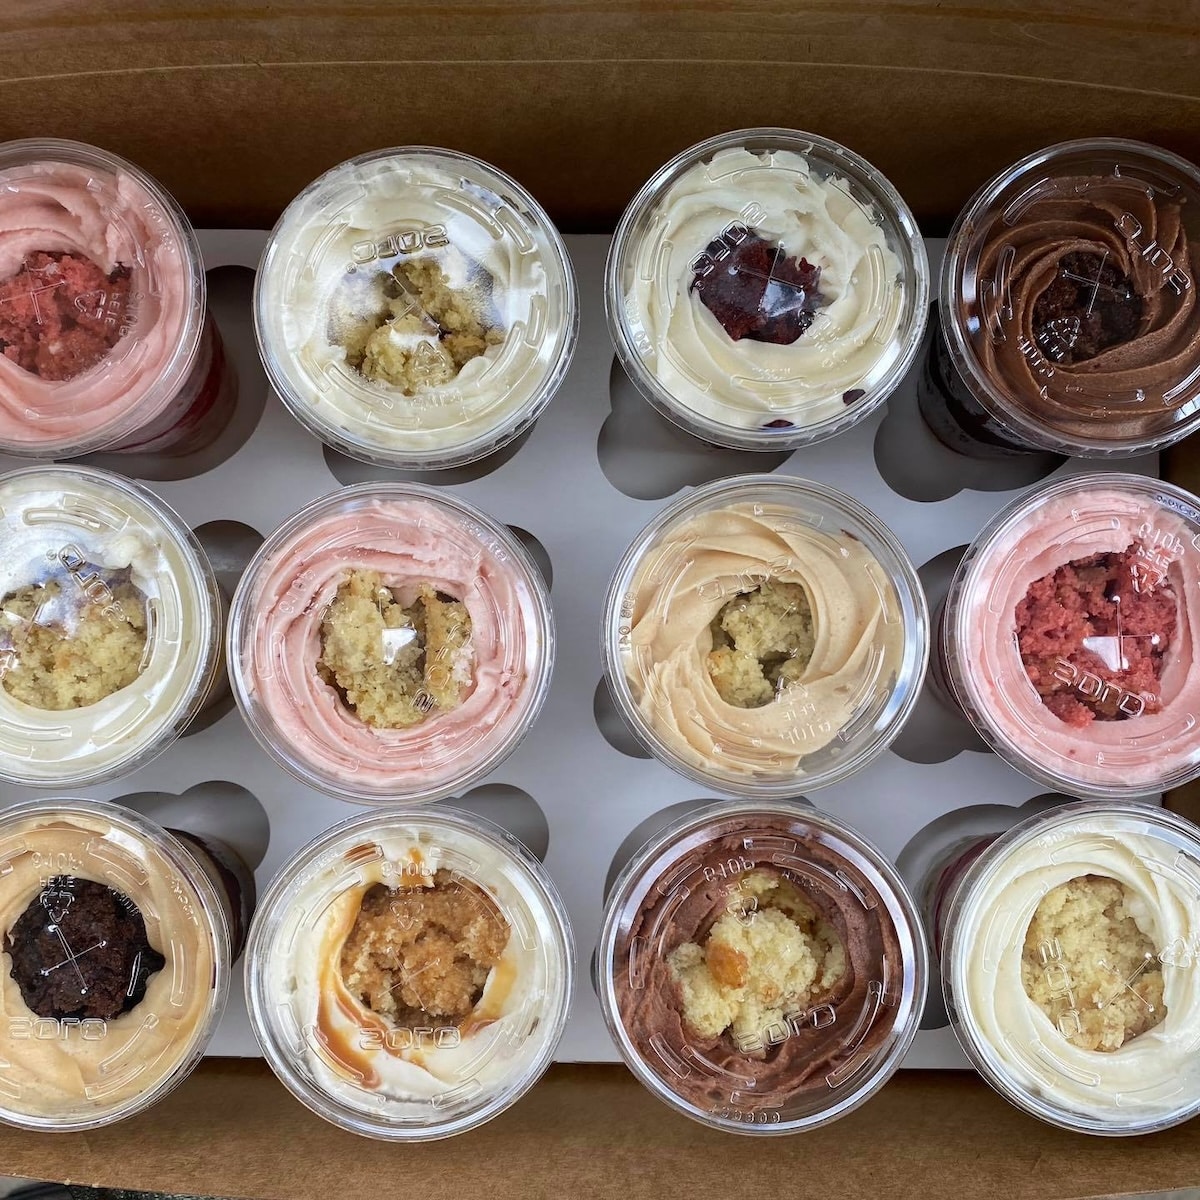
You can make these up to 3 weeks in advance! Freeze them once they are layered and lidded. Then, place the cups in a box and wrap the box tightly, making sure it is airtight. You can also use a large airtight container if you have one on hand.
Allow the cake cups to thaw in the fridge overnight, and remove them from the fridge so they can come back to room temperature before serving (about 1-3 hours).
Pro Tips to Remember
People have different preferences when it comes to the cake frosting ratio. But with these cake cups, I’ve found it’s very easy to put too much icing due to the size of the cups and the thickness of the layers.
To offset this, you can use your 1M star tip and piping bag and only pipe the buttercream on the outer rim of the cup, leaving a hole in the center where you can fill in more cake. This will leave your cake cups looking pretty from the outside but without too much frosting. For yummy fruit compotes, this step is not necessary.
As you layer the cake cups, keep an eye on the outside view of the cake cup to make sure the layers are evenly placed when touching the inside edges of the cups. That will make crisper, even layers (although they’ll be delicious either way!).
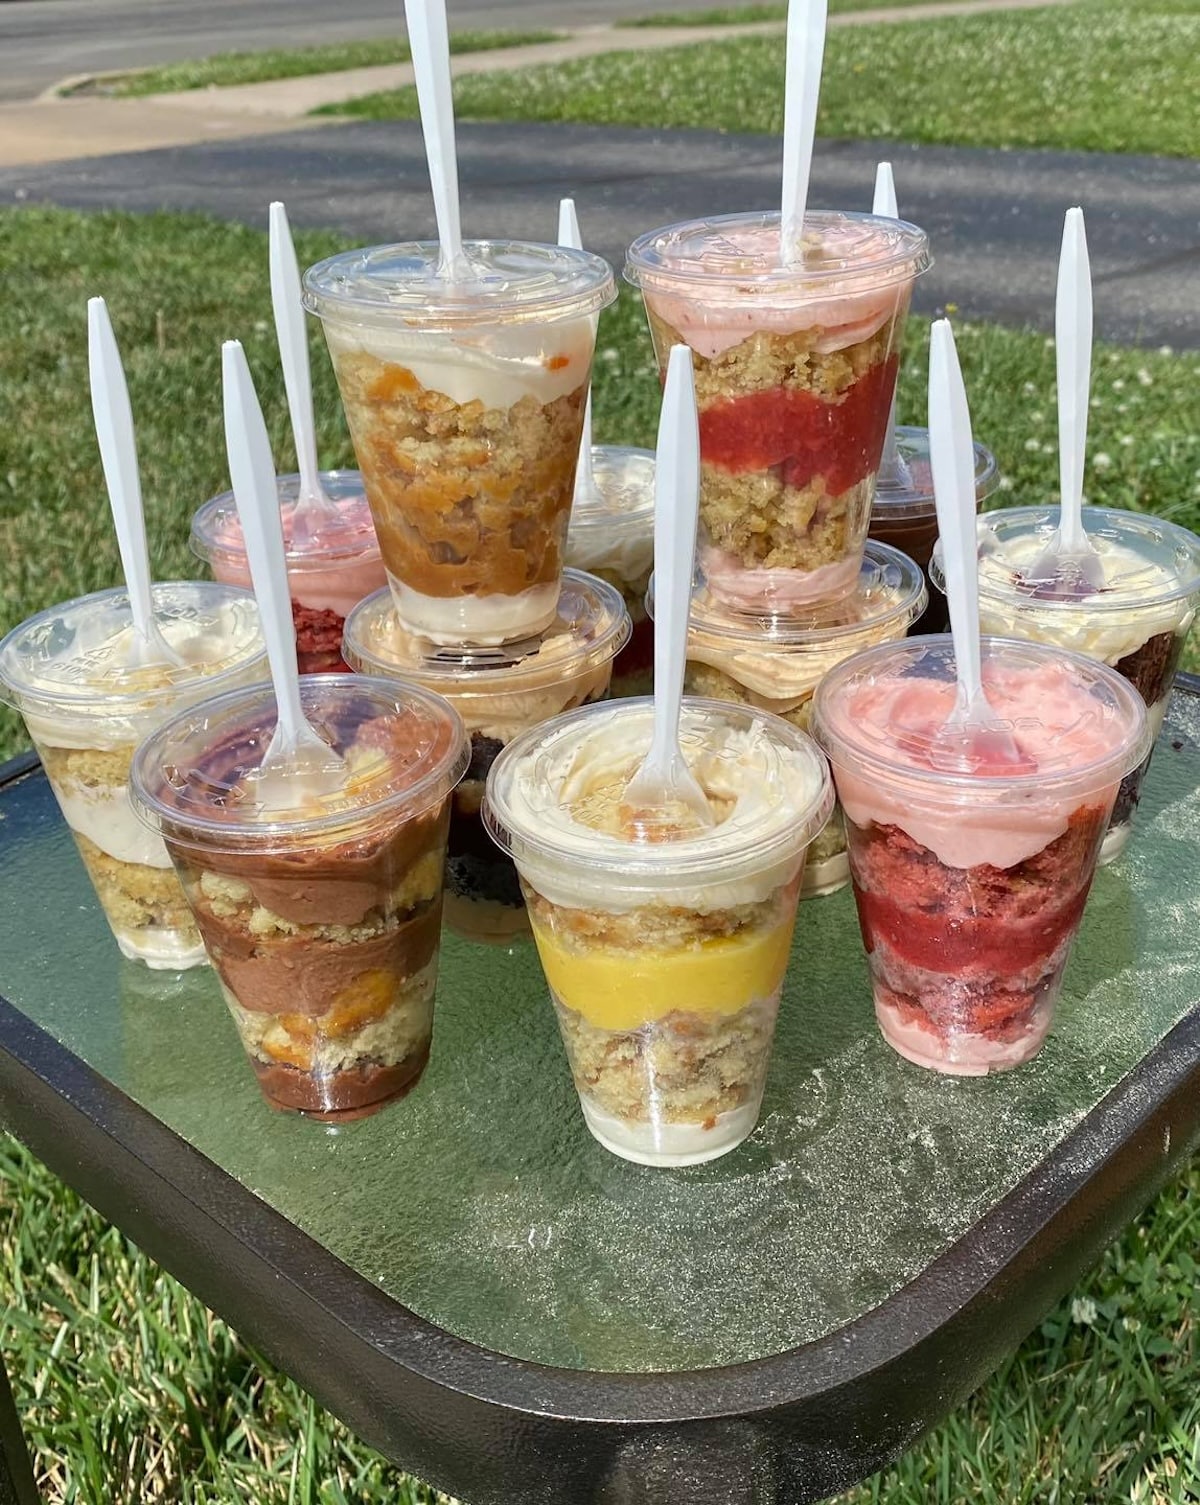
Wouldn't these cake cups be perfect for your next party or gathering? They're such a time saver and way easier than carting a cake, knife, plates, napkins, and utensils to a park or venue. For special occasions like bridal showers and anniversaries, I like to use mason jars with a little twine instead of a clear plastic cup. Such a nice touch!
If you love baking and want to learn all of my professional baking secrets, be sure to follow @amycakesbakes on social media and sign up for email updates. Happy Baking!
Related Recipes
Looking for other recipes like this? Try these:
📖 Recipe
Cake Cups Recipe
Ingredients
- around 2 ½ cups (from a 1 x batch) of crumbled Cake (choose from my bakery cake recipes)
Cake Fillings
- prepared fruit filling of your choice (optional)
Instructions
Prepare the ingredients and Crumble the Cake
- Bake the cake and prepare the fillings and frostings according to the recipe instructions.
Assemble the Cake Cups
- Layer the cake, fruit filling (if using), and buttercream in each cup. There should be enough room for 3 layers of each (cake, fruit filling, and whipped cream x 3 in each jar).
- As you fill them, keep an eye on the sides of the cups, piping or spooning against the sides as needed for the prettiest-looking layers. To avoid too much buttercream, only pipe the buttercream right against the inside of the cup's edges.
- Stick a disposable spoon into the cake cup, and close the cup by placing the end of the spoon through the straw hole in the cup's lid.
- Keep refrigerated until 1-3 hours before serving, then allow them to come back to room temperature. Enjoy!


![Comfy Package [200 Sets - 2 oz.] Plastic Disposable Portion Cups with Lids, Souffle Cups, Jello Cups Comfy Package [200 Sets - 2 oz.] Plastic Disposable Portion Cups with Lids, Souffle Cups, Jello Cups](https://m.media-amazon.com/images/I/41LSOQ4VwgL._SL500_.jpg)


