💬 Featured Comment: "I used to dream about your elvis cake when I moved away from Springfield, and when I made it at home it was just like I remembered. Thank you for sharing your recipes!"--Ben
Jump to:
⭐ About this Elvis cake recipe
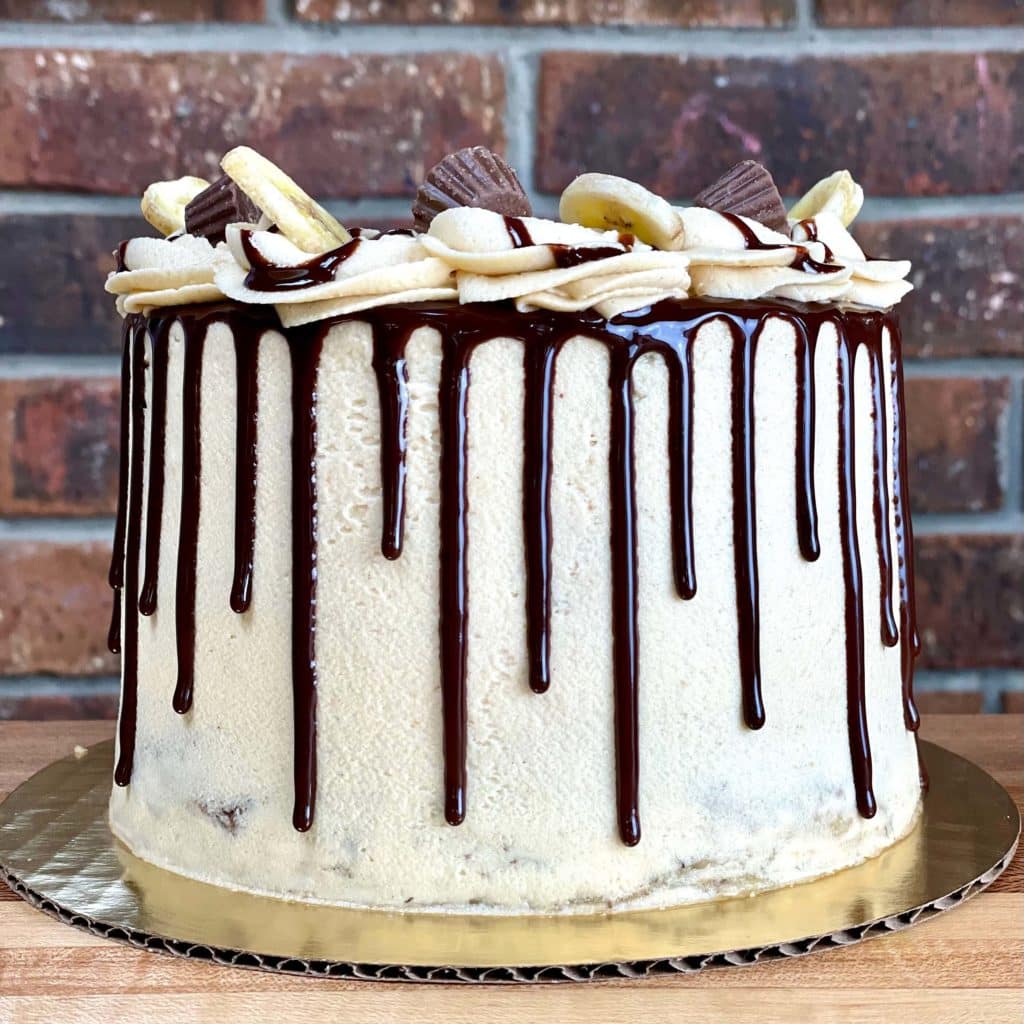
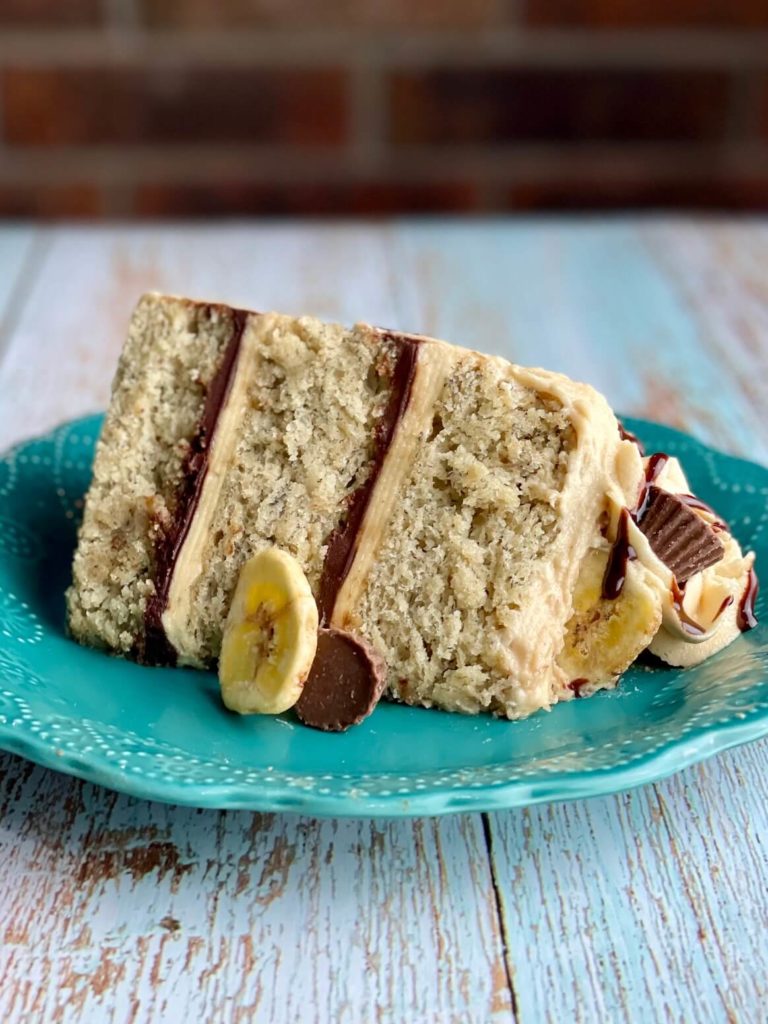
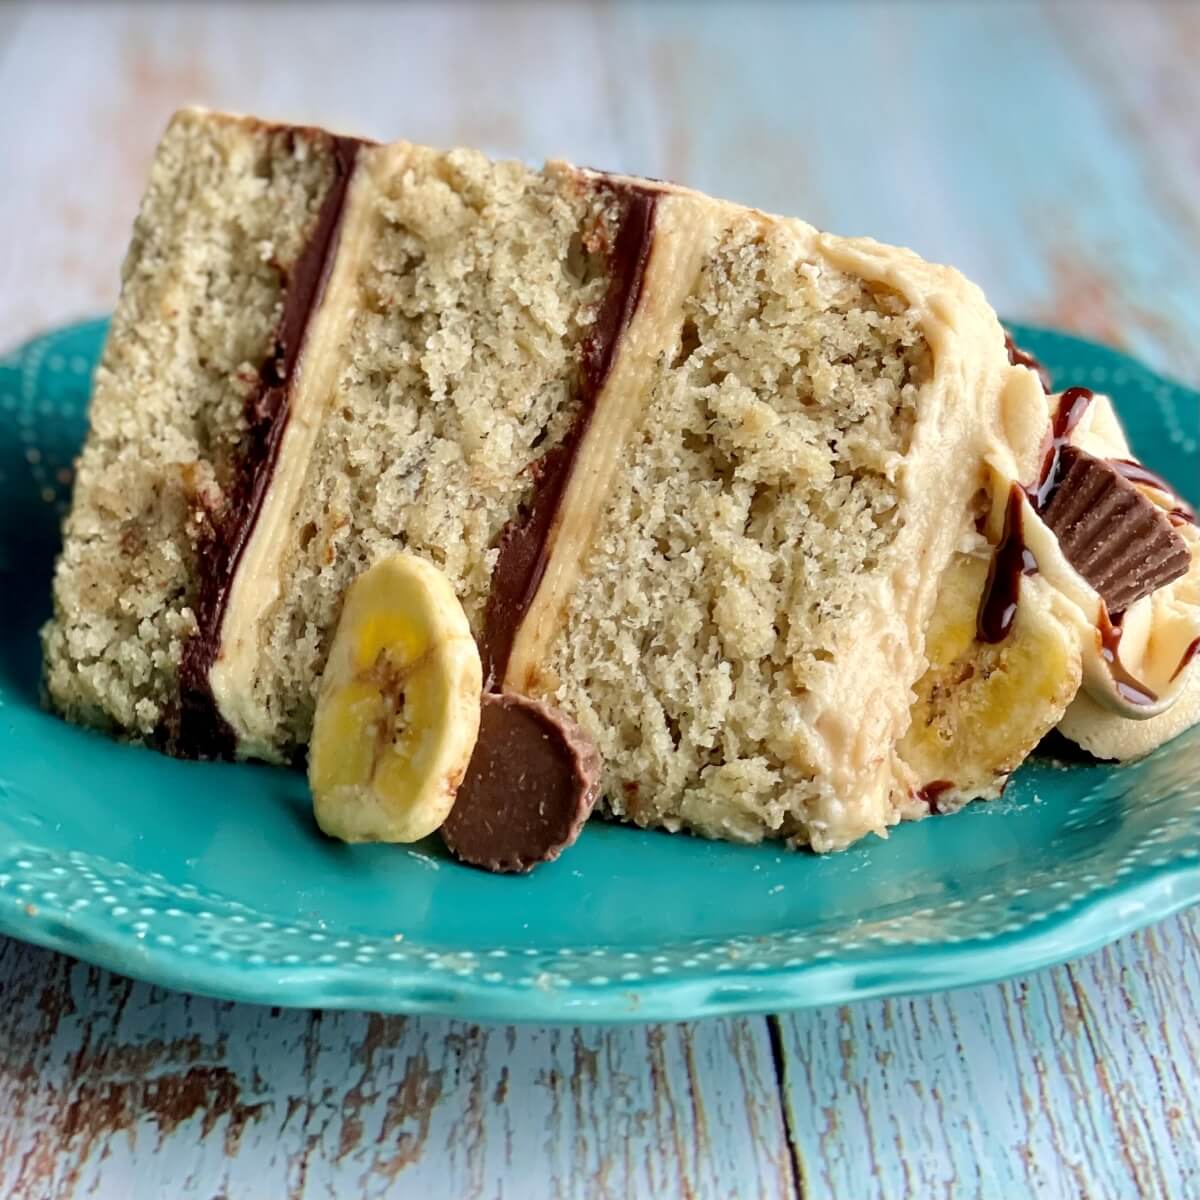
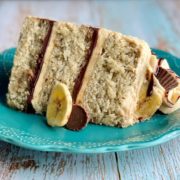
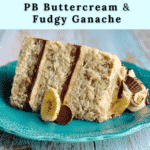
Extra-Moist Banana cake made with only the ripest bananas has always been one of my favorites, Today we're taking it to new heights by filling it with fudgy chocolate ganache and creamy peanut butter buttercream. At Amycakes Bakery we called this our "Elvis Cake.
Never Miss a Recipe!
I'm sharing my tried-and-true Amycakes Bakery recipes! Sign up to be the first to know about my favorite recipes, baking tips, and bakery secrets!
Elvis Presley famously loved peanut butter and banana sandwiches, which is why you often see these two ingredients combined. This delicious flavor combination starts off with classic banana cake made with extra-ripe bananas.
If you love this cake, you'll also love my Moist Chocolate Cake with Peanut Butter Frosting!
🥣 Method and ingredients
As one of my two-bowl method cakes, no mixer is required to make the cake batter! Just whisk the dry ingredients in one bowl, the wet ingredients in another, and you'll have your cake batter ready in no time. Read my Old-Fashioned Banana Cake post to get all the details about when to freeze your extra ripe bananas so that they are perfect for your moist banana cake.
From there we add an easy rich and fudgy chocolate ganache filling made from semisweet chocolate chips and heavy cream. The fluffy peanut butter buttercream contains cream cheese and salted butter and a little bit of Instant Clearjel to make a smooth and fluffy buttercream.
About the secret bakery ingredient in this recipe
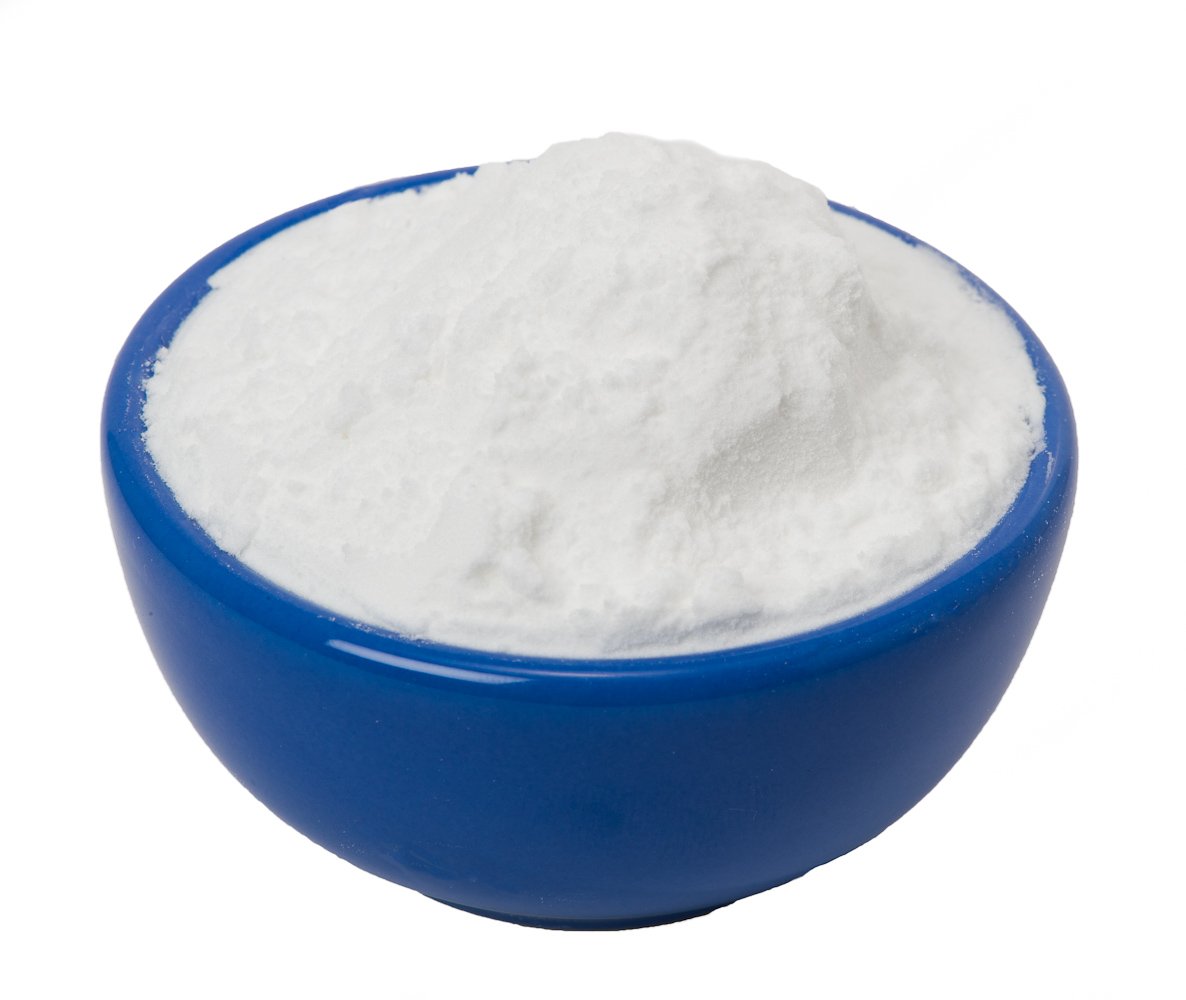
This bakery recipe uses Instant ClearJel, a type of cornstarch that serves as both a thickener and a binder. It’s tasteless and has no artificial ingredients. You can also use Instant Pudding mix (when it's listed in the recipe), which contains Instant Clearjel as the second ingredient!
It’s often used by professional bakers because it produces a smoother and glossier consistency than cornstarch, tapioca, or other starches. Even better, it enhances moisture and texture in cakes and thickens and stabilizes frostings. Here are a few brands I recommend:
Hoosier Hill Farm Instant Clearjel on Amazon
*Please make sure the clearjel you purchase is labeled as instant
Although it's not often available in grocery stores, it's sold in a variety of online stores--just make sure whatever you purchase is labeled as INSTANT (cooktype and original clearjel will not work the same). It's also frequently found in Amish Markets. (Learn more about Instant Clearjel in Baking→)
If you don't have instant clearjel, you can use vanilla instant pudding mix as described within the recipe.
Layer this Cake using the Cut and Stack Method
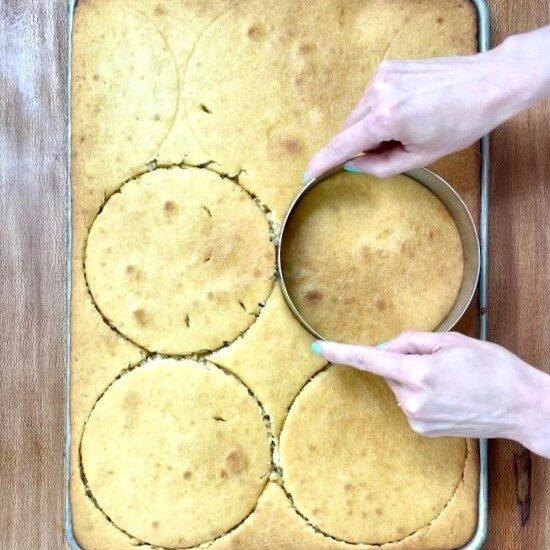
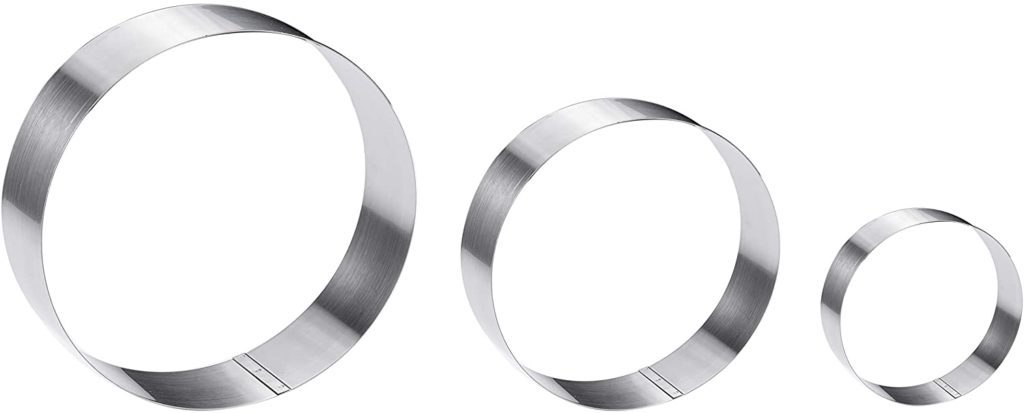
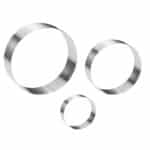
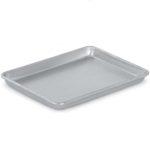
I bake all my cakes in sheet pans and cut them out with cake rings. I talk about this in detail in 5 Easy Steps to Baking and Layering Cakes Like a Pro, but here's a quick rundown:
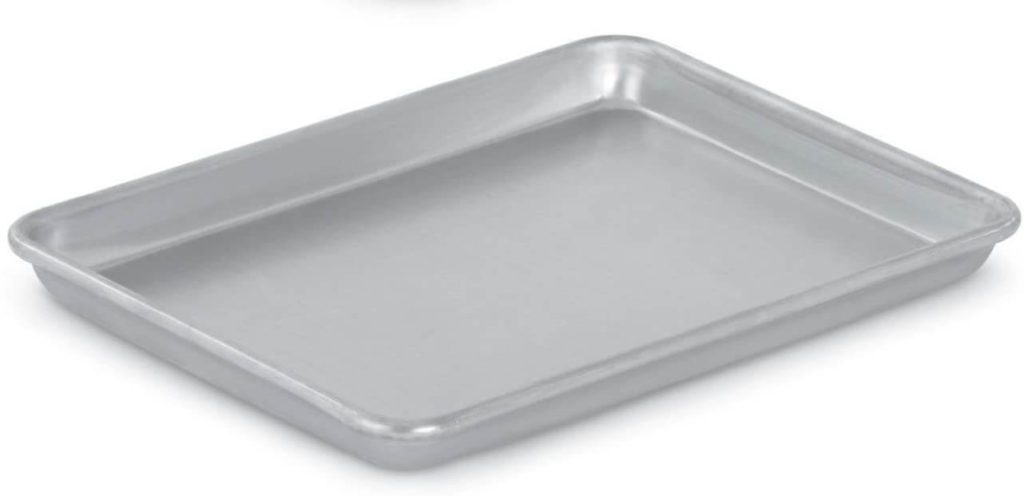
1. Bake the Cake in a Sheet Pan
2. Wrap and Freeze the Cake in the Pan
3. Cut Desired Cake Size with Cake Rings and Layer the Cake from Frozen
4. Crumb Coat the Cake
5. Decorate and Serve
💭 Frequently Asked Questions
Yes, this flavor combination is delicious as cupcakes! Use a 2 oz scoop or ¼ cup to fill your standard cupcake liners. Bake at 325 degrees for 8 minutes, then turn the oven down to 300 degrees for the remaining 6-8+ minutes. Remove the core of the cooled cupcake with a cupcake corer, then fill the cored cupcakes with melted chocolate ganache (I use a squeeze bottle). Frost with peanut butter buttercream and top with a ganache drizzle!
Absolutely! One of the best things about cakes made with buttermilk, vegetable oil, and Instant Clearjel is they stay very moist when frozen. I recommend you freeze the cake before layering it so that it's easier to layer. A lot of times I'll make my cake a week before I layer it.
You can also freeze the entire finished cake. If you place your cake in a cake box or container then wrap it thoroughly in plastic wrap, it should stay moist for at least a few weeks, if not longer. Most articles say cakes can be frozen for up to three months, but I'm hesitant to try it longer than a month.
If you love this cake, you should also try my Strawberry Banana Cake for a bright, summery banana cake variation, or my Nutella Cupcakes for another creamy nut-butter treat.
Thanks for Reading. ❤️

🎥 Video
Watch me make this Elvis cake in the video below, or check out the quick web story.
📖 Recipe
Elvis Cake (Banana Cake with Peanut Butter Frosting and Chocolate Ganache)
Equipment
Ingredients
Dry Ingredients
- 200 grams (1 ½ cups) All-Purpose Flour (I use Gold Medal)
- 1 ½ teaspoons Baking Powder
- 1 teaspoon(s) Baking Soda
- ¾ teaspoon(s) Salt
- 1 Tablespoons + 1 ½ teaspoons Instant Clearjel or 3 Tablespoons Vanilla Instant Pudding Mix (A bakery ingredient you can use at home. Please make sure it is labeled as "INSTANT." See Note #1)
- 200 grams (1 cup(s)) Sugar
Wet Ingredients
- 2.5 large to 3 small overly ripe bananas (the peel should be mostly dark brown/ black) (I use bananas that I have frozen once they reach the perfect ripeness, see Note #2)
- ¼ cup Water &/or banana juice (if using frozen bananas)
- 2 large Eggs
- ¾ cup(s) Buttermilk
- ¼ cup + 1 Tablespoon(s) Vegetable Oil
- 1 ½ teaspoons Vanilla Extract
Butter
- 1 stick (4 ounces) Salted Butter
Filling and Frosting
- 1 x batch prepared Easy Chocolate Ganache filling
- 1 x batch prepared Fluffy Peanut Butter Buttercream
Instructions
Make Banana Puree
- Thaw the frozen overly ripe bananas in a bowl of hot water (If using fresh overly ripe bananas, see Note # 2). The bananas will be very soft to the touch once thawed. Remove the banana stems and delicately squeeze out the thawed bananas into a fine mesh strainer over a bowl, reserving the banana juice.
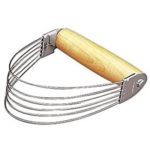
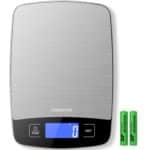
- Mash the strained bananas until they are a fine puree without any chunks. I find a wire pastry blender works best for this when mashing them in a bowl, but you could also use a fork and mash them on a plate. Measure out 130 g (around ½ cup + 1.5 Tbsp) banana puree to use in the cake.
Make Banana Cake
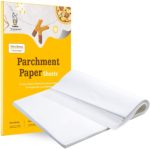
- Preheat oven to 325 degrees. Line a ¼ sheet pan with parchment paper, then spray the bottom (on top of the parchment) and sides of the pan with nonstick cooking spray.
- Add enough water to the reserved banana juice to make ¼ cup. Combine water/banana juice, reserved 130 g banana puree, and the remaining Wet Ingredients (eggs, buttermilk, vegetable oil, and vanilla extract) in a large bowl and whisk until smooth and well-blended.
- Using a sifter or fine-mesh strainer, sift the Dry Ingredients into a separate large bowl. Whisk until well blended.
- Heat the Salted Butter in the microwave in a microwave-safe dish until just melted.
- Pour the Wet Ingredients into the Dry Ingredients and whisk until incorporated. Pour the Melted Salted Butter over batter and whisk in until incorporated and the batter looks uniform and shiny.
- Pour the banana cake batter into the prepared sheet pan and smooth out the batter until even (an offset icing spatula works well for this). The batter will be about ¼ inch from the top of a 1" tall sheet pan. (You can also bake in round pans or sheet-cake pans--see Note #3).
- Bake in the middle or top rack (avoid bottom rack) of a preheated 325-degree oven for 16 minutes. Without opening the oven, turn the temperature down to 300 degrees and bake for another 6-10 minutes. Check the cake at this point. See if it is done by lightly touching the top of the cake--try to avoid moving the cake pan or baking rack, which could cause an underdone cake to sink. If jiggly at all to your touch, bake for another 1-5 minutes. The cake is done when a toothpick or small paring knife comes out clean when quickly stuck in the cake. A few moist crumbs on your knife are fine, but they shouldn't look wet.
- The delicate cake will be easiest to layer from cold or frozen--allow the cake to cool, then wrap and freeze the cake in the pan for at least 2 hours (overnight preferred) or up to 2 weeks ahead of time (brush the cake with simple syrup if freezing for more than a couple of days--see Note # 3).
Layer, Decorate, and Serve
- The easiest way to layer the cake is to layer the cake from frozen the day before you plan to serve it. If serving the cake the same day you are layering it, use refrigerated cake layers instead of frozen. Cut the cake layers with cake rings as described in How to Bake and Layer Cakes Like a Pro.
- Fill your cake layers with a layer of prepared and cooled fudgy chocolate ganache filling and a layer of peanut butter buttercream (watch me layer it in the recipe video), then frost with more peanut butter buttercream. An offset icing spatula (I use the small and medium-size on all my cakes) helps with this. I recommend frosting a thin crumb coat of buttercream on the outside of the cake which will catch all the crumby edges, then allow it to set up in the freezer for about 10 minutes until the buttercream is firm. The remaining cake scraps can be used for cake truffles if desired. Heat the remaining ganache in the microwave until melted and drizzle down the sides of the cake, if desired.
- Allow the completed cake to set up in the fridge, but remove it from the fridge 2-3 hours before serving so it can come back to room temperature. This cake has the best texture at room temperature. Enjoy!
Notes
3 tsp= 1 Tbsp
4 tablespoon = ¼ cup
- Read my article Instant Clearjel: a Magical Little-Known Bakery Ingredient to see why I think this ingredient is worth having in your pantry. Instant Clearjel must always be whisked thoroughly with other dry ingredients before being added to wet ingredients to avoid clumping. (Make sure what you purchase is labeled as "Instant." Cooktype Clearjel is a different product that does not work the same in cakes). Instant pudding mix contains instant clearjel (modified cornstarch) as the second ingredient, which is why it works similarly.
- I prefer to stock up on overly ripe bananas by freezing them once they turn a dark brown/black. Simply freeze the bananas in their peel in freezer bags, then thaw under hot water as described in step 1. If using overly ripe fresh bananas instead of frozen, it is unlikely that you will need to strain them or have any "banana juice." I recommend going by the listed number of bananas instead of the measured quantity, as the weight will differ with fresh bananas. With fresh bananas, you can use just water instead of banana juice/water.
- Simple Syrup is optional, but I use it to seal in the moisture for cakes that will be refrigerated or frozen for more than a couple of days. While the cake cools, make a simple syrup by combining 2 teaspoons water and 2 teaspoons sugar in a small microwave-safe bowl. Microwave until the sugar is dissolved after whisking, about 20-30 seconds. Lightly brush the simple syrup on top of the cake with a silicone pastry brush (you won’t need to use all of it in a 1x batch baked in a ¼ sheet pan). You can also make a larger batch of this (1 part sugar to 1 part water) and keep it in the fridge if you’re doing a lot of cake baking.


Courtney says
Absolutely delicious! Cake is wonderful and moist. Frosting is fantastic. Ganache was simple and turned out perfectly. I wish I could post a picture! Thank you for sharing your recipes. Love your story and enjoy the blog so much.
Amy says
That is wonderful to hear, thanks so much for taking the time to comment! So glad you enjoyed the elvis cake--it's one of my favorites! 🙂
Lynne says
My father had this at his retirement home and ranted about it so I decided to try it. Worth all the work!! Thank you Amy! Lynne
Amy says
Awesome, thank you Lynne! So happy to hear that you enjoyed the Elvis cake! 🙂
Toni says
This is so good!! My kids loved it!
Amy says
Thank you, Toni, I'm so glad you enjoyed it! 🙂
Jessica says
This cake was so worth the effort! Yum!!!
Amy says
Oh good, so glad you enjoyed the recipe! 🙂
Audrey says
This was a huge hit at a recent potluck!
Amy says
That's great to hear, thank you for sharing! 🙂
Kayla DiMaggio says
This cake was so delicious! I love the combination of the peanut butter and banana!
Amy says
So happy to hear that, thank you! 🙂