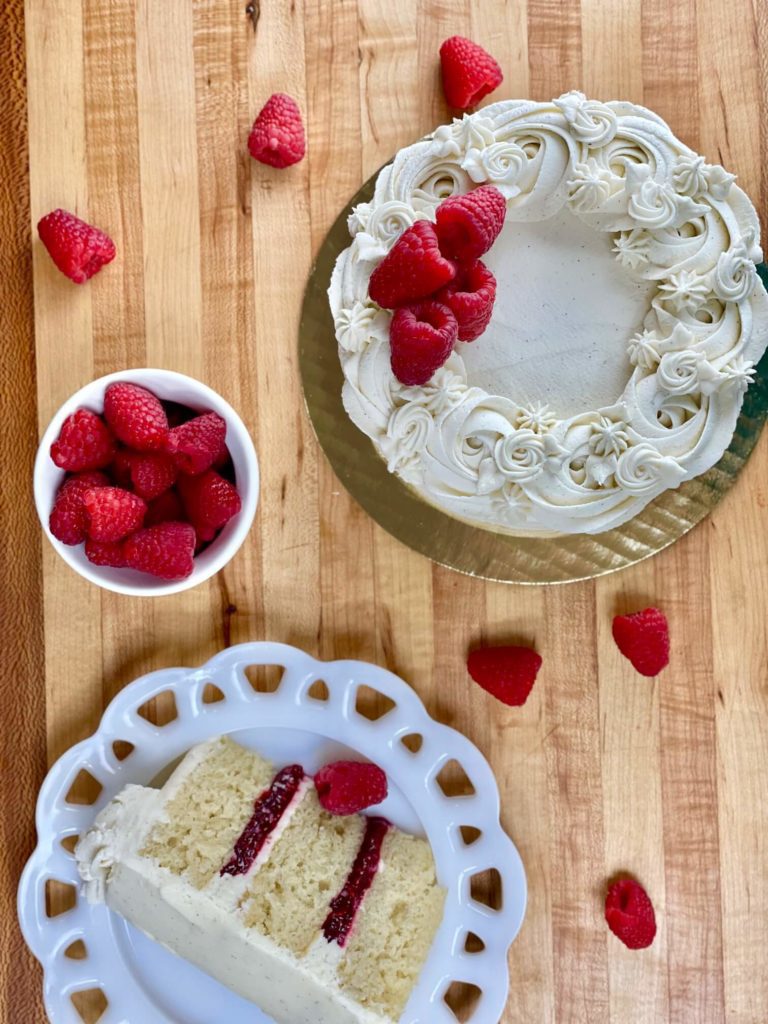
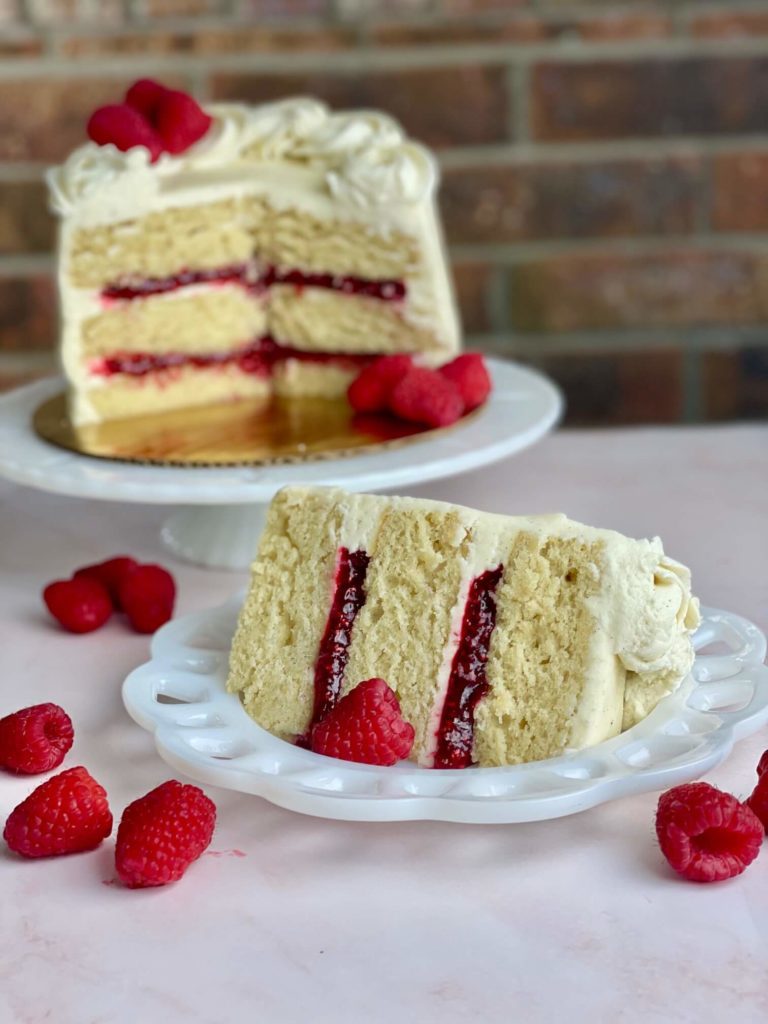
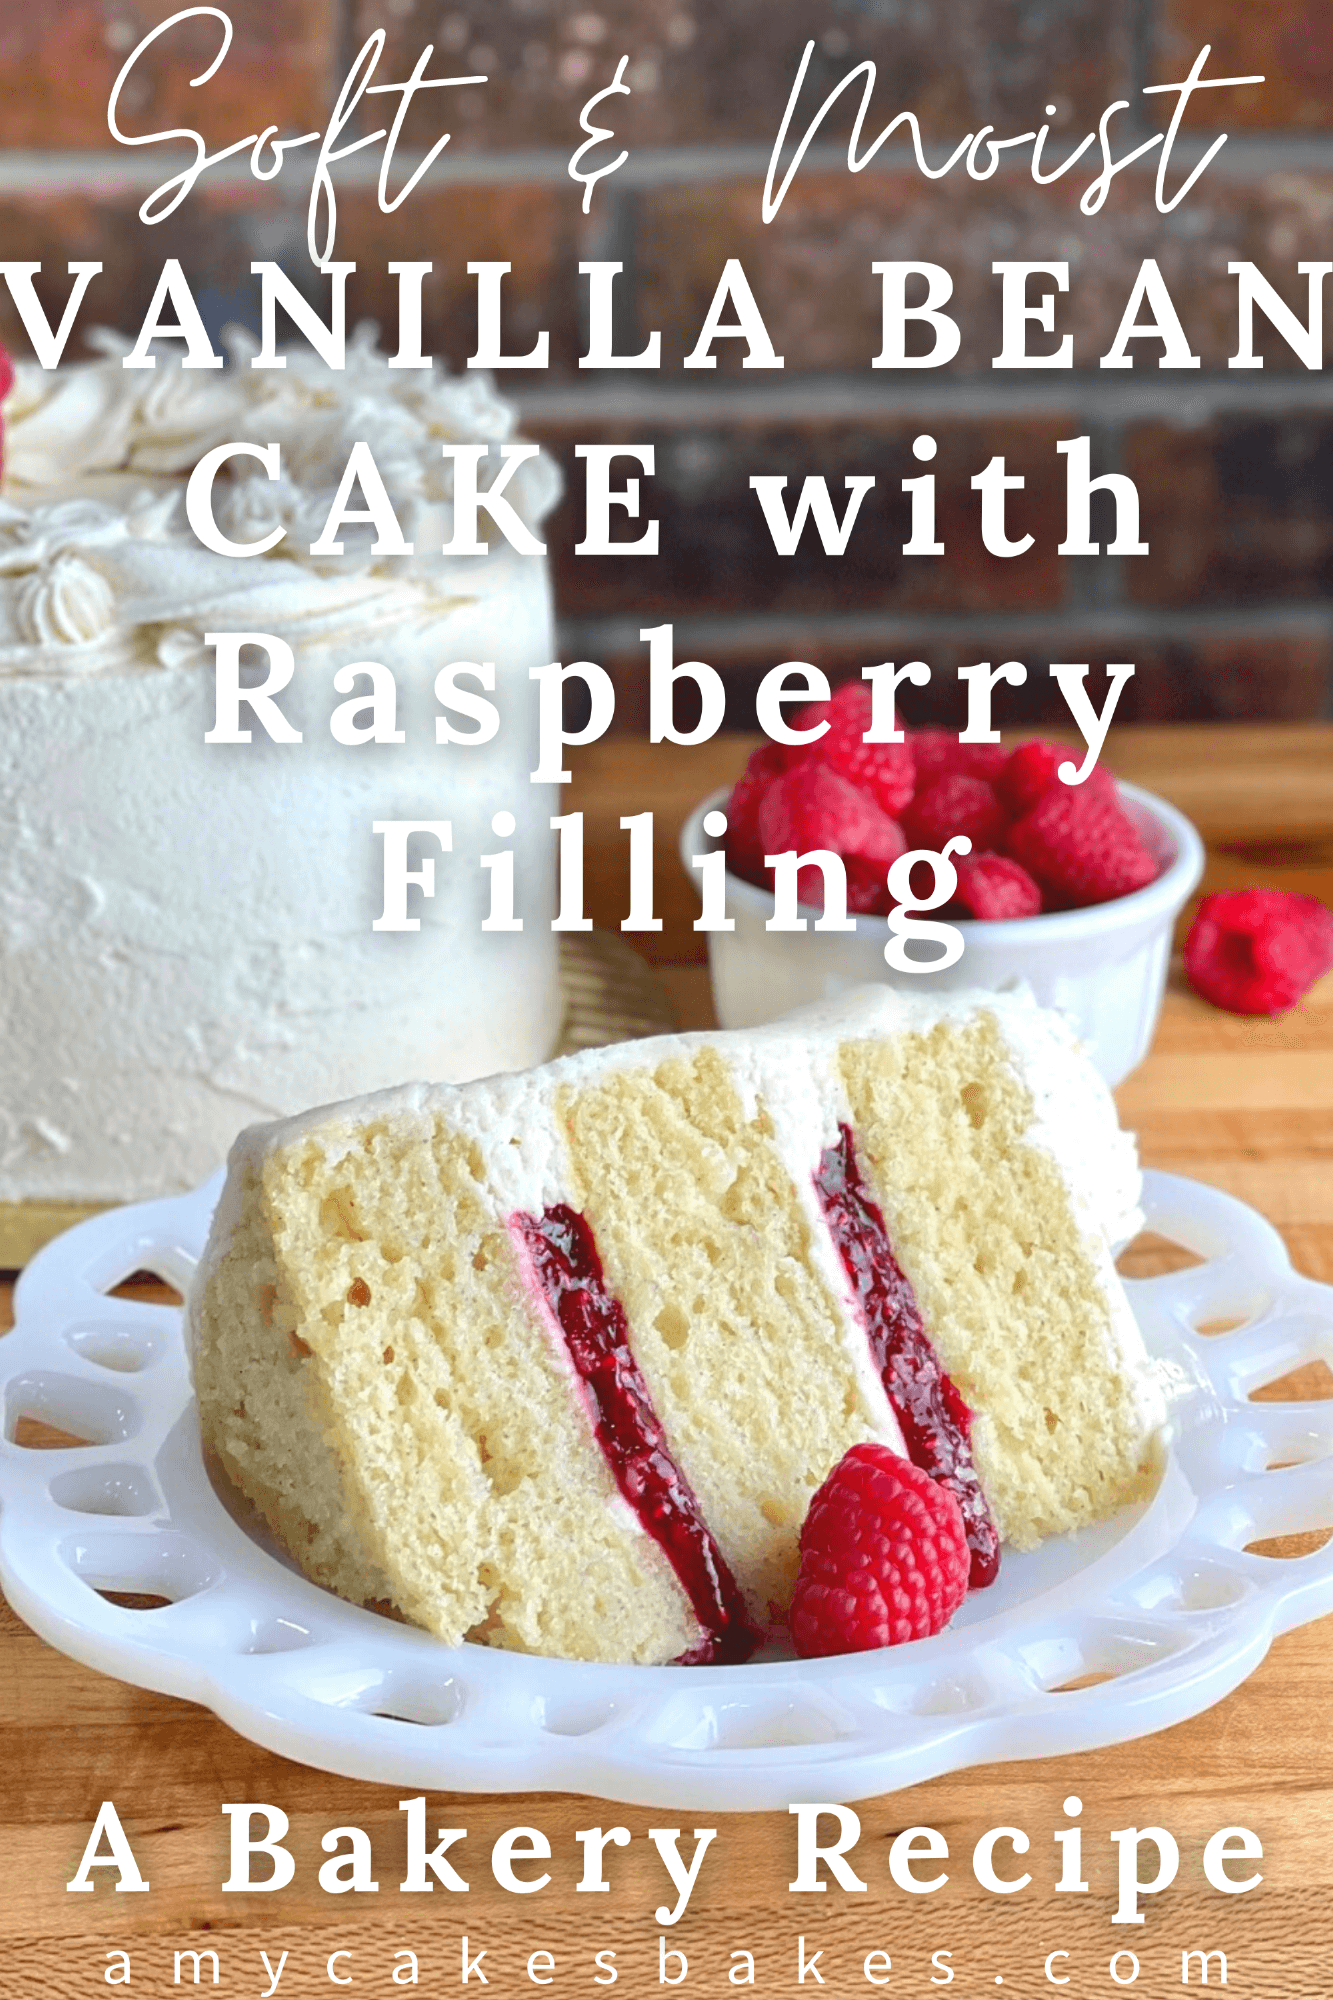
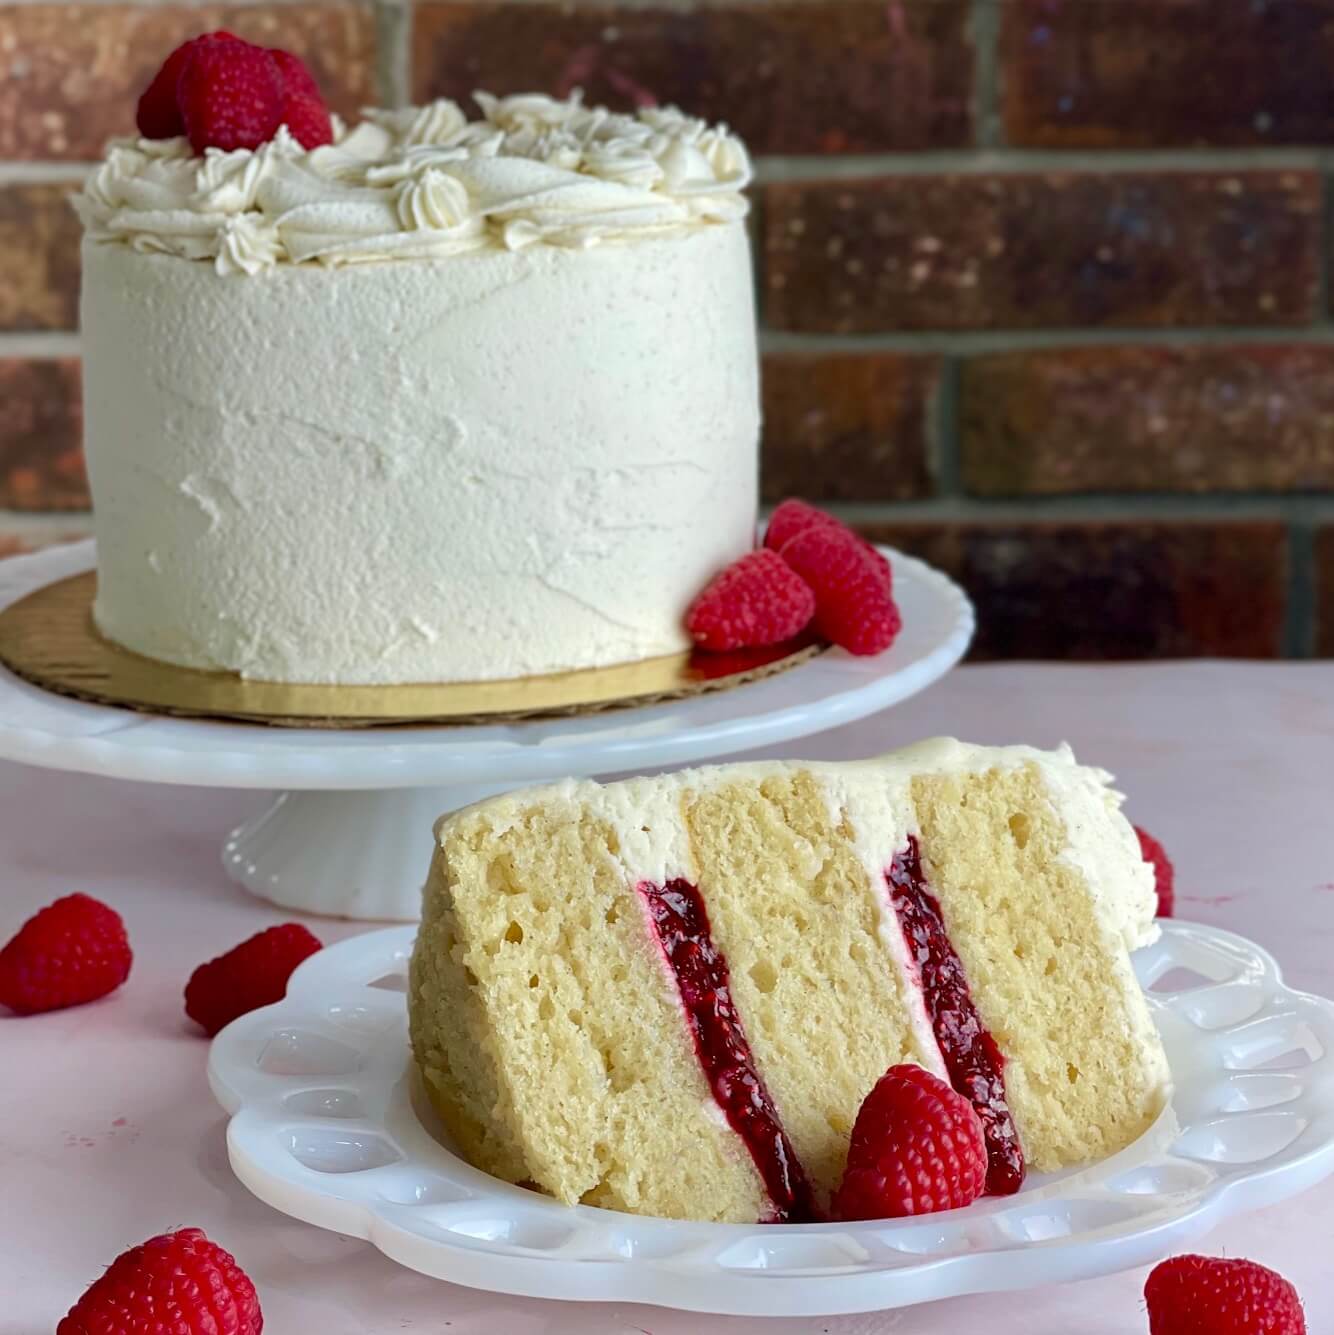
This Vanilla Bean Cake with Raspberry Filling is not only pretty to look at but also has delicious flavor and texture. The cake is made with vanilla bean paste, resulting in beautiful specks of vanilla bean in the buttercream and in the cake’s crumb.
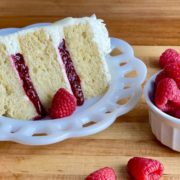
The cake filling is a bright and tart raspberry compote, and the inside of the cake is soft, moist, and fluffy. Something about those little vanilla bean specks and bright red homemade raspberry compote makes this cake a little bit fancy--perfect for holidays and special occasions!
Never Miss a Recipe!
I'm sharing my tried-and-true Amycakes Bakery recipes! Sign up to be the first to know about my favorite recipes, baking tips, and bakery secrets!
Jump to:
🎥 Watch the Recipe Video
🎥 I hope you enjoy the video above (you may have to hit "play" twice on mobile devices). You can also view all my bakery recipe videos and tips on the following channels:
Or view the quick Web Story recipe summary
What is Vanilla Bean Paste?
Vanilla bean paste is a convenient way to incorporate real vanilla bean seeds into your baked goods. Most vanilla bean pastes contain a combination of pure vanilla extract and vanilla bean seeds. You can substitute vanilla bean paste for vanilla extract in frostings, ice creams, and other desserts or sweet treats.
This Raspberry Vanilla Bean Cake recipe incorporates vanilla bean paste into both the batter and the vanilla bean buttercream. I'm using OliveNation's Organic Vanilla Bean Paste Puree (Use the code AB20 at checkout for 20% off! Thank you to OliveNation for sponsoring this week's Raspberry Vanilla Bean Cake Step-by-Step Youtube Video.)
Disclosure: OliveNation has provided the discount code AB20 for Amycakes Bakes readers, and I make a small commission when the code is used on their website at no additional cost to you. I only promote products that I love, and OliveNation is a company that I have ordered from since the beginning of Amycakes Bakery. Thank your for support!
About the secret bakery ingredient in this recipe
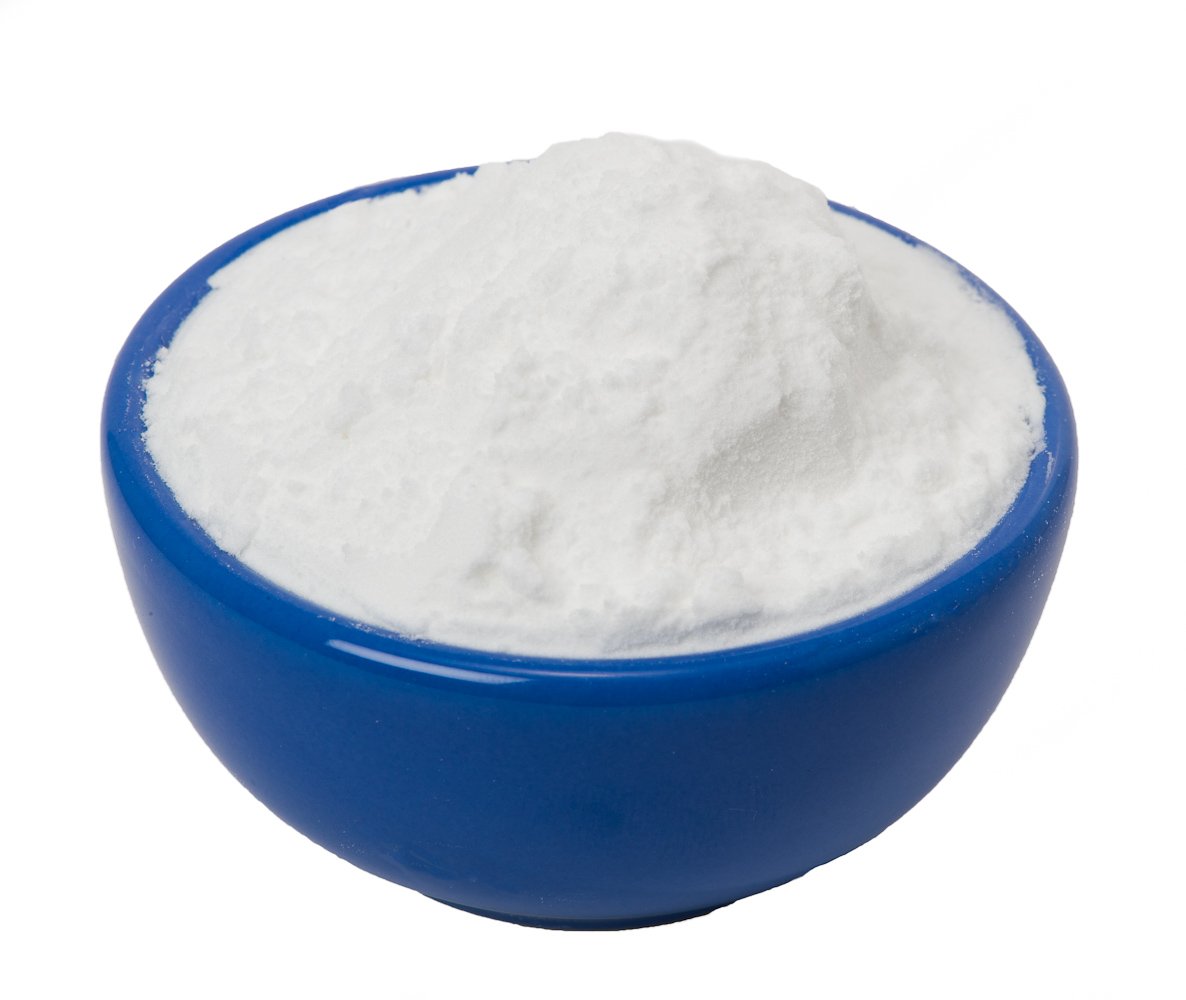
This bakery recipe uses Instant ClearJel, a type of cornstarch that serves as both a thickener and a binder. It’s tasteless and has no artificial ingredients. You can also use Instant Pudding mix (when it's listed in the recipe), which contains Instant Clearjel as the second ingredient!
It’s often used by professional bakers because it produces a smoother and glossier consistency than cornstarch, tapioca, or other starches. Even better, it enhances moisture and texture in cakes and thickens and stabilizes frostings. Here are a few brands I recommend:
Hoosier Hill Farm Instant Clearjel on Amazon
*Please make sure the clearjel you purchase is labeled as instant
Although it's not often available in grocery stores, it's sold in a variety of online stores--just make sure whatever you purchase is labeled as INSTANT (cooktype and original clearjel will not work the same). It's also frequently found in Amish Markets. (Learn more about Instant Clearjel in Baking→)
Raspberry Compote Filling from Frozen Raspberries
Frozen Raspberries, sugar, lemon juice, and your choice of Instant Clearjel or Cornstarch are used to make a tasty homemade raspberry compote filling. I prefer to use frozen raspberries, as they are typically flash-frozen at their peak ripeness, and I can enjoy the compote year-round.
The compote comes together quite quickly and stays colorful and glossy. The finished compote has a consistency similar to a jam or jelly, but with a fresh and bright flavor.
Layer this Cake using the Cut and Stack Method
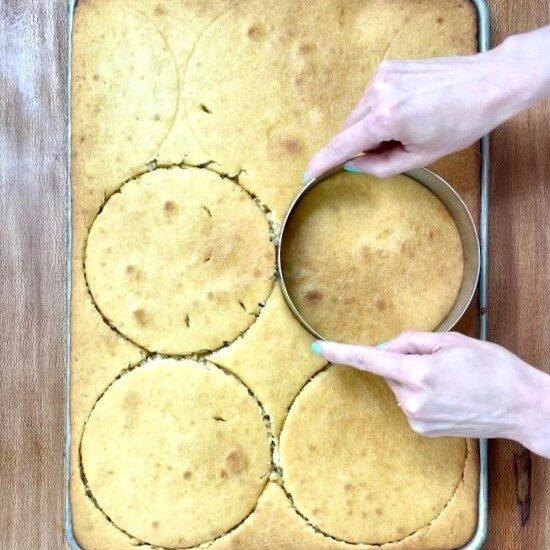
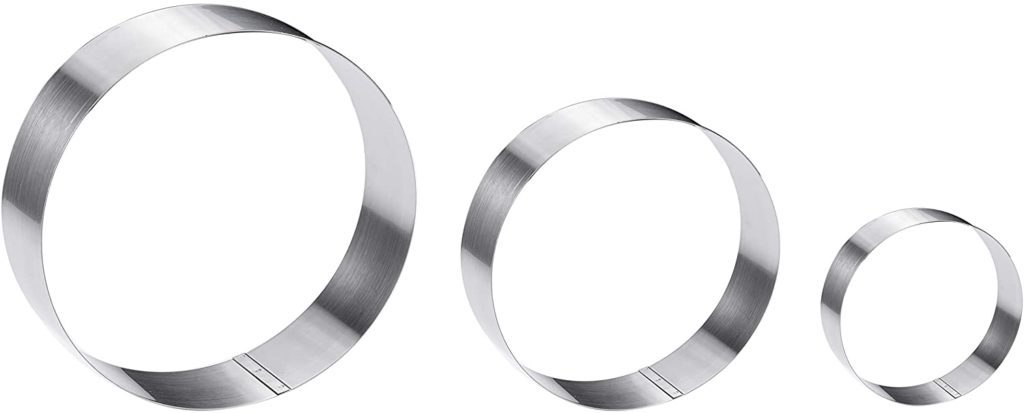
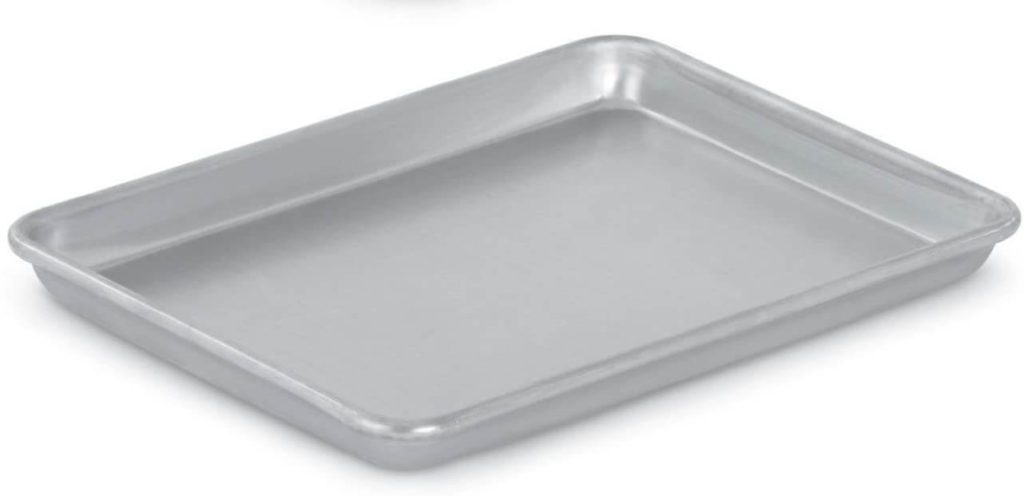
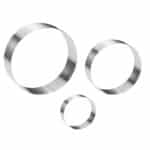
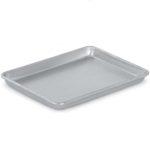
I bake all my cakes in sheet pans and cut them out with cake rings. I talk about this in detail in 5 Easy Steps to Baking and Layering Cakes Like a Pro, but here's a quick rundown:
1. Bake the Cake in a Sheet Pan
2. Wrap and Freeze the Cake in the Pan
3. Cut Desired Cake Size with Cake Rings and Layer the Cake from Frozen
4. Crumb Coat the Cake
5. Decorate and Serve
Other Vanilla Cake Combinations
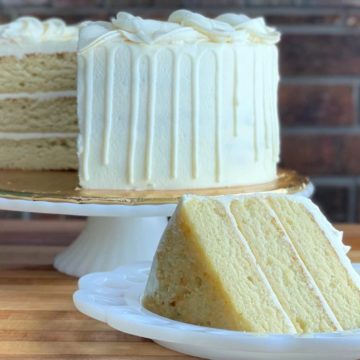
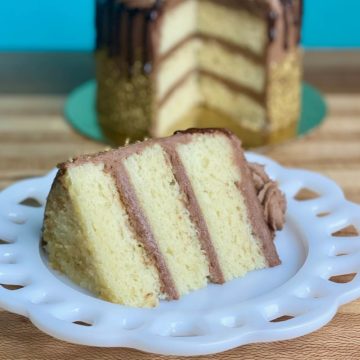
If you don't have vanilla bean paste, this vanilla raspberry cake would be delicious with my Vanilla Almond Cake Recipe or the Golden Vanilla Cake (yellow cake) featured in my Golden Chocolate Cake recipe. Not a fan of raspberries? Combine this delicious vanilla bean cake recipe with my other fruit compotes and cake fillings.
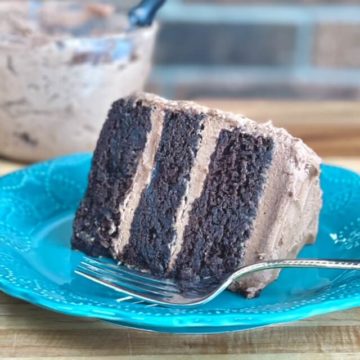
The raspberry filling in this recipe would be delicious in all of the following cake flavors:
Vanilla Bean Cake with Raspberry Filling Recipe FAQ
Can I freeze this cake?
Absolutely! One of the best things about cakes made with buttermilk, vegetable oil, and Instant Clearjel is they stay very moist when frozen. I recommend you freeze the cake before layering it so that it's easier to layer. A lot of times I'll make my cake a week before I layer it.
You can also freeze the entire finished cake. If you place your cake in a cake box or container then wrap it thoroughly in plastic wrap, it should stay moist for at least a few weeks, if not longer. Most articles say cakes can be frozen for up to three months, but I'm hesitant to try it longer than a month.
What are your refrigeration and storing recommendations for this Vanilla Raspberry cake?
Nearly all of my cakes are best at room temperature! When the cake is cold it will have a firm and different texture due to all the yummy butter in the cake and buttercream. I want to make sure you enjoy the soft and moist cake texture that is intended by eating the cake at room temperature.
You can refrigerate the cake after decorating it, but allow it to come back to room temperature 2-3 hours before serving. (Keep in mind the buttercream can melt in warm conditions). I keep my leftover cake out of the fridge for up to 24 hours, but I’ll refrigerate or freeze anything that won’t get eaten within that time.
I feel like this cake would be a beautiful cake around the holidays! Top it with some holly berries and greenery for a Christmas Cake, or add some fresh berries and heart macarons around Valentine's Day. I hope you enjoy this bakery recipe! Please let me know what you think in the comment section below, or tag me on social media @amycakesbakes with your creation!
Thanks for Reading. ❤️

📖 Recipe
Vanilla Bean Cake with Raspberry Filling
Ingredients
Dry Ingredients
- 233 grams (1 ¾ cups) All-Purpose Flour (I use Gold Medal)
- 2 Tablespoons Instant Clearjel or 3 Tablespoons Instant Vanilla Pudding Mix (See Note #1. Please make sure it is labeled as INSTANT Clearjel)
- 1 ½ teaspoons Baking Powder
- 1 teaspoon Baking Soda
- ¾ teaspoon Salt
Wet Ingredients
- ¾ cup Buttermilk
- ¼ cup + 2 Tablespoons Water
- 3 Tablespoons Vanilla Bean Paste
- 1 ½ teaspoons Apple Cider Vinegar
Creamed Ingredients
- 200 grams (1 cup) Sugar
- 1 stick (4 ounces) Salted Butter (at room temperature)
- ¼ cup + 2 Tablespoons Vegetable Oil
- ¼ cup Light Corn Syrup
- 1 large Egg(s)
Whipped Ingredients
- 2 Egg Whites
- ¼ teaspoon Cream of Tartar
Raspberry Compote Filling
- 1 x batch Simple Raspberry Compote Filling (please note the batch size)
Vanilla Buttercream Ingredients
- 4 ounces Cream Cheese
- 1 ½ sticks (6 ounces) Salted Butter (at room temperature)
- 48 grams (¼ cup) shortening
- 455 grams (3 ½ cups) powdered sugar
- (optional) 1 Tablespoons Instant Clearjel (makes a thicker frosting, but you may omit it)
- 2 Tablespoon + 1 teaspoon Vanilla Bean Paste (I use OliveNation)
Instructions
Make the Vanilla Bean Cake
- Preheat Oven to 325 degrees. Line ¼ Sheet pan with parchment paper, and then spray bottom (on top of the parchment) and sides of the sheet pan with cooking spray.
- Sift Dry Ingredients in a bowl and then whisk until well blended.
- Combine and whisk Wet Ingredients in a separate bowl or pitcher. Don't be alarmed if your wet ingredients separate or thicken as it sits, just stir it again before adding it to the cake batter.
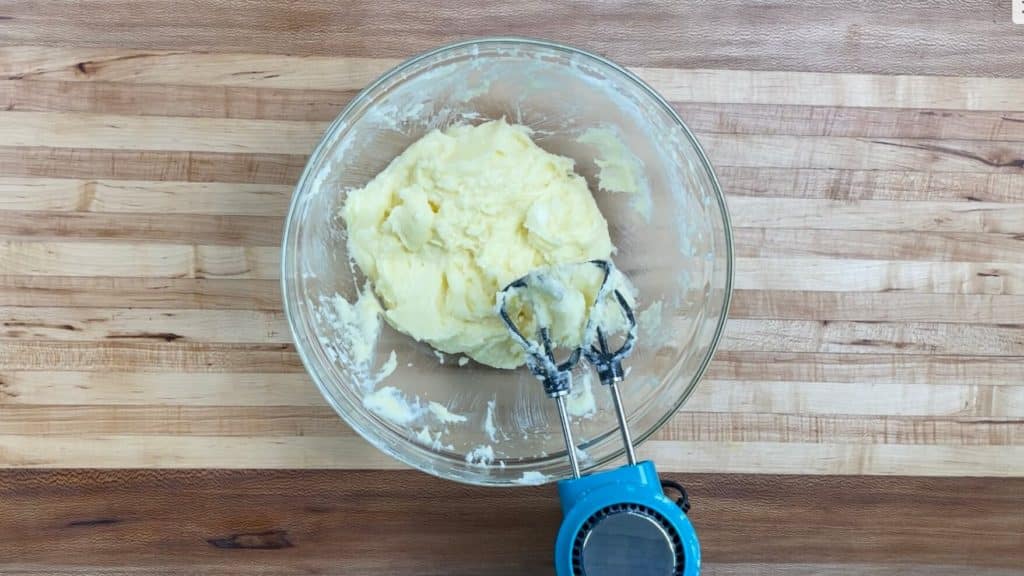
- With a stand mixer (preferred) or handheld mixer, cream sugar and salted butter together just until creamed together. Add oil and corn syrup and beat until just incorporated. Add 1 egg(s) and cream until incorporated and the batter is smooth, scraping sides of the bowl as needed. Avoid overbeating at every step.
- On low speed, alternate adding Dry ingredients and Wet ingredients to the Creamed Ingredients, a little at a time. I do ⅓ Dry, ⅓ Wet, and so on, adding one-third at a time and blending on low after each addition. Continue to mix just until the batter looks well blended and smooth (avoid overbeating). Scrape sides of the bowl as needed.
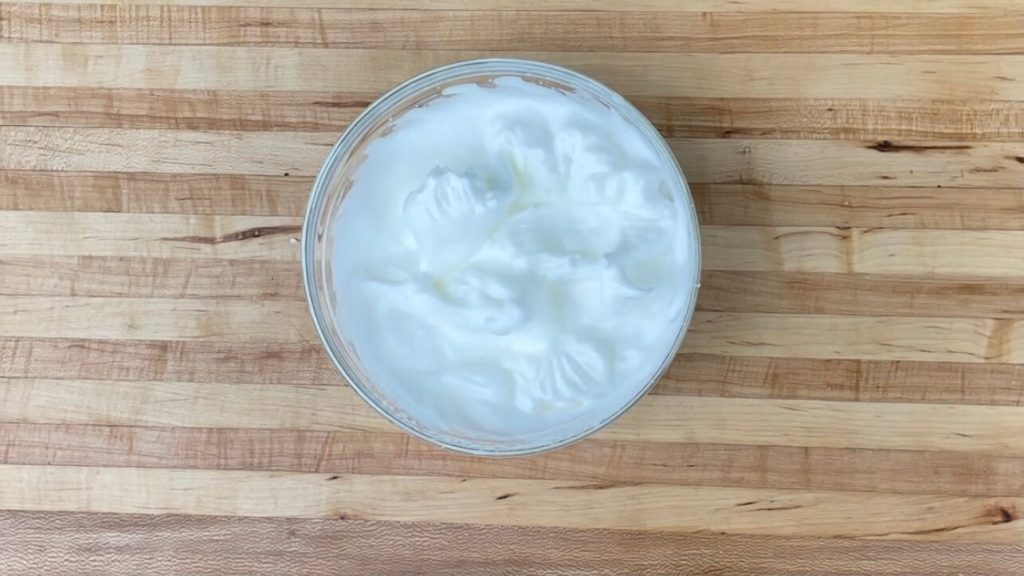
- Using a whip attachment and a clean bowl, whip the 2 egg whites and cream of tartar until stiff peaks form. (Make sure your bowl and beaters are clean and free from grease so that the whites will whip).
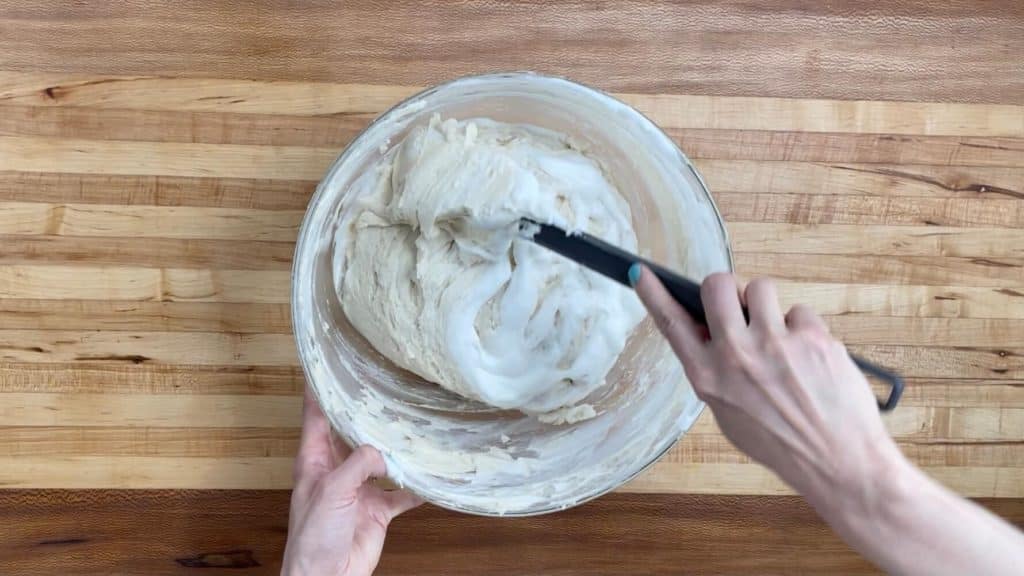
- Carefully fold the Whipped Whites into the cake batter, one half of the whites at a time. The batter is ready when no egg white streaks remain and it should look smooth and uniform.
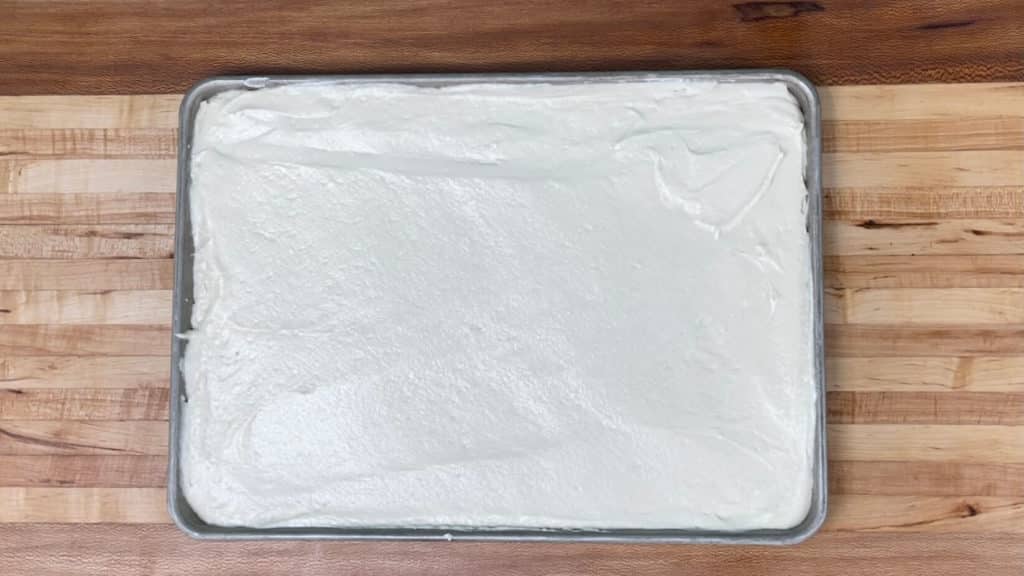
- Spread into prepared pan and make sure the batter is evenly distributed. An offset spatula works well for this.
- Bake on the middle or top rack (avoid bottom rack) of preheated 325-degree oven for 18 minutes, then turn the oven down to 300 degrees. Set the timer for an additional 6-8 minutes. Check the cake at this point. If it is jiggly at all when lightly touching the top of the cake, continue baking for 1-6 more minutes. The cake is done when a paring knife or toothpick comes out mostly clean when stuck quickly in the cake. A couple moist crumbs on your knife are fine, but they shouldn't look wet. Allow to cool completely. Brush lightly with simple syrup (optional, Note #3).
- Wrap thoroughly in plastic wrap and freeze cake in the pan for 2 hours or overnight. (You can even bake the cake up to a week ahead of time and freeze). The cake will be much easier to layer if it is cold or frozen. To wrap the cake, place another sheet of parchment on top of the cake (this will prevent the plastic wrap from sticking to the cake), and wrap the whole pan with plastic wrap. (I pull the plastic wrap out and place the pan on top of it. Then I wrap 2-3 ways horizontally and one way vertically so that there are two layers of wrap on all sides of the pan including the bottom).
- Wrap thoroughly in plastic wrap and freeze cake in the pan for 2 hours or overnight. (You can even bake the cake up to a week ahead of time and freeze). The cake will be much easier to layer if it is cold or frozen. To wrap the cake, place another sheet of parchment on top of the cake (this will prevent the plastic wrap from sticking to the cake), and wrap the whole pan with plastic wrap. (I pull the plastic wrap out and place the pan on top of it. Then I wrap 2-3 ways horizontally and one way vertically so that there are two layers of wrap on all sides of the pan including the bottom).
Make the Raspberry Compote
- Prepare the 1 x batch raspberry compote filling using the simple raspberry compote recipe. Allow to cool.
Make Vanilla Buttercream
- Whisk the powdered sugar and Instant Clearjel (if using) together until well-blended. Set aside.
- Using a stand mixer (preferred) or handheld mixer and a large bowl, beat the cream cheese until broken up and softened. Add the room temperature salted butter and continue to beat, scraping the sides of the bowl as needed. Add the shortening and beat and scrape the sides until there are no lumps.
- While the mixer is on low, slowly alternate adding the powdered sugar mixture and vanilla bean paste.
- Scrape down the sides of the bowl. Then beat the buttercream on high for two-three minutes. This will add air into the buttercream and make it light and fluffy. The Instant Clearjel will cause the buttercream to thicken slightly during the next 10 minutes as it sits.
Frost the Cake
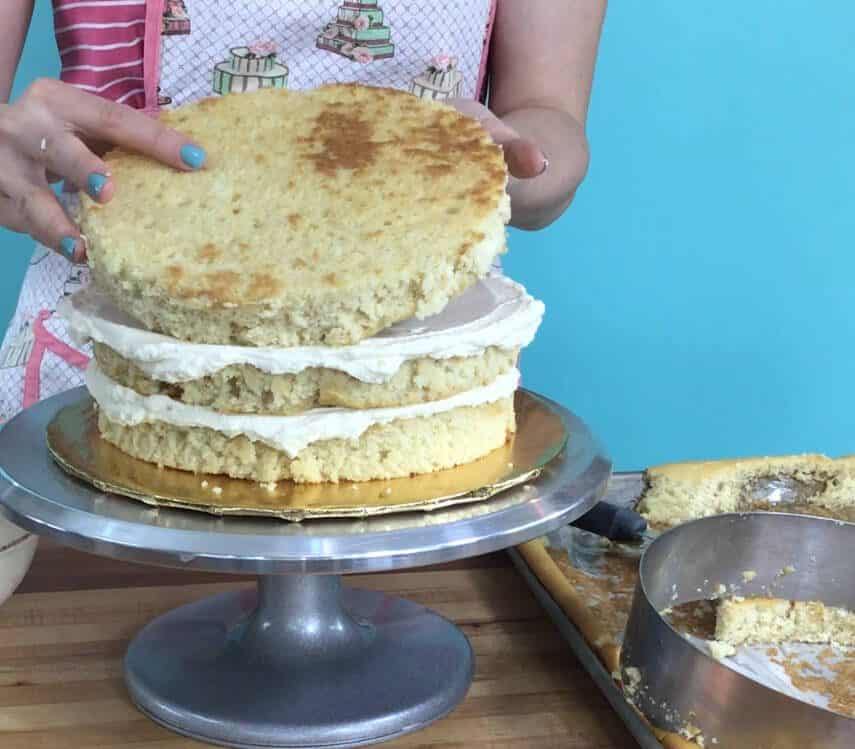
- The easiest way to layer the cake is to layer the cake from frozen the day before you plan to serve it. If serving the cake the same day you are layering it, use refrigerated cake layers instead of frozen. Piece together the bottom layer, filling in with cake scraps if needed. You can use the cake ring as a guide.
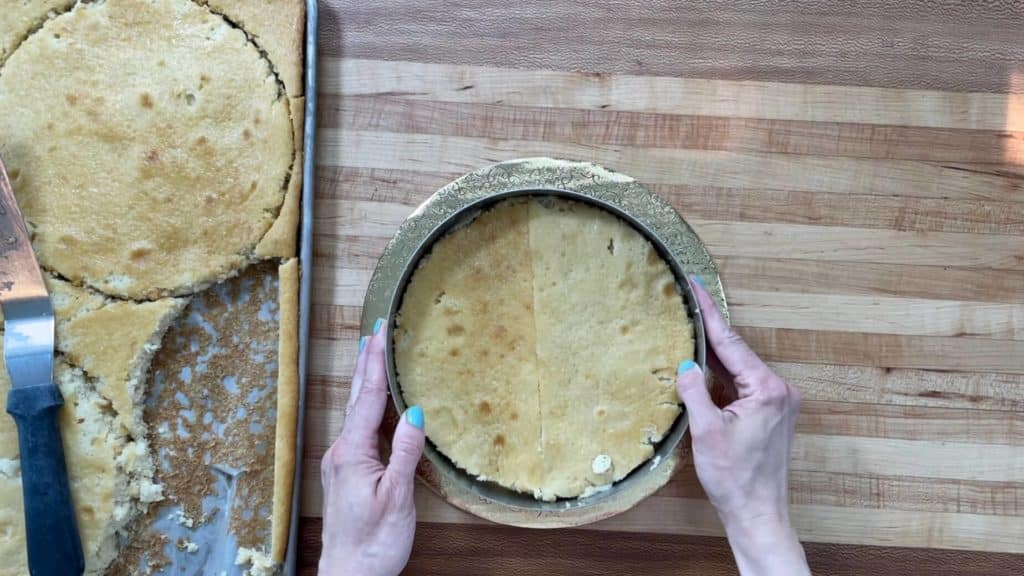
- Cut out your desired cake size with cake rings using the Cut and Stack Method–leave the cake in the sheet pan, and using a slight sawing motion, cut the frozen cake into your desired cake size with cake rings (You can use a knife and the cake rings as a guide for any halve pieces that you cut.) In a 1x batch, I typically cut 3 layers with a 6" cake rings for a 6" cake–two full layers and one layer made from two halves (as seen in the recipe video). The crispest layers are cut from frozen cake, but you can let it thaw slightly before cutting your cake rounds if needed. Use your two half-circles of cake to make the bottom cake layer (fill in with scraps if needed to make a level surface).
- Because this dark berry filling discolors the cake after the cake is cut, I recommend spreading a very thin layer of buttercream on each cake layer before filling the cake. When filling cakes with fruit compotes, you’ll want to pipe a ring of buttercream around the edge before spooning in your filling (as shown in my recipe video). I pipe my ring of buttercream 2-3 rings high to ensure no filling escapes. Some buttercream will push over the edge when topped with the cake layers, and that is fine–just use your spatula to smooth it against the side of the cake to seal it in. To be extra cautious with filled cakes, I like to let them set up in the freezer for 10 minutes after filling them but before adding a crumb coat of icing.
- I recommend frosting a thin crumb coat of buttercream on the outside of the cake which will catch all the crumby edges, then allow it to set up in the freezer for about 10 minutes until the buttercream is firm. An offset icing spatula (I use the small and medium-size on all my cakes) helps with this. Then spread on the second layer of buttercream and decorate as desired.
- Let the cake set up in the fridge, but remove it from the fridge 1-3 hours before serving so it can come back to room temperature. This cake has the best texture at room temperature. Enjoy!
Notes
3 tsp= 1 Tablespoon
- Read my article Instant Clearjel: a Magical Little-Known Bakery Ingredient to see why I think this ingredient is worth having in your pantry. Instant Clearjel must always be whisked thoroughly with other dry ingredients before being added to wet ingredients to avoid clumping. Instant Pudding mix makes a great substitute in the cake batter, but simply leave it out in the frosting.
- When baking cakes in a sheet pan, the cake bakes more evenly (flatter on top and with no dark edges), and you get to choose your cake size after baking! With a 1x batch in a ¼ Sheet Pan you can make a three-layer 6″ cake (two full rounds, one pieced round from two half-circles) or several little cakelets. With a 2x batch in a ½ Sheet Pan you can make a three-layer 8″ cake (two full rounds, one pieced round from two half-circles), an extra tall six-layer 6″ cake (5 full rounds, one pieced round from two half-circles), TWO 3-layer 6″ cakes (eat one now and freeze one for later. 🙂 Or have a baking party with a friend and you each get a cake!) or several little Cakelets using a 4″ cake ring or 3″ or 2″ round cookie cutters. You can also choose to bake in sheet-cake pans or round pans. View the pan chart in the article Half-Batches and Cake Pans: Everything You Need to Know.
- Simple Syrup is optional, but I use it to seal in the moisture for cakes that will be refrigerated or frozen. While the cake cools, make a simple syrup by combining 1 tablespoon water and 1 tablespoon sugar in a small microwave-safe bowl. Microwave until the sugar is dissolved after whisking, about 20-30 seconds. You can also make a larger batch of this (1 part sugar to 1 part water) and keep it in the fridge if you’re doing a lot of cake baking.


Saarah says
This looks so delicious and I can't wait to try it. I wanted to ask though - is it ok to make the raspberry compote and buttercream 2-3 days in advance?
Amy says
Yes, it is! You can store those in the fridge 2-3 days in advance. I'd recommend letting the buttercream come back to room temp before frosting with it, and the cake is easiest to frost from frozen. Hope you enjoy the recipe! 🙂
Alisha says
I know you recommend using a sheet pan and cake rings- which I’m going to try as soon as my Amazon order arrives! But what would the bake time be for a 6 & 8 inch round cake pan? Could this recipe be used for cupcakes? Thank you!
Amy says
I'd recommend using this recommended cake pan chart and using 4 6" cake pans for a 1x batch or 4 8" cake pans for a 2x batch. It may take a few less minutes in the oven, but I think it will be pretty close. Some people say their ovens take longer than mine, so it may still take longer. I'd just watch it closely toward the end of baking! While it would make delicious cupcakes, these tend to shrink in cupcake form due to the whites folded into the batter. I do have a vanilla cupake recipe that you could substitute vanilla bean paste (use the same amount of extracts as this recipe and leave out the vanilla and almond extracts). 🙂
Jodie says
I made this cake and it is amazing! Full of flavor in every way. I made the raspberry filling, but opted out on using it due to so many seeds. I would love to make it with the filling - does the seeds affect the texture to the finished cake?
All your baked goods are - Out. Of. This. World. 💕
Amy says
I'm so glad you enjoyed the vanilla bean cake and my other recipes! I’ve never minded the raspberry seeds and it was one of our most popular fillings at Amycakes Bakery, but I also understand that some may prefer a seedless filling. 🙂 You could either strain the completed raspberry filling while it’s still hot through a fine-mesh strainer (this will take some time and you’d need to press it through with a sturdy spatula if using the cornstarch method. If using the instant clearjel method, strain it before adding the ICJ mixture and it will be easier). I’d recommend doubling the recipe as removing the seeds will take away a lot of the volume. Or you might like this cake better with my strawberry filling or blueberry filling, which don’t have noticeable seeds! ☺️
Hayley Dhanecha says
This is very useful and delicious recipe. A detailed post of yours that helps everyone , so simple and easy instructions to follow.
LaKita says
This cake looks so pretty, fluffy, and delicious. Your detailed instructions also make it look so simple to make.
Nart says
This is such a great recipe. I mean, vanilla and raspberry are already one of my favorite combinations but the texture and smell of this cake...mmmmmmm
Amy Liu Dong says
Hands-up to this recipe. Your cake looks so pretty and looks really delicious. I love it!
Shobelyn Dayrit says
What a detailed step by step instruction and the cake looks so good too. Awesome.
Katie Crenshaw says
Oh my goodness! This cake is so delicious. It turns out moist. The frosting is incredible.
Linda says
This cake looks so beautiful and moist. Love the cream filling, too!
Veronika Sykorova says
I love using vanilla bean paste! It adds so much more flavor than vanilla extract does. Beautiful cake!
Colleen says
This cake looks amazing. Your step by step instructions are so thorough that I might just attempt this for my sister in laws birthday.