Whether you're a new baker trying to learn your stuff or you just want to brush up on the differences between your favorite cake recipes, you need to know about the three most popular cake mixing methods!
From the two-bowl method to reverse creaming and more, you'll learn everything you need to know about these common mixing techniques right here.
Never Miss a Recipe!
I'm sharing my tried-and-true Amycakes Bakery recipes! Sign up to be the first to know about my favorite recipes, baking tips, and bakery secrets!
There are so many different types of cakes out there, which can be confusing for new bakers! As a former professional bakery owner, these are the three different techniques I use the most often in my recipes. The detailed steps and information below will help you nail each of these methods the first time!
I highly recommend that all bakers get acquainted with these three cake mixing methods. Just remember - baking is a science, and that science should be respected. If your recipe is written following the creaming method, don't try using the two-bowl method instead.
You'll get the best results if you follow your cake recipe exactly as it is written!
Two-Bowl Method
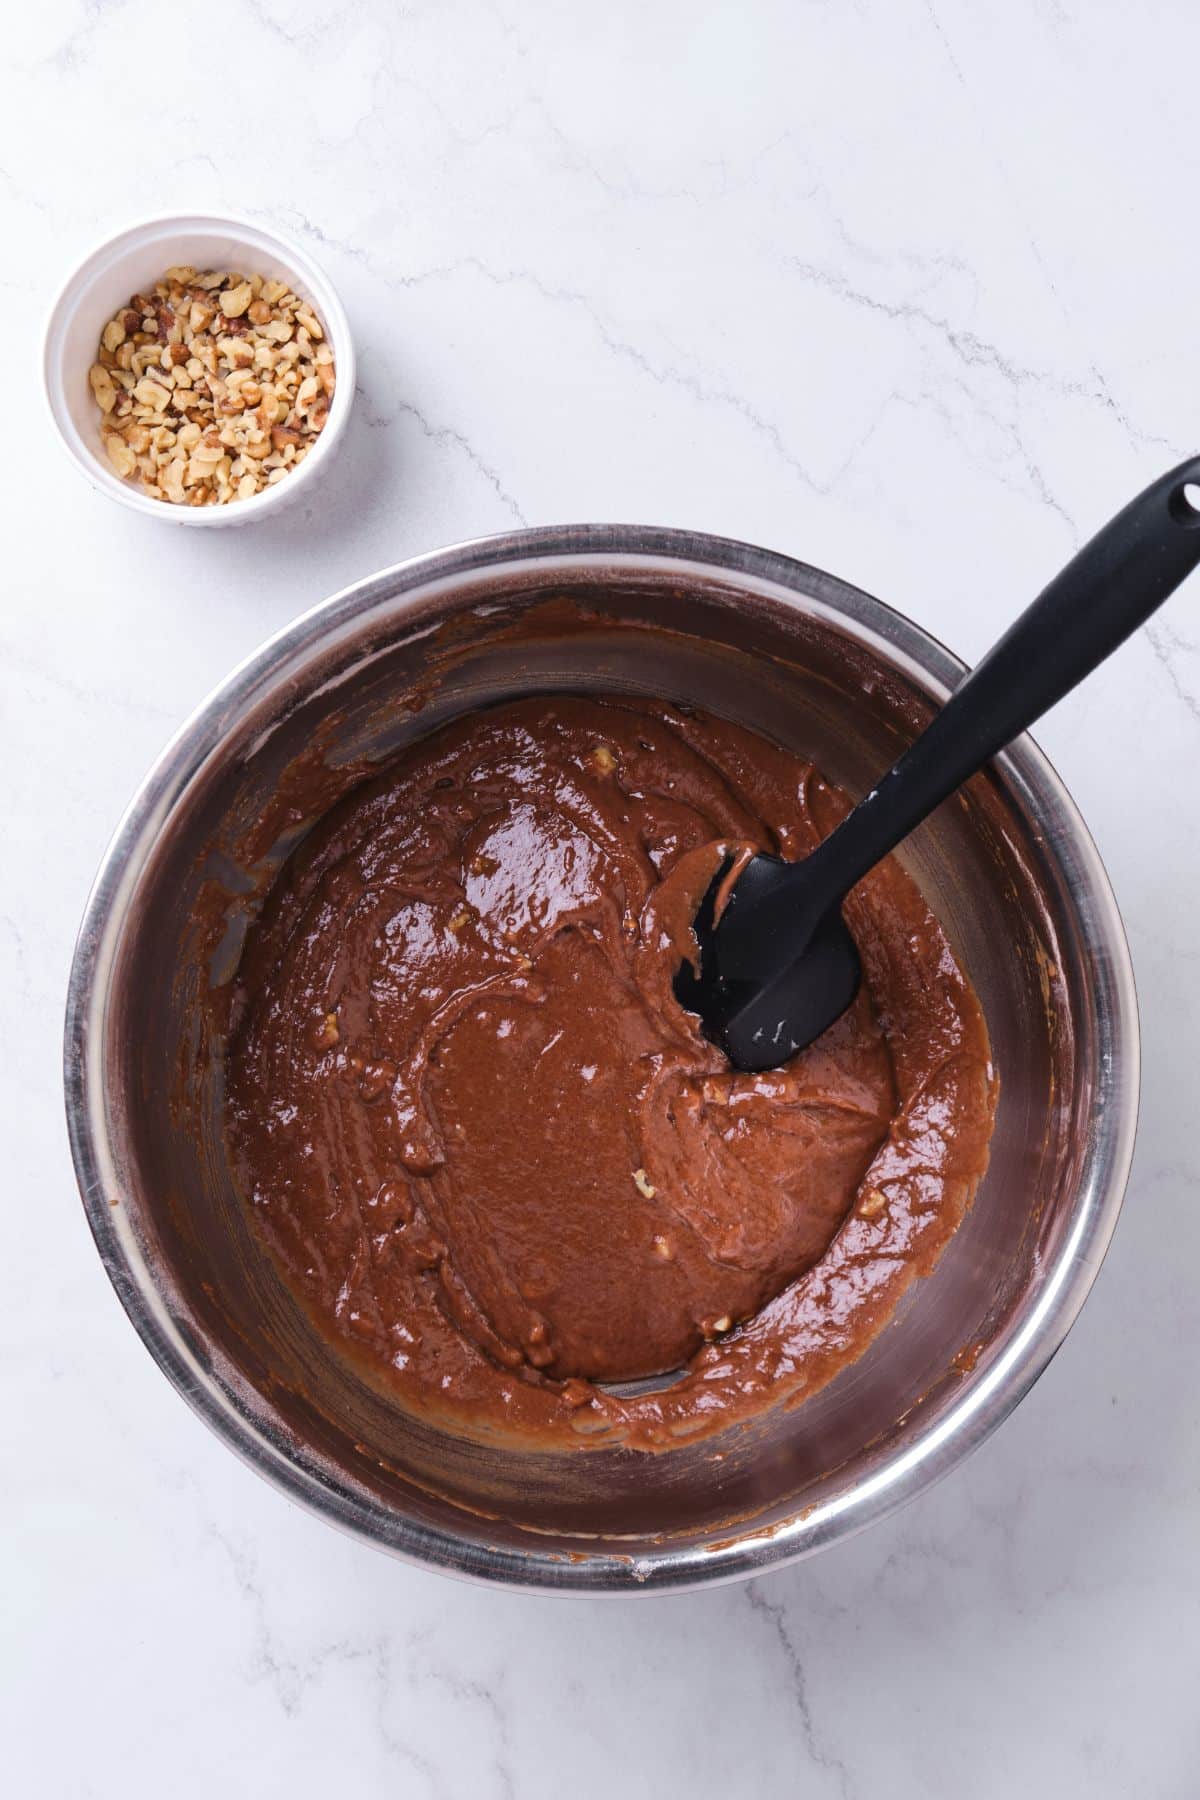
Of all the different cake mixing methods, the two-stage method is my all-time favorite. You'll often hear it called the "blended" mixing method as well, as you blend the ingredients together in a rather loose batter.
This is also the method you usually use for making quick breads and muffins, so you may already have experience with it!
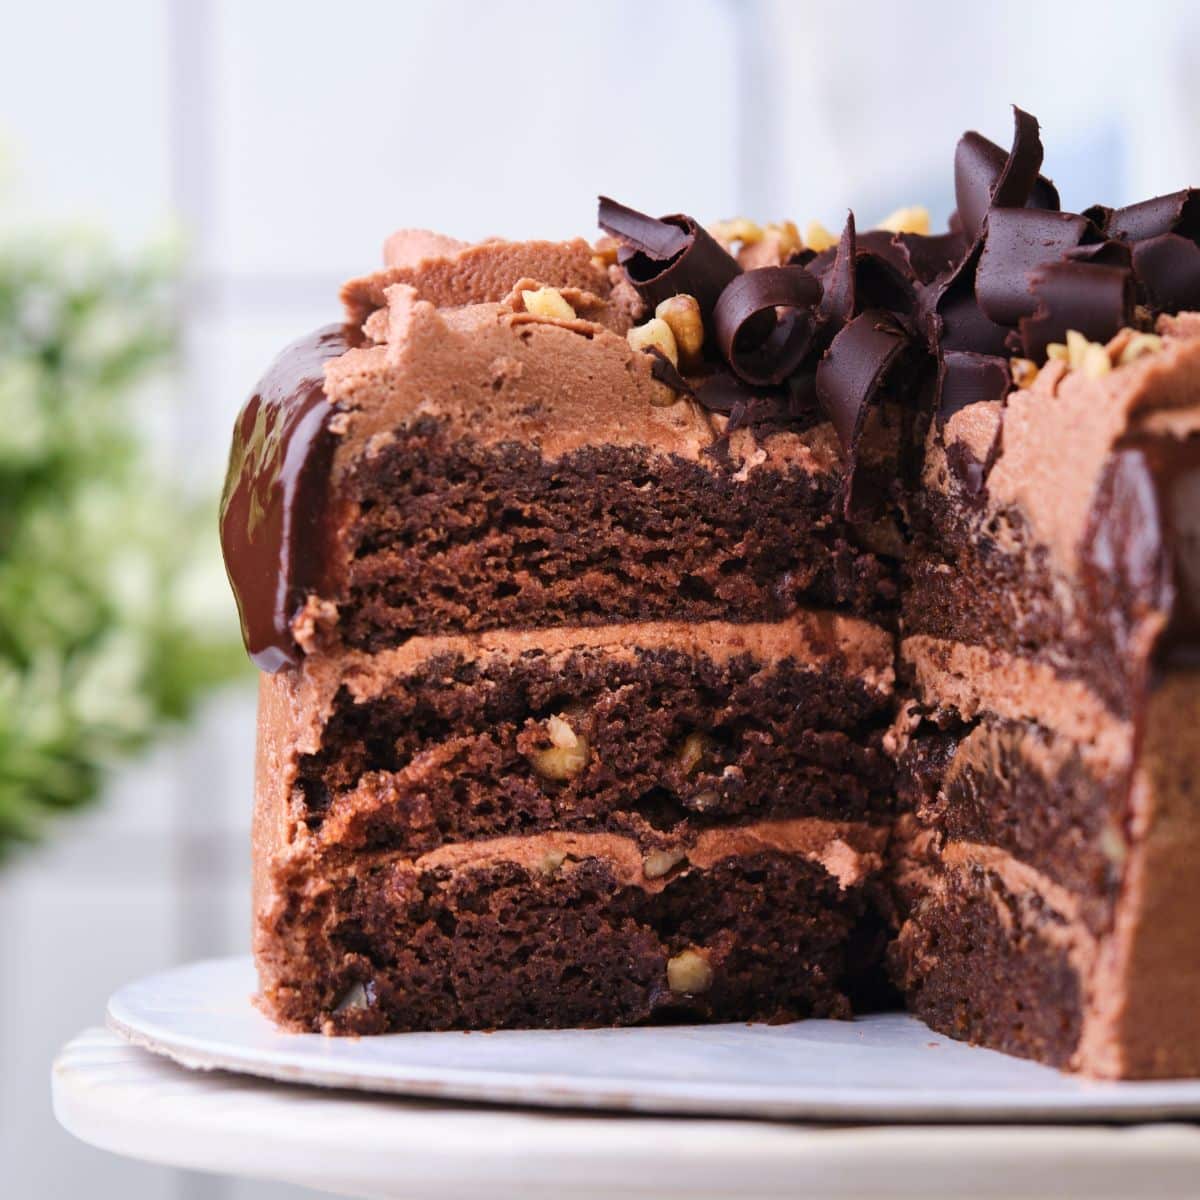
This is my favorite cake method because it is the easiest and fastest method, and it makes super moist cakes. I always add ingredients that lock in moisture, like vegetable oil, sour cream, buttermilk, and Instant Clearjel. You'll usually use chemical leaveners, like baking soda and baking powder, instead of whipped egg whites or creamed butter and sugar.
Cakes made following the two-bowl method tend to rise a little taller than those made using the creamed method, are slightly denser, and are very moist. Plus, this method is great for beginner bakers, as it doesn't require the careful creaming of butter and sugar.
Equipment
This simple cake mixing method involves using two separate bowls - one for dry ingredients and one for wet ingredients. It's great for beginner bakers, as it doesn't require the careful creaming of butter and sugar.
You'll also want a sturdy whisk to make whisking the batter easier.
Top Tip
It is not recommended to use a stand mixer for two-bowl method cakes. This can over-mix the batter and create a tough or dense cake.
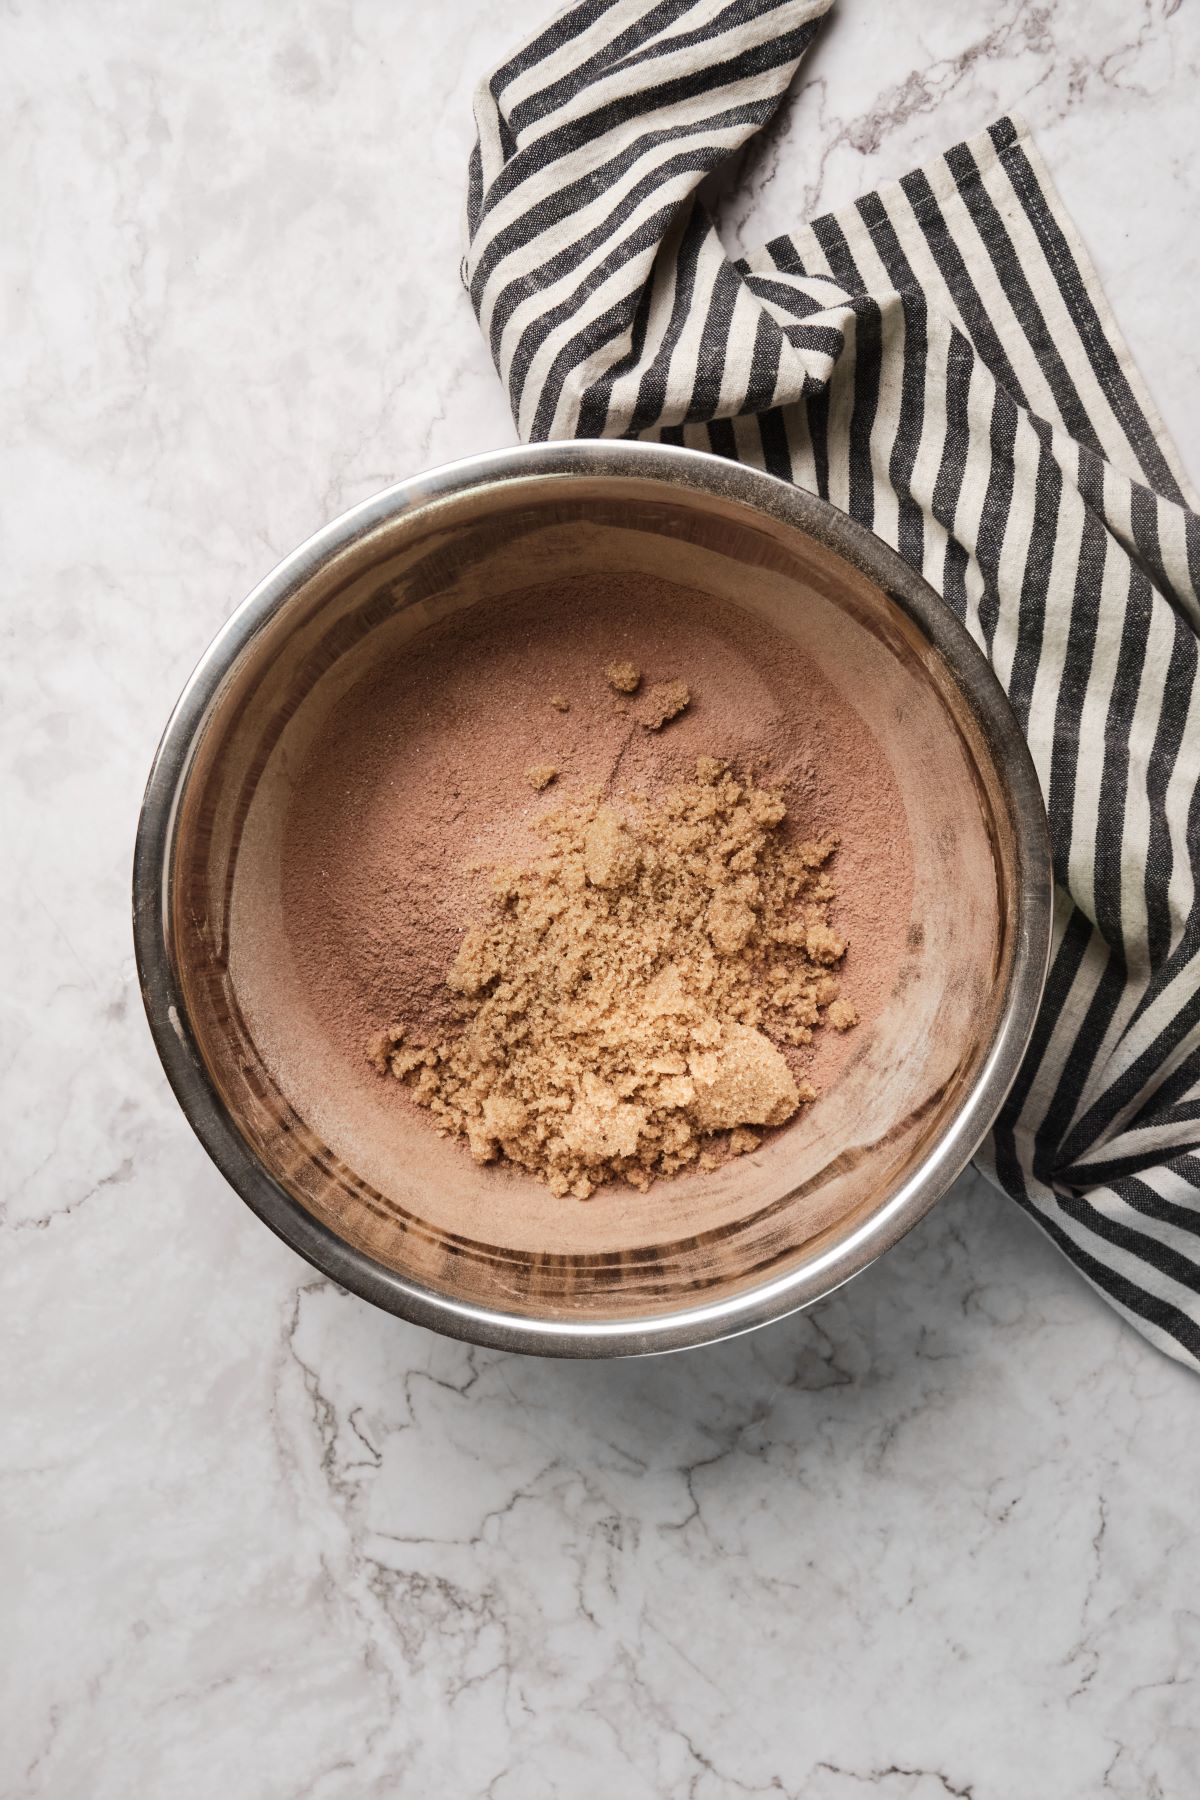
In one bowl, you whisk together the dry ingredients – typically flour, baking powder, baking soda, and salt.
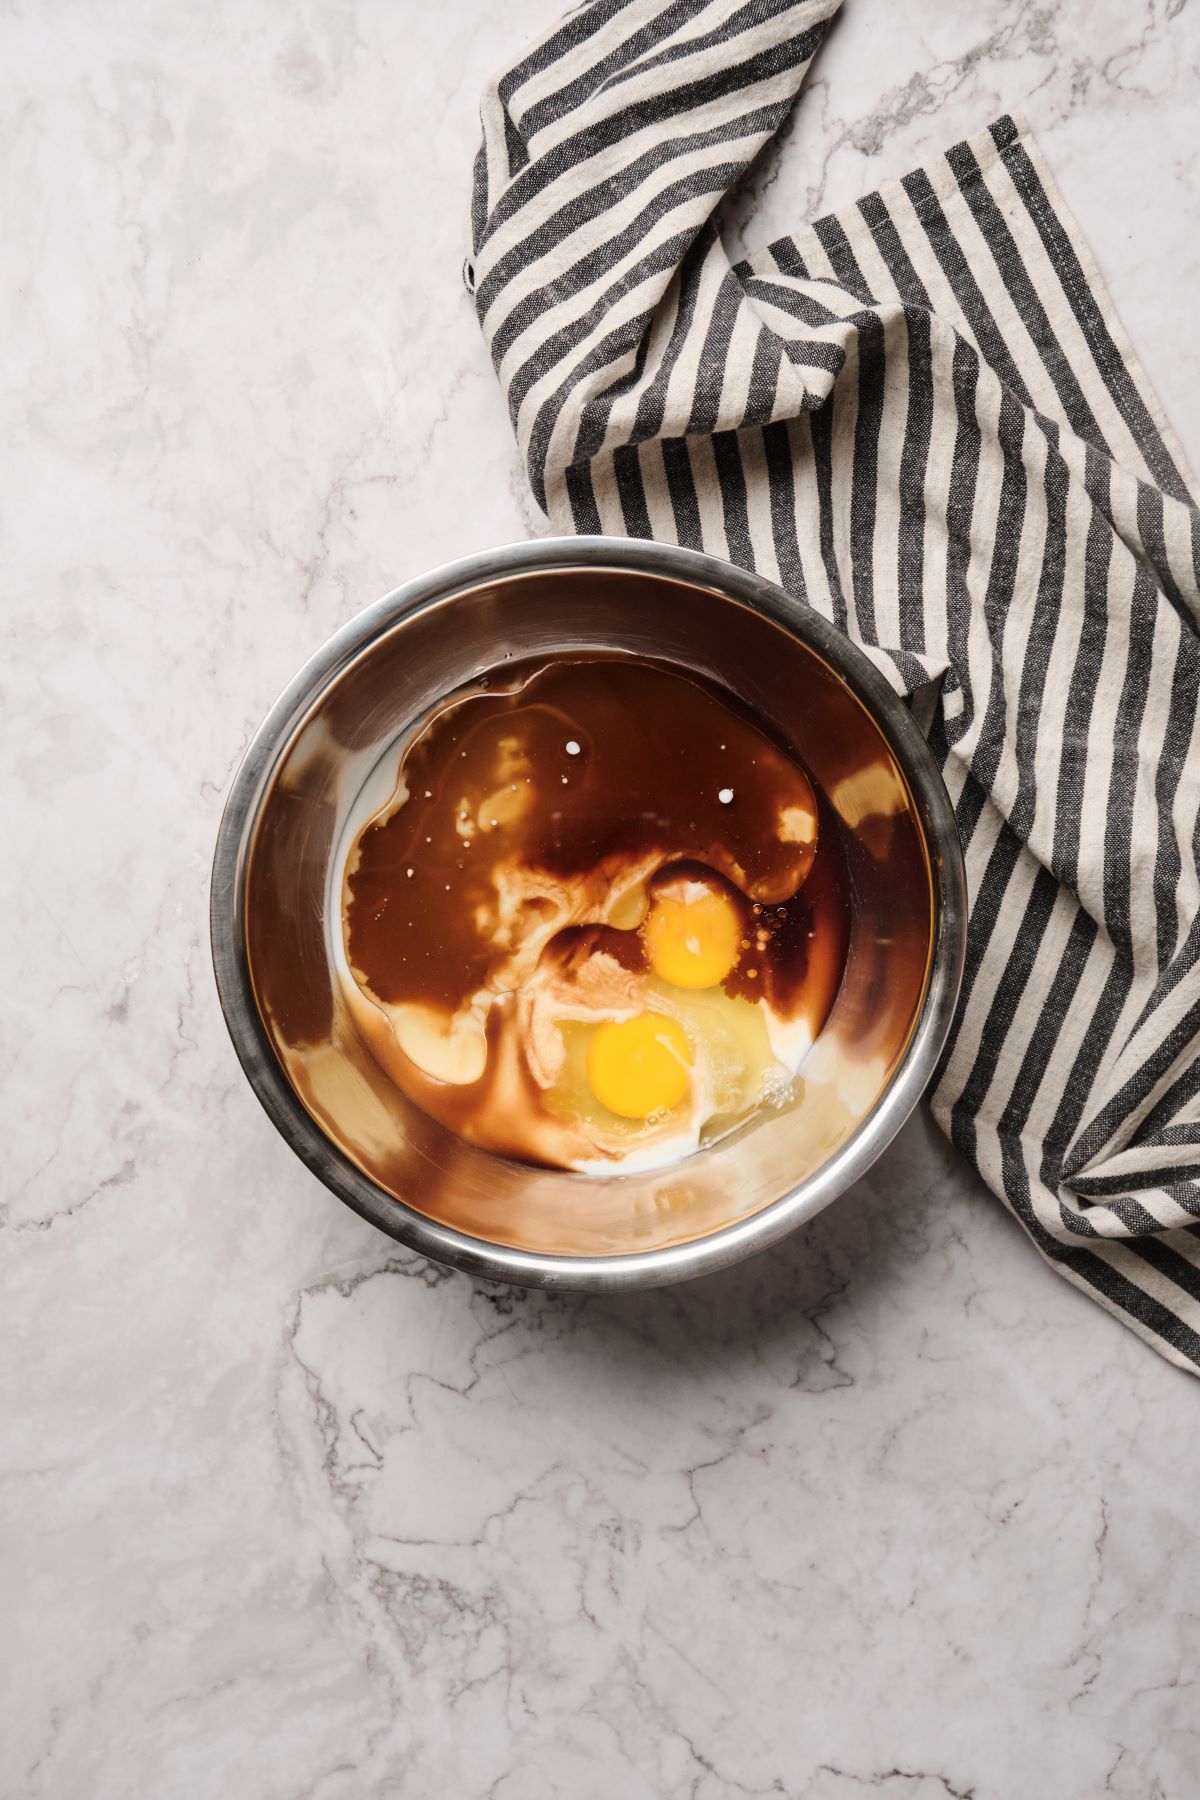
In the second bowl, you mix the wet ingredients – this usually includes eggs, oil or melted butter, milk, and flavorings like vanilla extract or citrus zest.
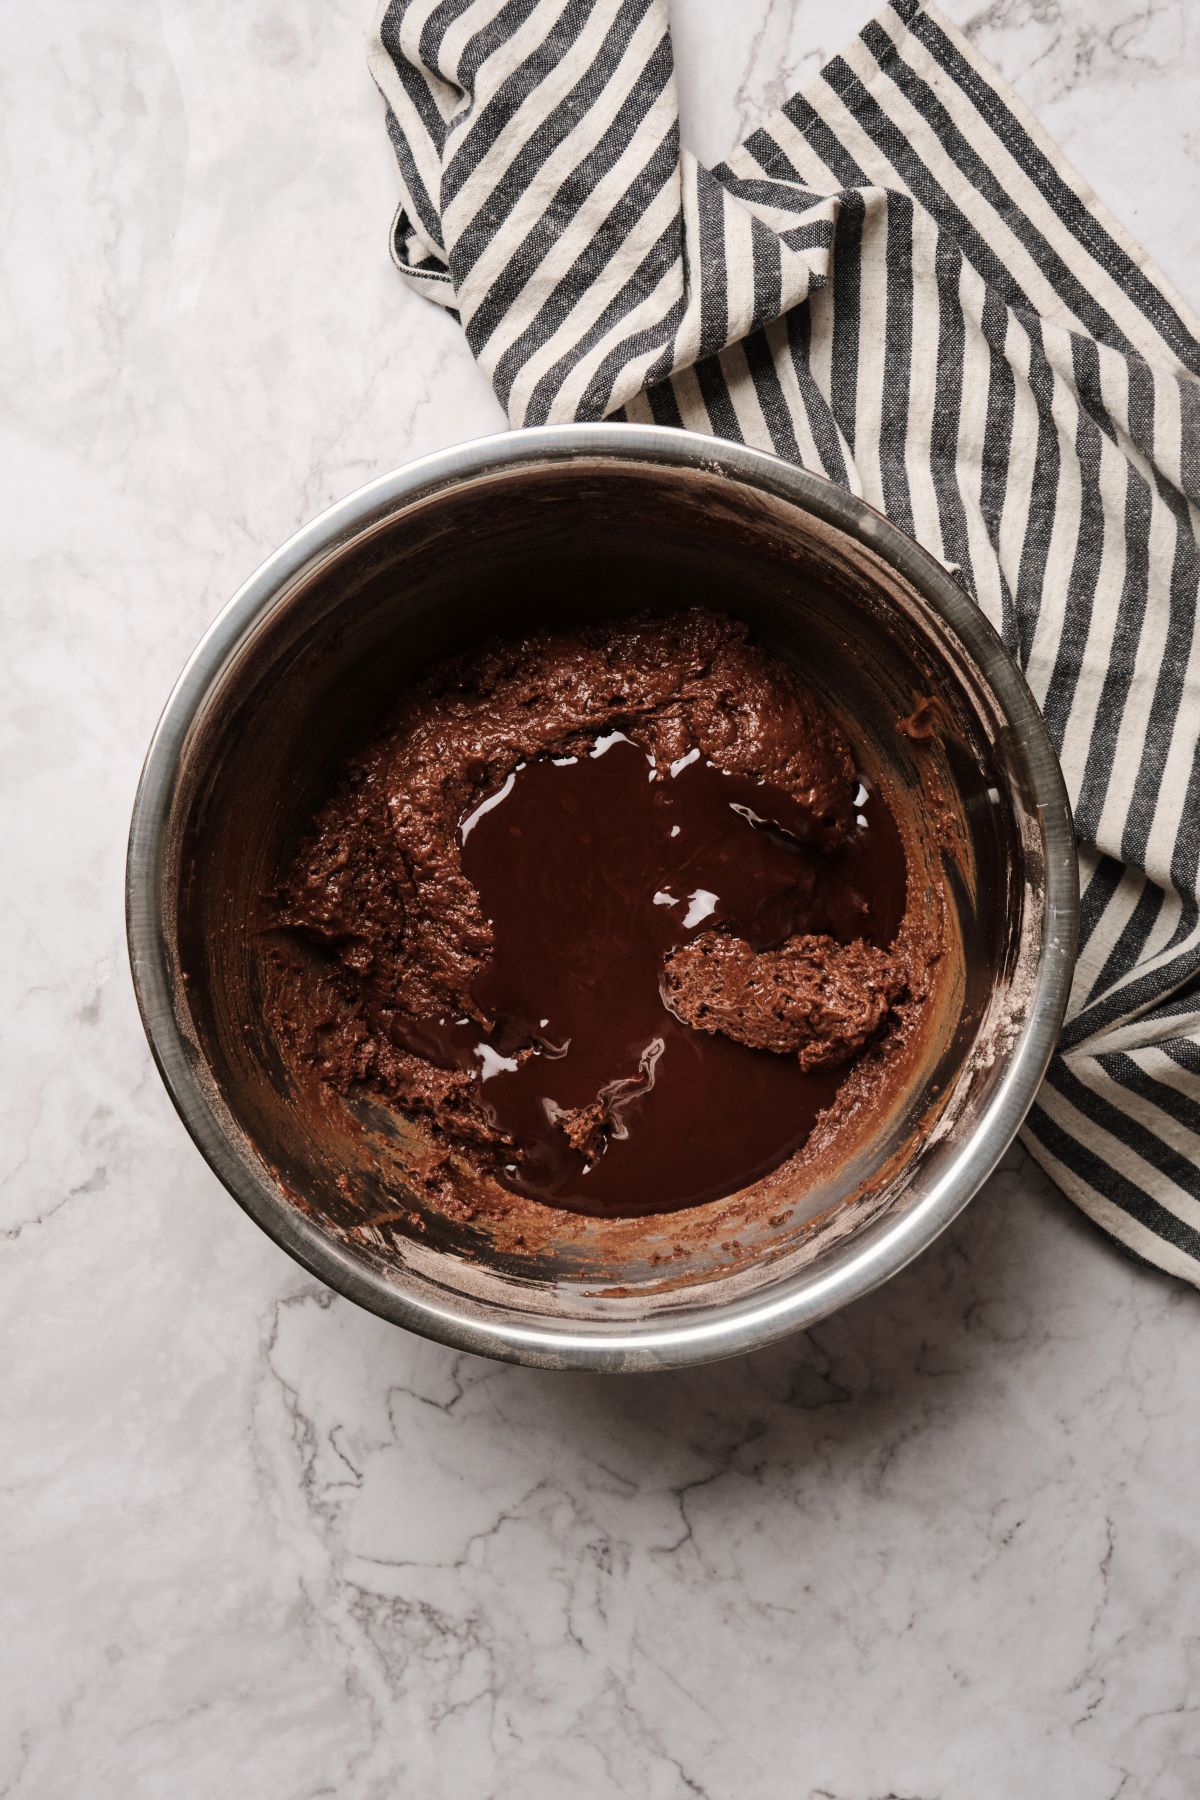
The wet ingredients are then added to the dry ingredients and mixed. Add melted butter (optional).
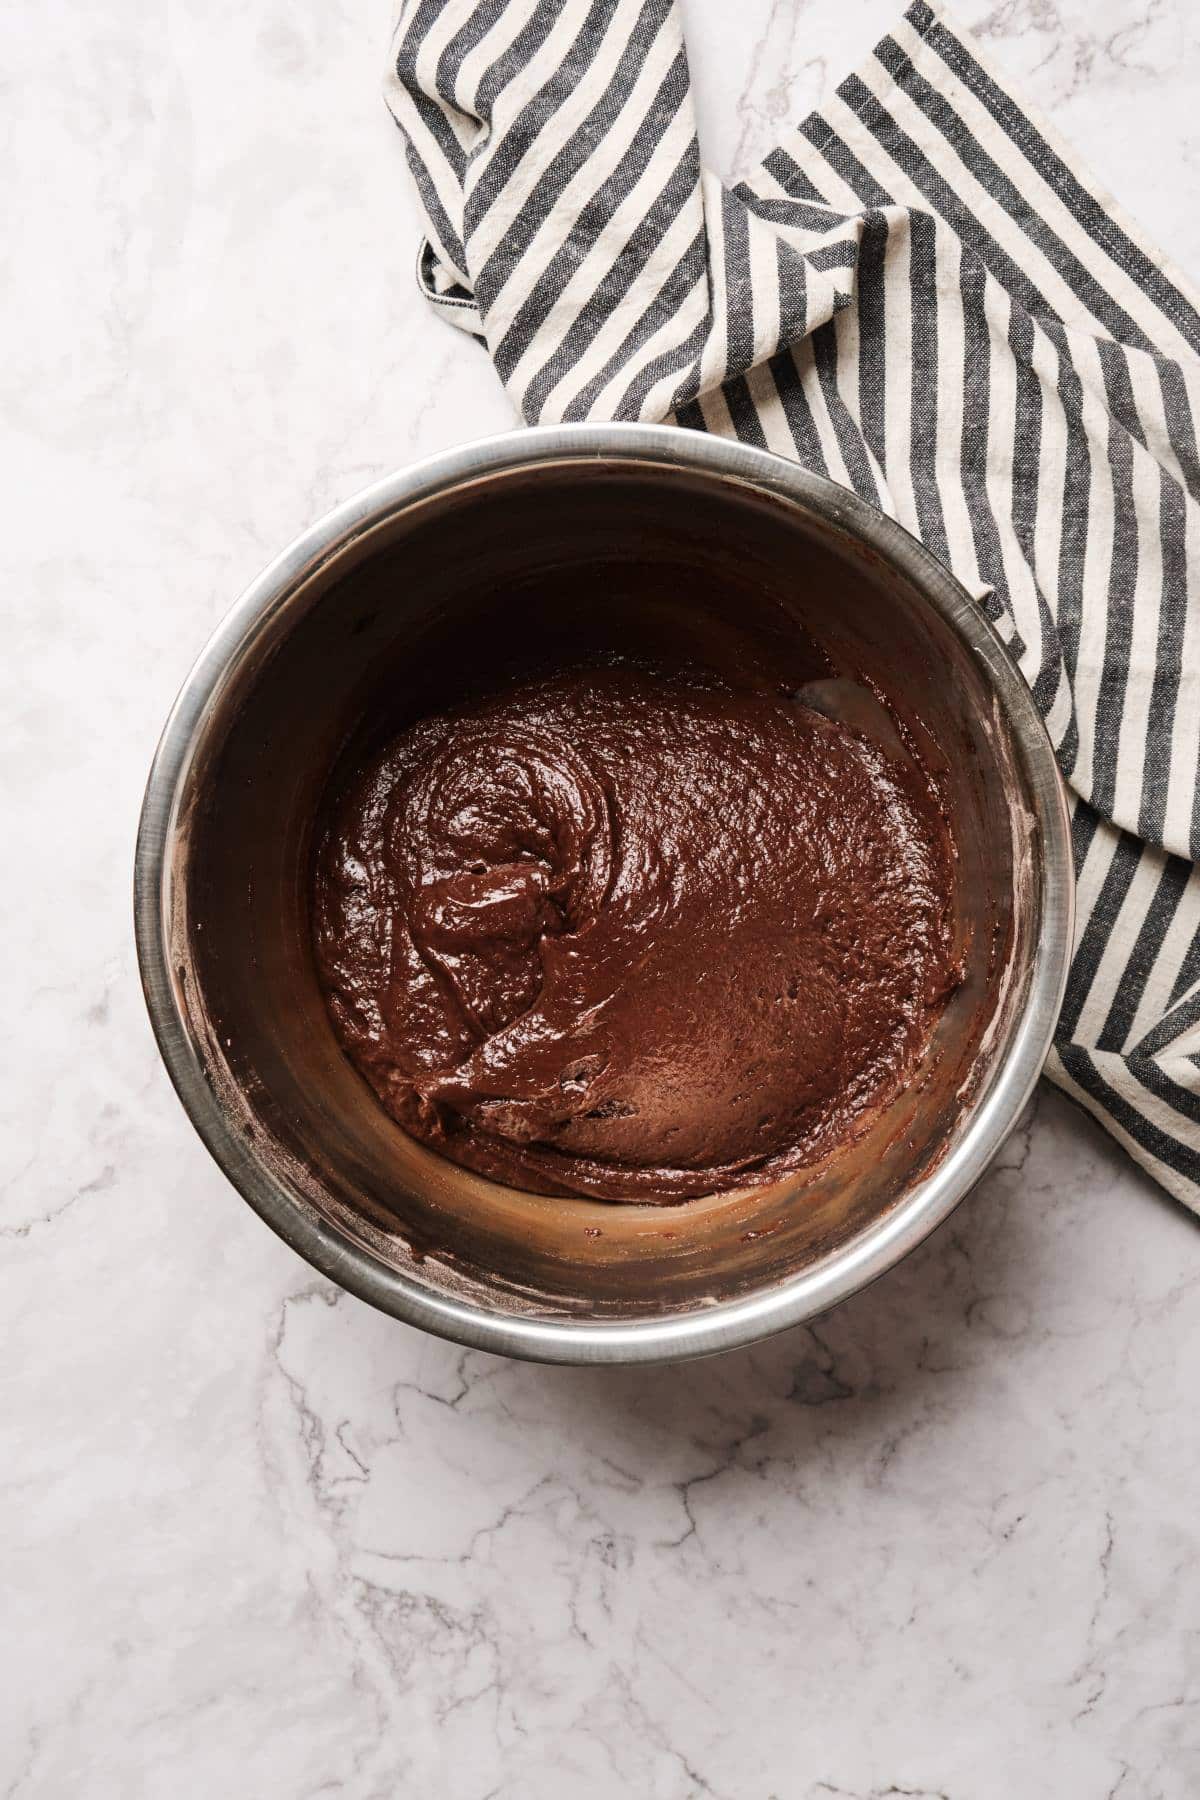
In my recipes, I like to mix in melted butter as the last step. I prefer to add the butter at the end, as opposed to the wet ingredients, as adding melted butter to cold liquids can cause it to solidify slightly.
Popular Recipes
I've found the two-bowl method works really well with my chocolate cake recipe and cake recipes that contain fruit in the batter (like my Fresh Strawberry Cake). For vanilla cakes, I typically prefer the creamed method or reverse creaming method, which produces a lighter crumb.
Traditional Creaming Method
The creaming method is the most common mixing method and is probably what you think of when you think of making cakes. In these recipes, you start by "creaming" the butter and sugar together. If you've ever made a cake or even chocolate chip cookies, you've probably used this method.
This creaming process traps tiny air bubbles in the batter that expand during baking, giving the cake its rise. As you can imagine, all those air pockets usually result in very light, airy cakes. This is why this method is so popular!
Side Note
It's extremely important to use room-temperature butter for this process. I prefer to use salted butter in many of my recipes as it adds extra flavor, but it's vital that the butter is properly softened.
You should be able to press your index finger into the butter and see an indentation, but the butter stick should hold its shape. If you don't see an indentation, it's too cold. If the butter can't hold its shape, it's too soft.
Equipment
This method generally uses either the bowl of a stand mixer with a paddle attachment and whip attachment, or a mixing bowl with an electric mixer. It's not recommended to try to cream the butter and sugar by hand, as you won't be able to get the same light, airy texture.
I prefer a paddle attachment that scrapes the sides of the bowl as it mixes because it saves a lot of time!
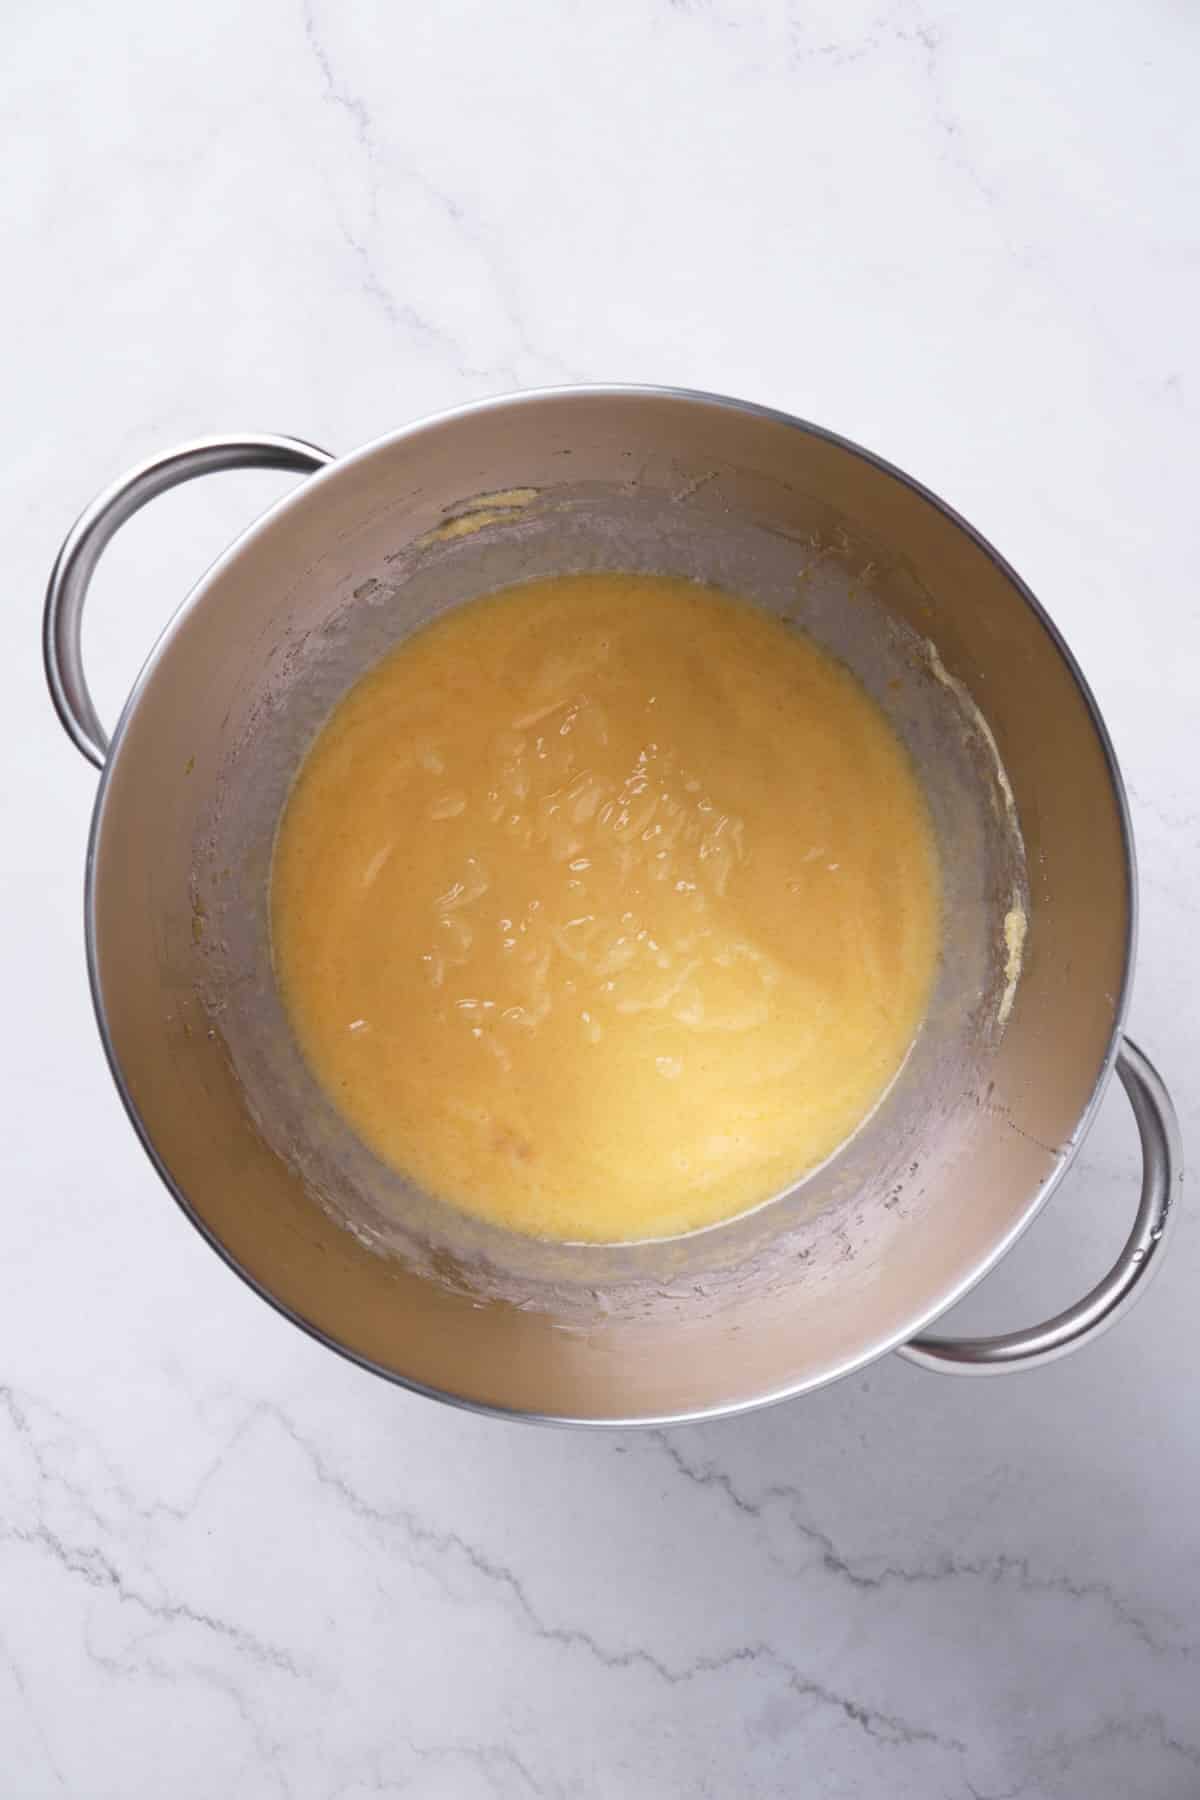
The sugar and fats (typically room temperature butter) are creamed together until fluffy. In my recipes, I also add oil after creaming the butter and sugar. Next, the eggs or egg yolks are added.
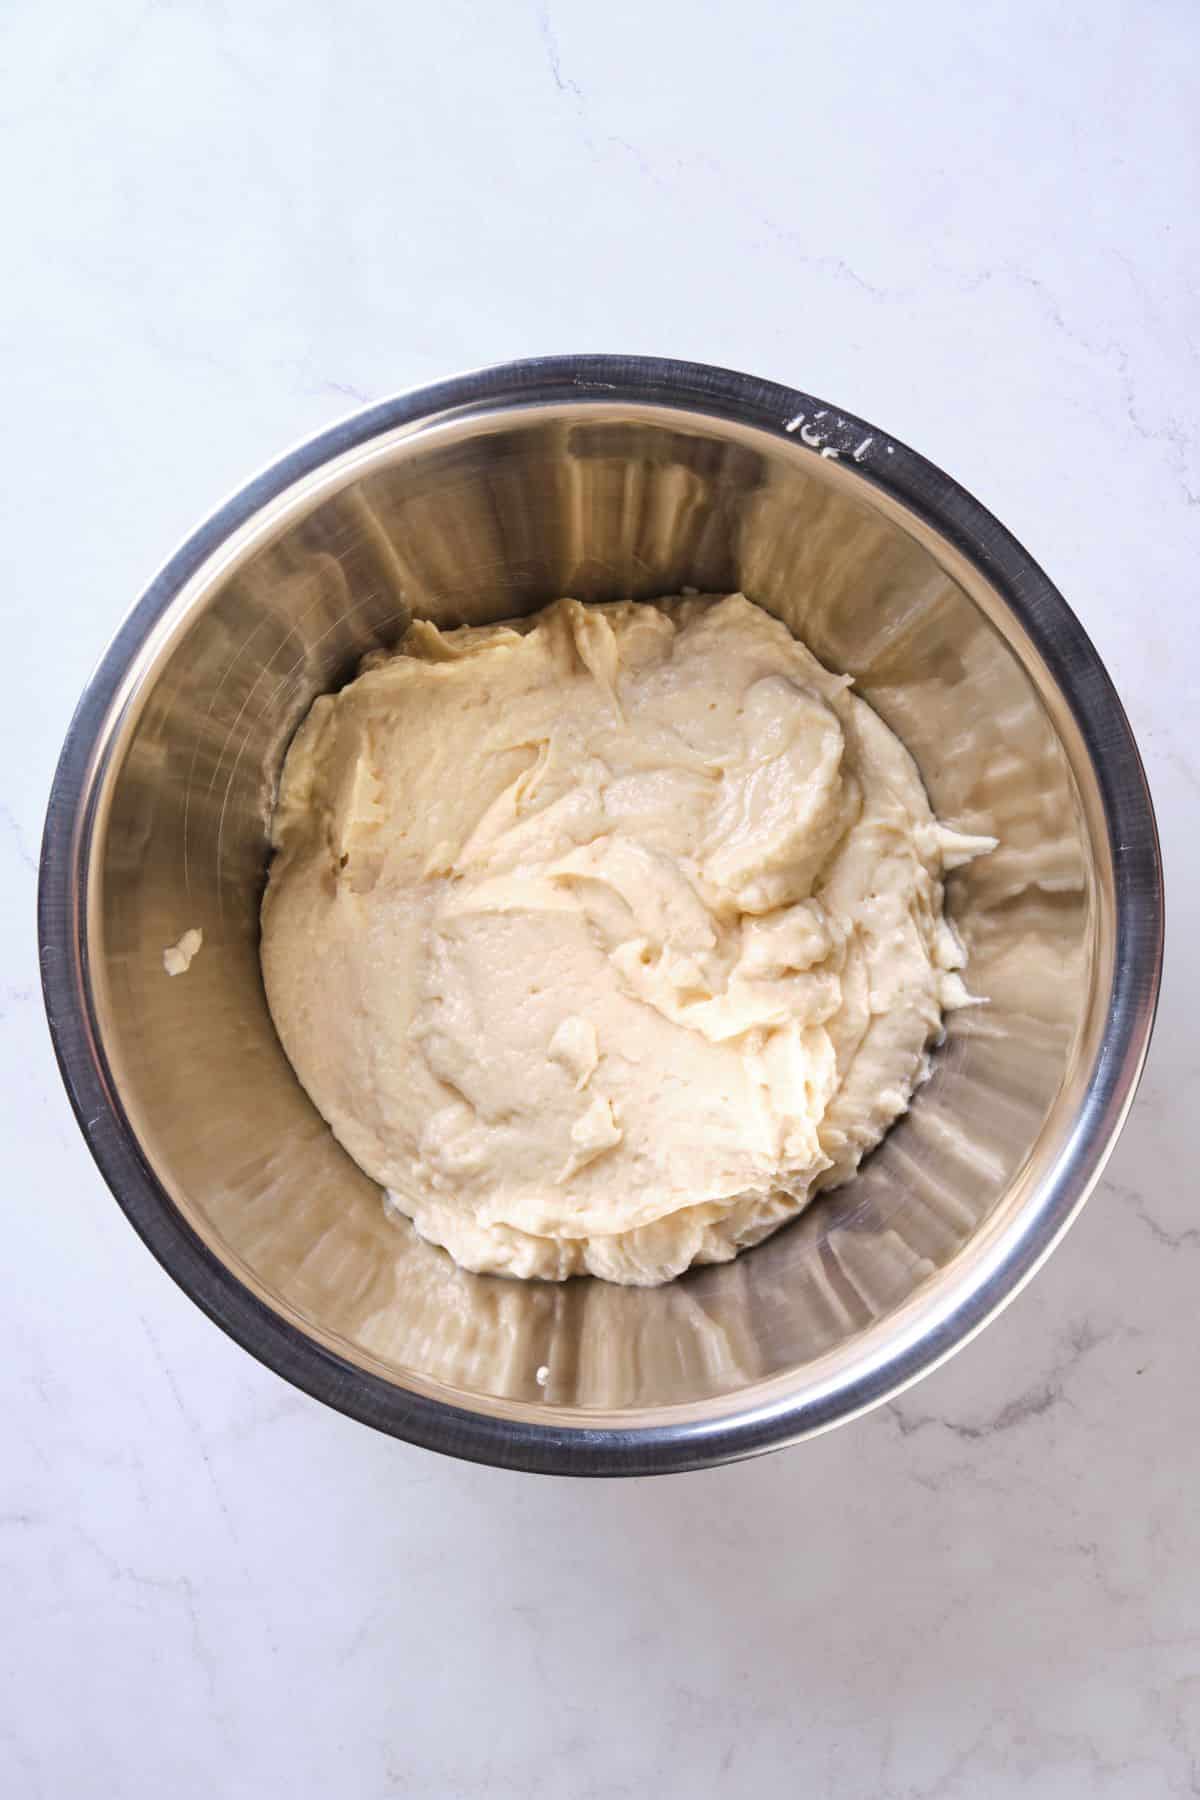
Alternate adding the wet and dry ingredients and mix evenly.
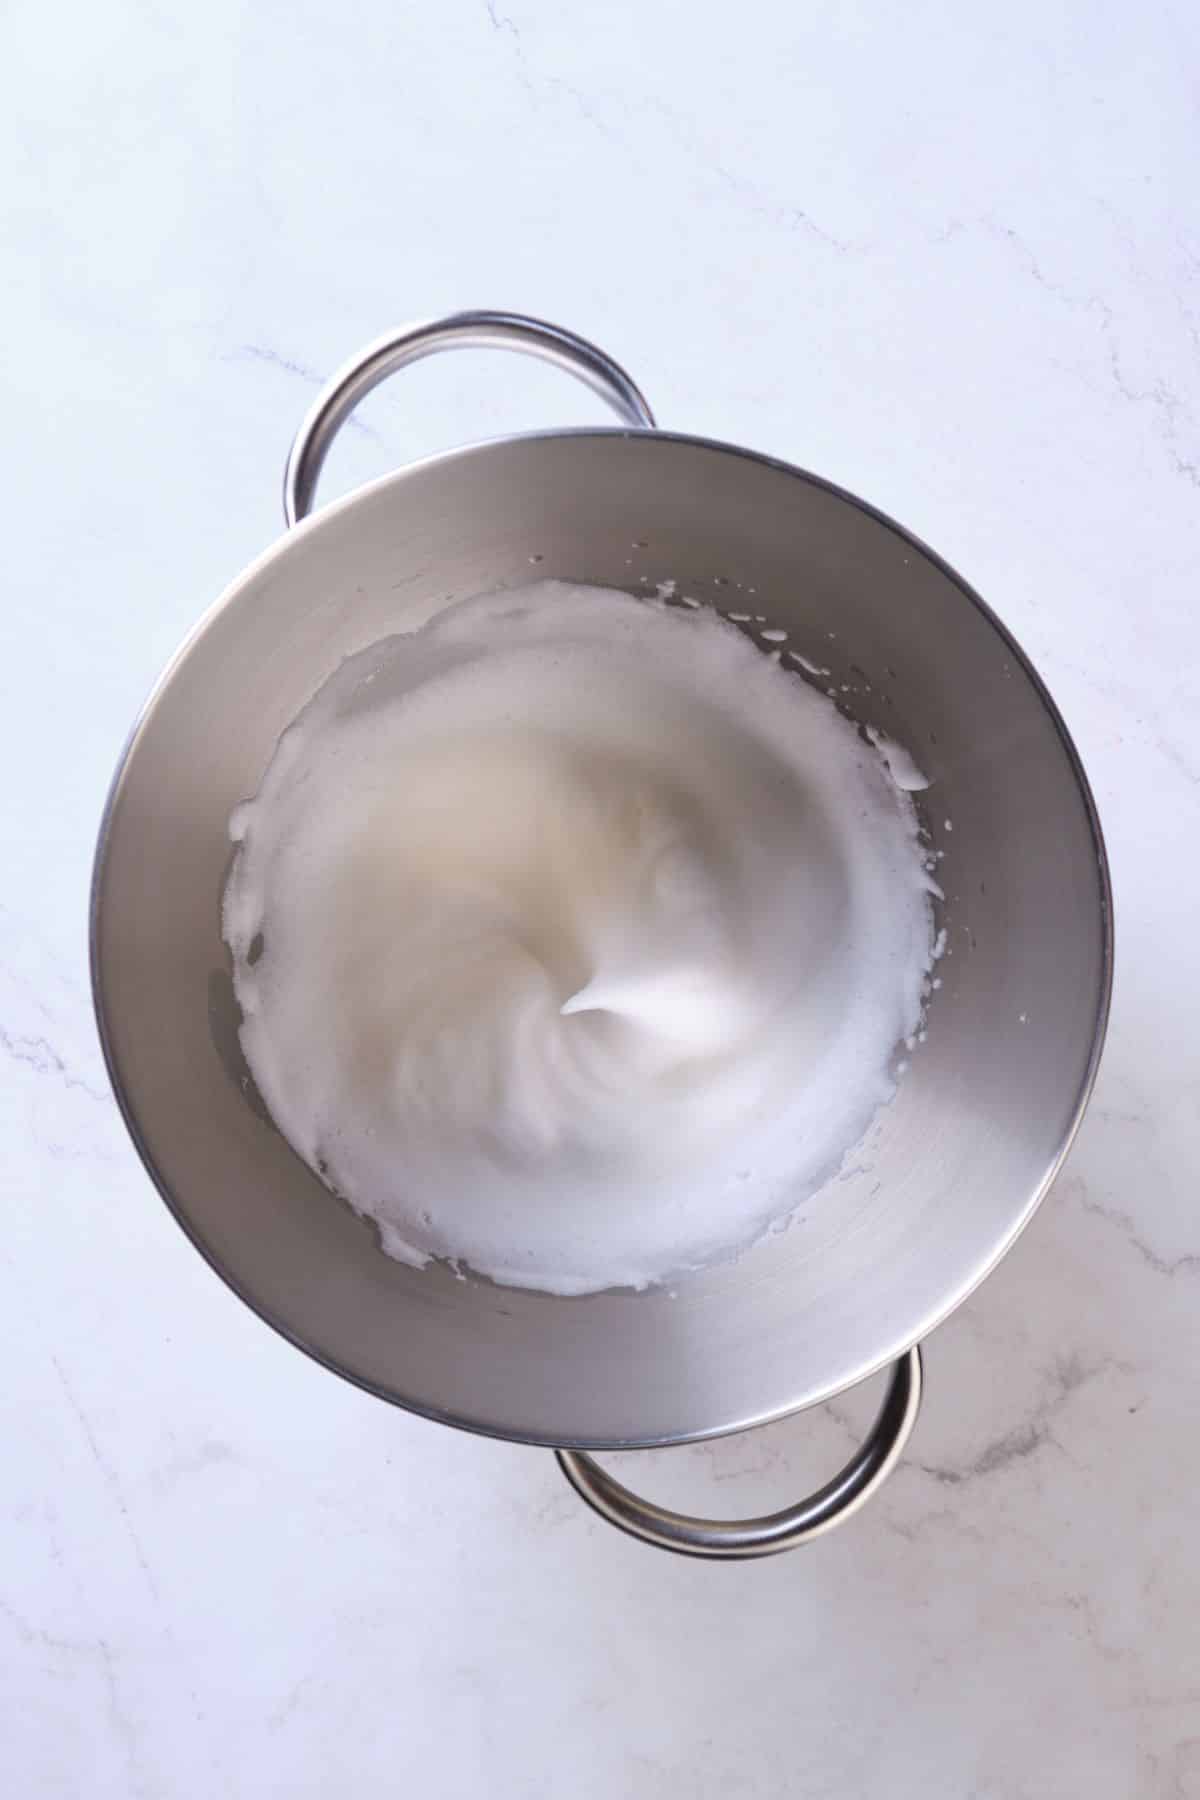
In another bowl, whip the egg whites until they reach stiff peaks.
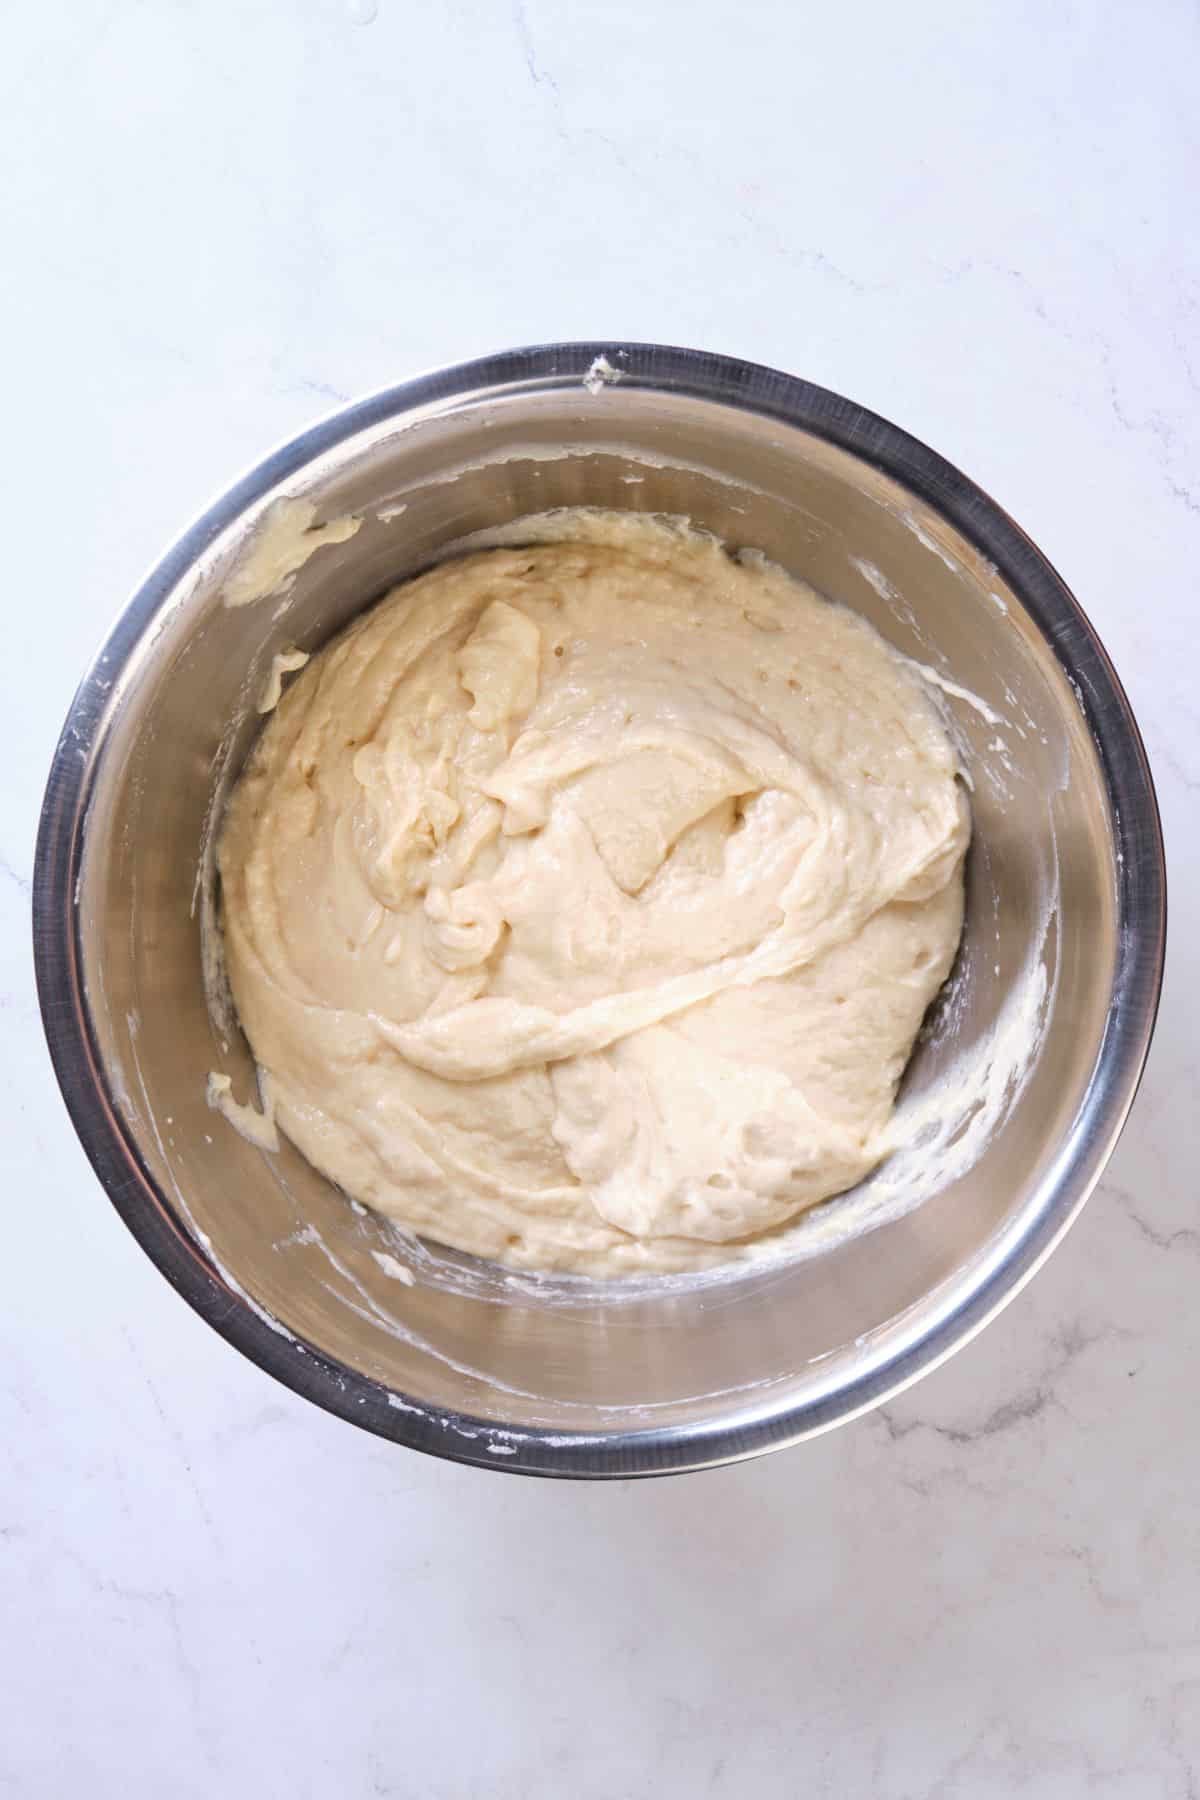
Then, fold the egg whites into the batter before baking according to the recipe instructions. (See notes below about variations.)
Variations
- Folding Egg Whites: In most of my traditional creamed cake recipes, especially those aiming for a very light and airy texture, the egg whites are beaten separately until they reach a stiff peak stage and then gently folded into the batter. This improves the cake's texture and rise. It's commonly used in recipes where an extra light texture is desired, like sponge cakes or chiffon cakes.
- Not Folding Egg Whites: In other recipes using the traditional creaming method, the whole eggs are added directly to the creamed butter and sugar mixture. This method still incorporates air but results in a different texture, so the cakes are not as soft or light as when the egg whites are folded into the batter. You'll often see this with butter-based cakes, like pound cake.
Popular Recipes
Cupcakes with this method tend to shrink after baking, so I prefer the two-bowl method or reverse-creaming method cake recipes for those recipes.
Reverse Creaming Cake Mixing Method
I have been experimenting with the reverse creaming method for a while now, and I’m excited to introduce it in my recipes! Based on my experience, these cakes often have a slightly taller rise than my creamed-method cakes, with a delicious, soft texture.
The batter also comes together faster because you don’t have to whip the egg whites separately and fold them into the batter.
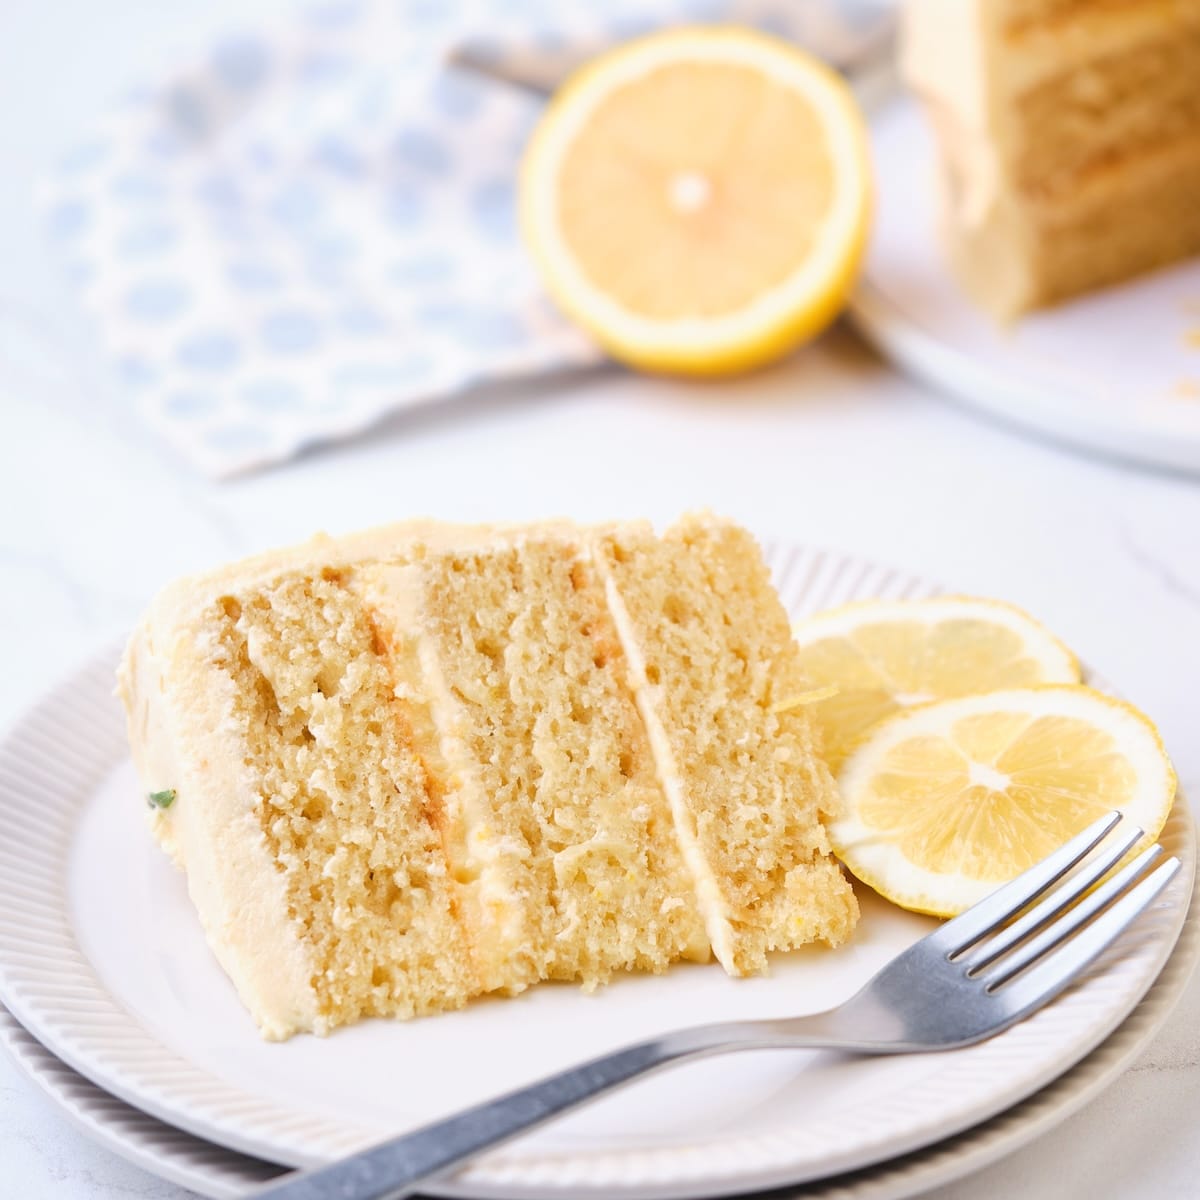
Most importantly, the reverse creaming method solves a few common problems with the traditional creaming method. Those air pockets can easily be deflated by overmixing, and if you stir the batter too much, you can accidentally activate the gluten-forming proteins. These will give your cake a dense, chewy texture.
Here's the thing: the reverse creaming method starts by mixing the butter with the dry ingredients including the flour, not just the sugar. It doesn't rely on air pockets for lift, and since the flour isn't wet, you don't have to worry about gluten formation.
This means your cake will be less likely to sink, less likely to be gummy or dense, faster and easier to make, and even taller and lighter than cakes made using the traditional creaming method.
Can you see why reversed creaming has quickly become my second favorite mixing method? I find it produces very similar results to the traditional creaming method with folded-in whipped egg whites but with less work.
It's new to many home bakers, but it's a fantastic method that should be much more popular.
Equipment
Just like the creaming method, this cake mixing method requires either a stand mixer or a mixing bowl and a hand mixer. You will also need another mixing bowl and a whisk to combine the wet ingredients.
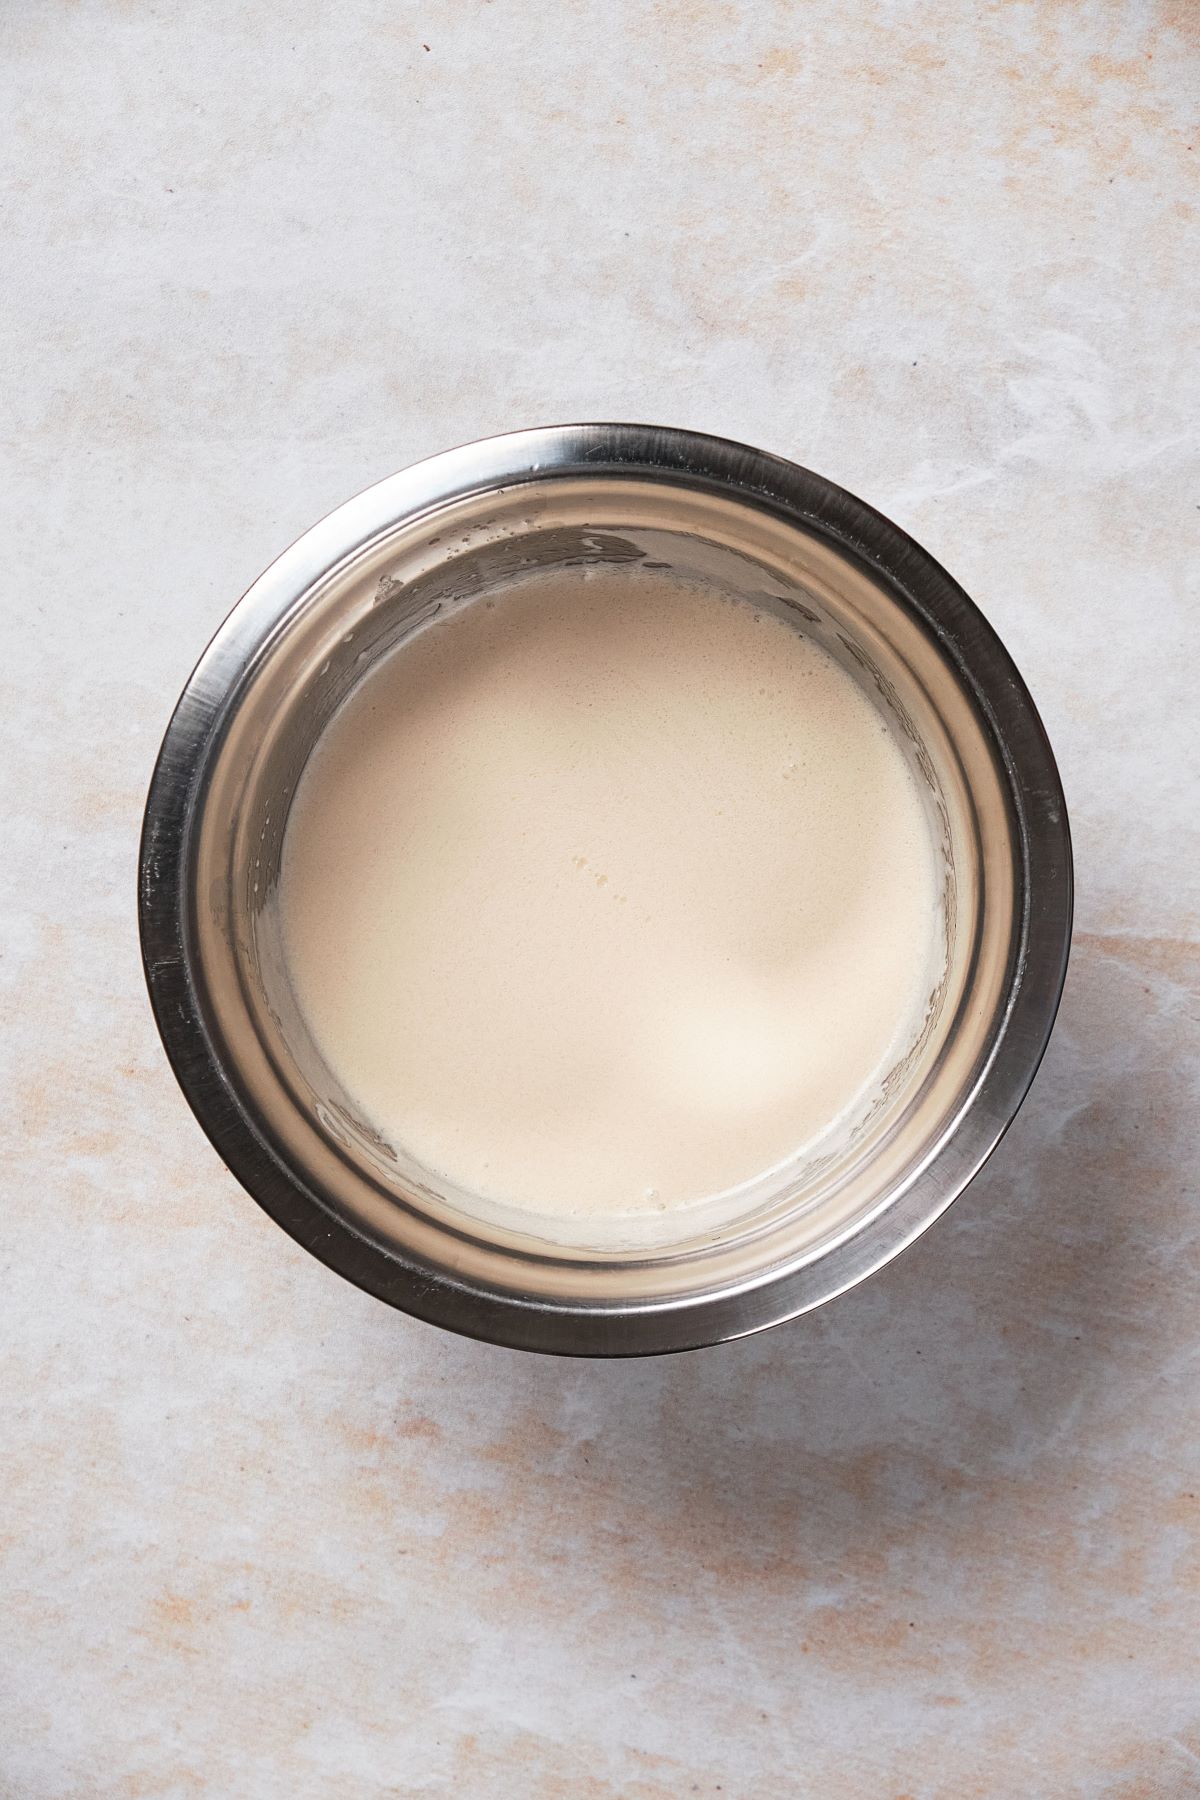
Whisk the liquid ingredients in one bowl.
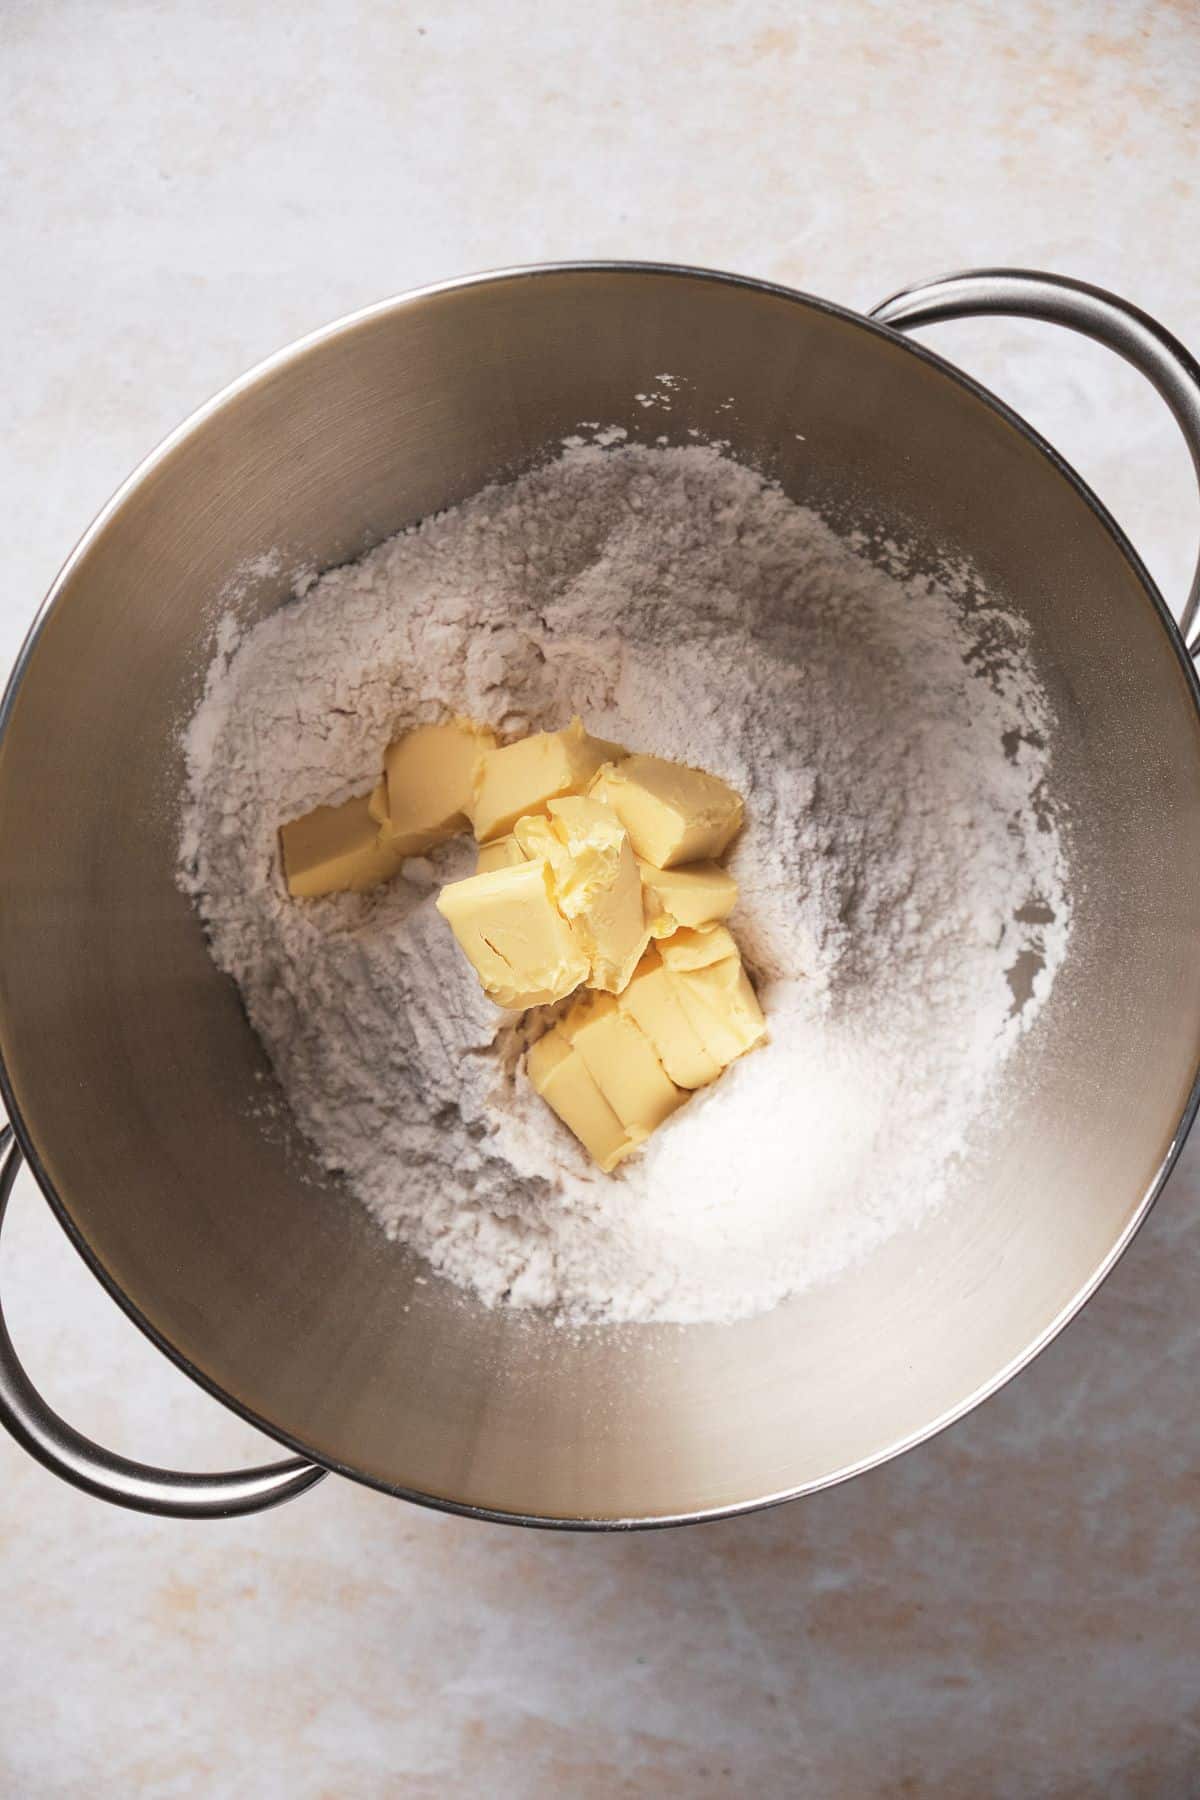
Add the softened butter and dry ingredients in the bowl of your stand mixer.
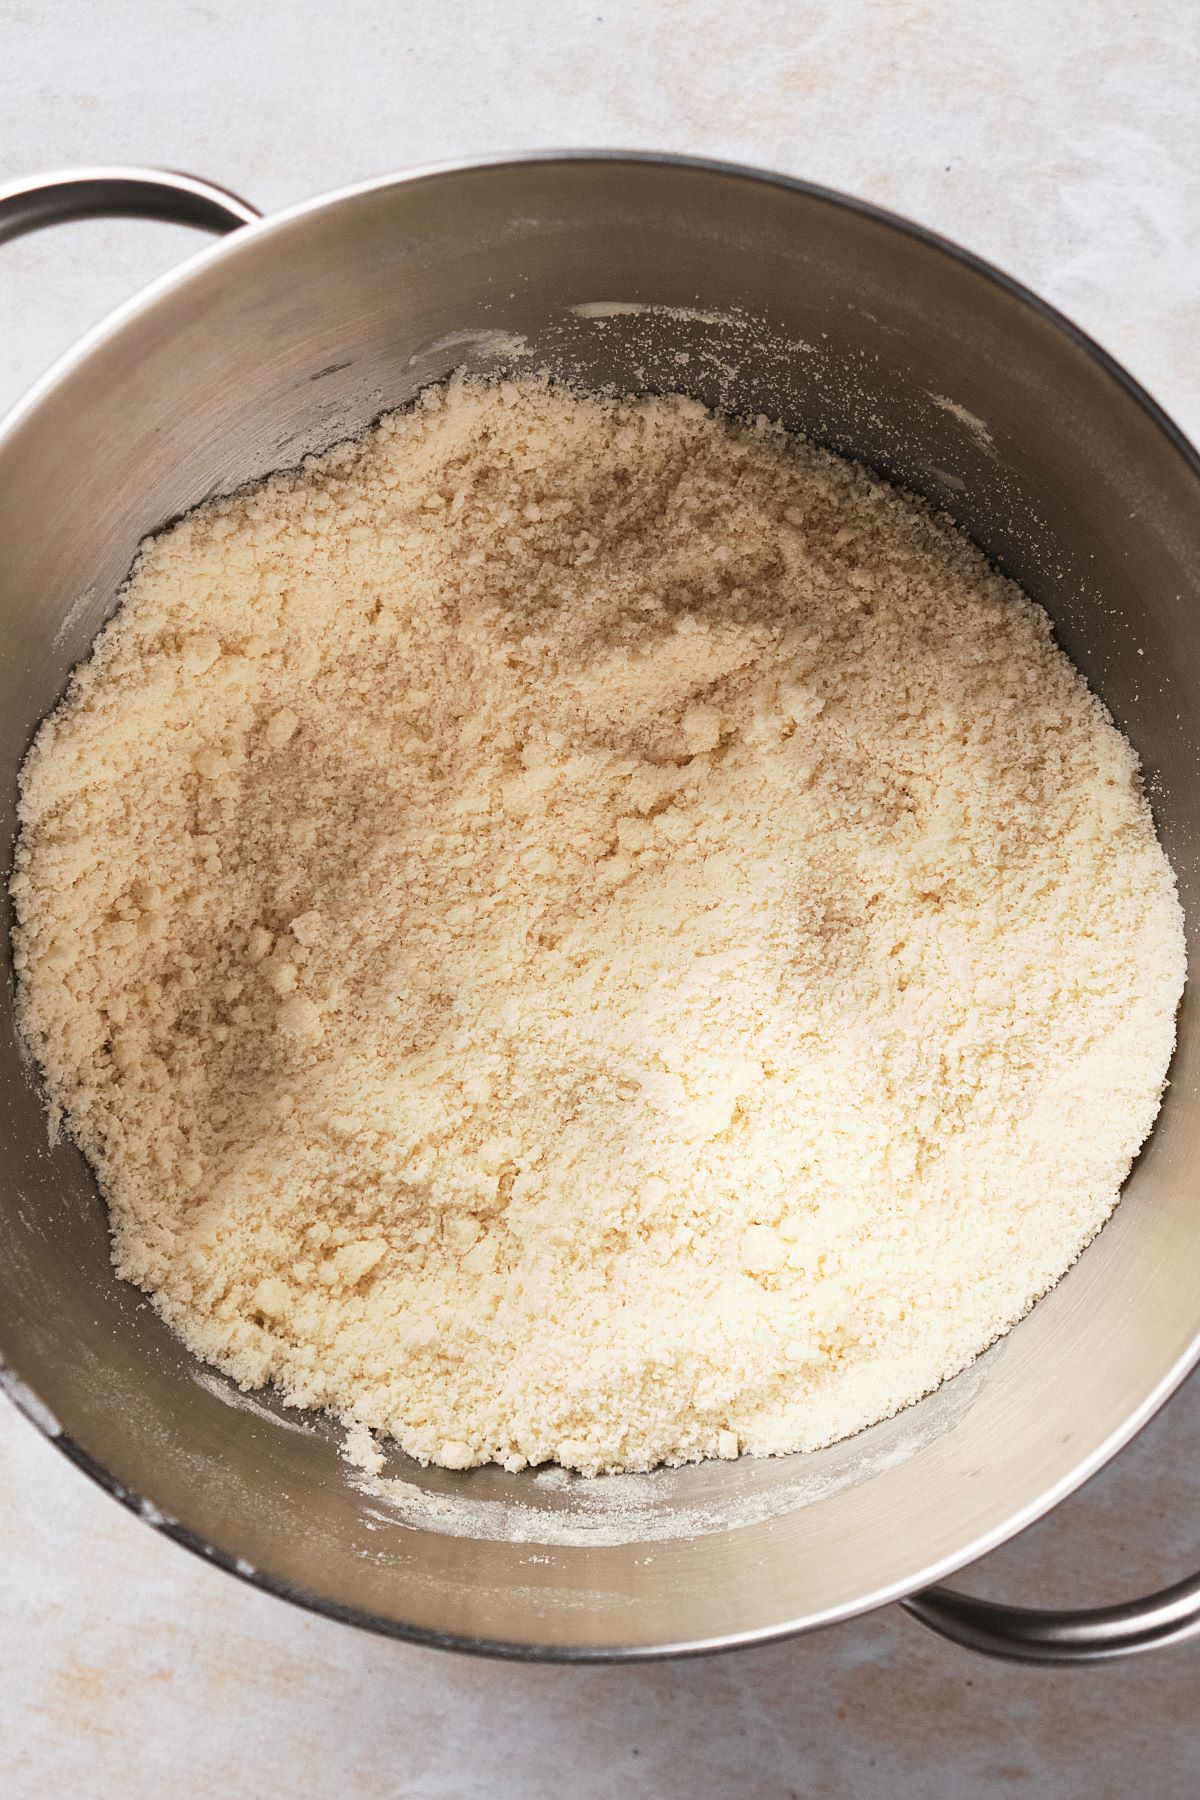
Mix the butter and flour together until it resembles sandy crumbs.
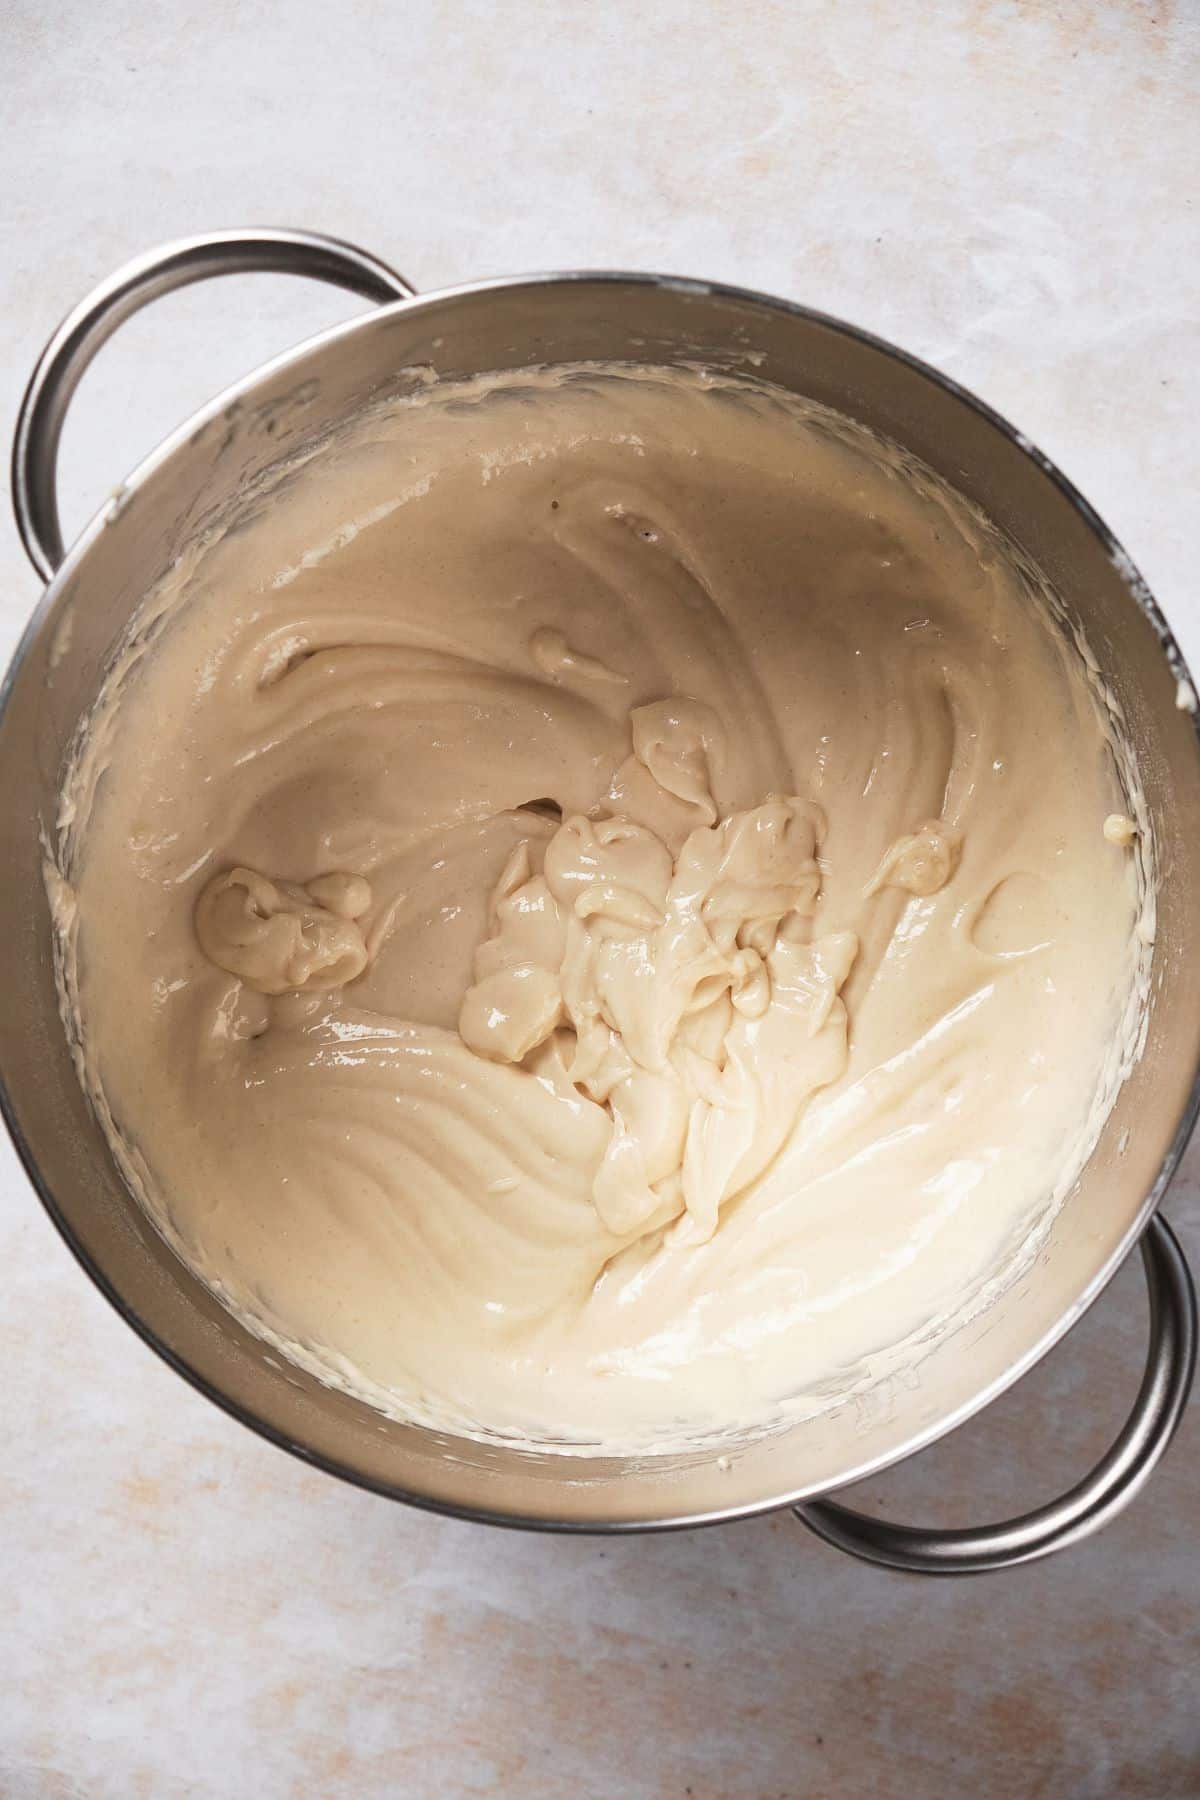
Add the wet ingredients and any eggs to the cake batter. Mix until the ingredients are thoroughly combined, then beat until smooth.
Popular Recipes
There are other cake mixing methods, like the egg foam method, which is made by whipping egg whites until they reach stiff peaks. This is usually done for sponge cakes, like angel food cake, and they're very low in fat.
I don't have many recipes that use this method, as I prefer really moist cakes (moisture = flavor). This is similar to how I make creamed cakes with folded egg whites, which blends the traditional creaming method and foam method together.
If you fall in love with a recipe that uses the creaming method, don't be afraid to try it! It's a classic for a reason. However, I've found that you can switch many of your favorite creaming method recipes to the reverse creaming method with great results.
If you're worried about gluten development and making dense or gummy cakes, simply mix the butter and dry ingredients together first in the reverse creaming before you add any liquids!
It's a really helpful method that all bakers - home bakers and professionals - can benefit from.
Was this helpful? If you love learning about baking and want to up your game this year, be sure to follow Amycakesbakes on social media and subscribe to my email updates!

