💬Featured Comment: "These were absolutely delicious! And so very easy to make. First, I made two batches. One for myself and one for a friend. Then I made additional batches for gifts to my neighbors. All gifts were very much appreciated! This will turn into a yearly tradition (per request from a couple of people). Thank you Amy for sharing this with all of us."--Lynne

Jump to:
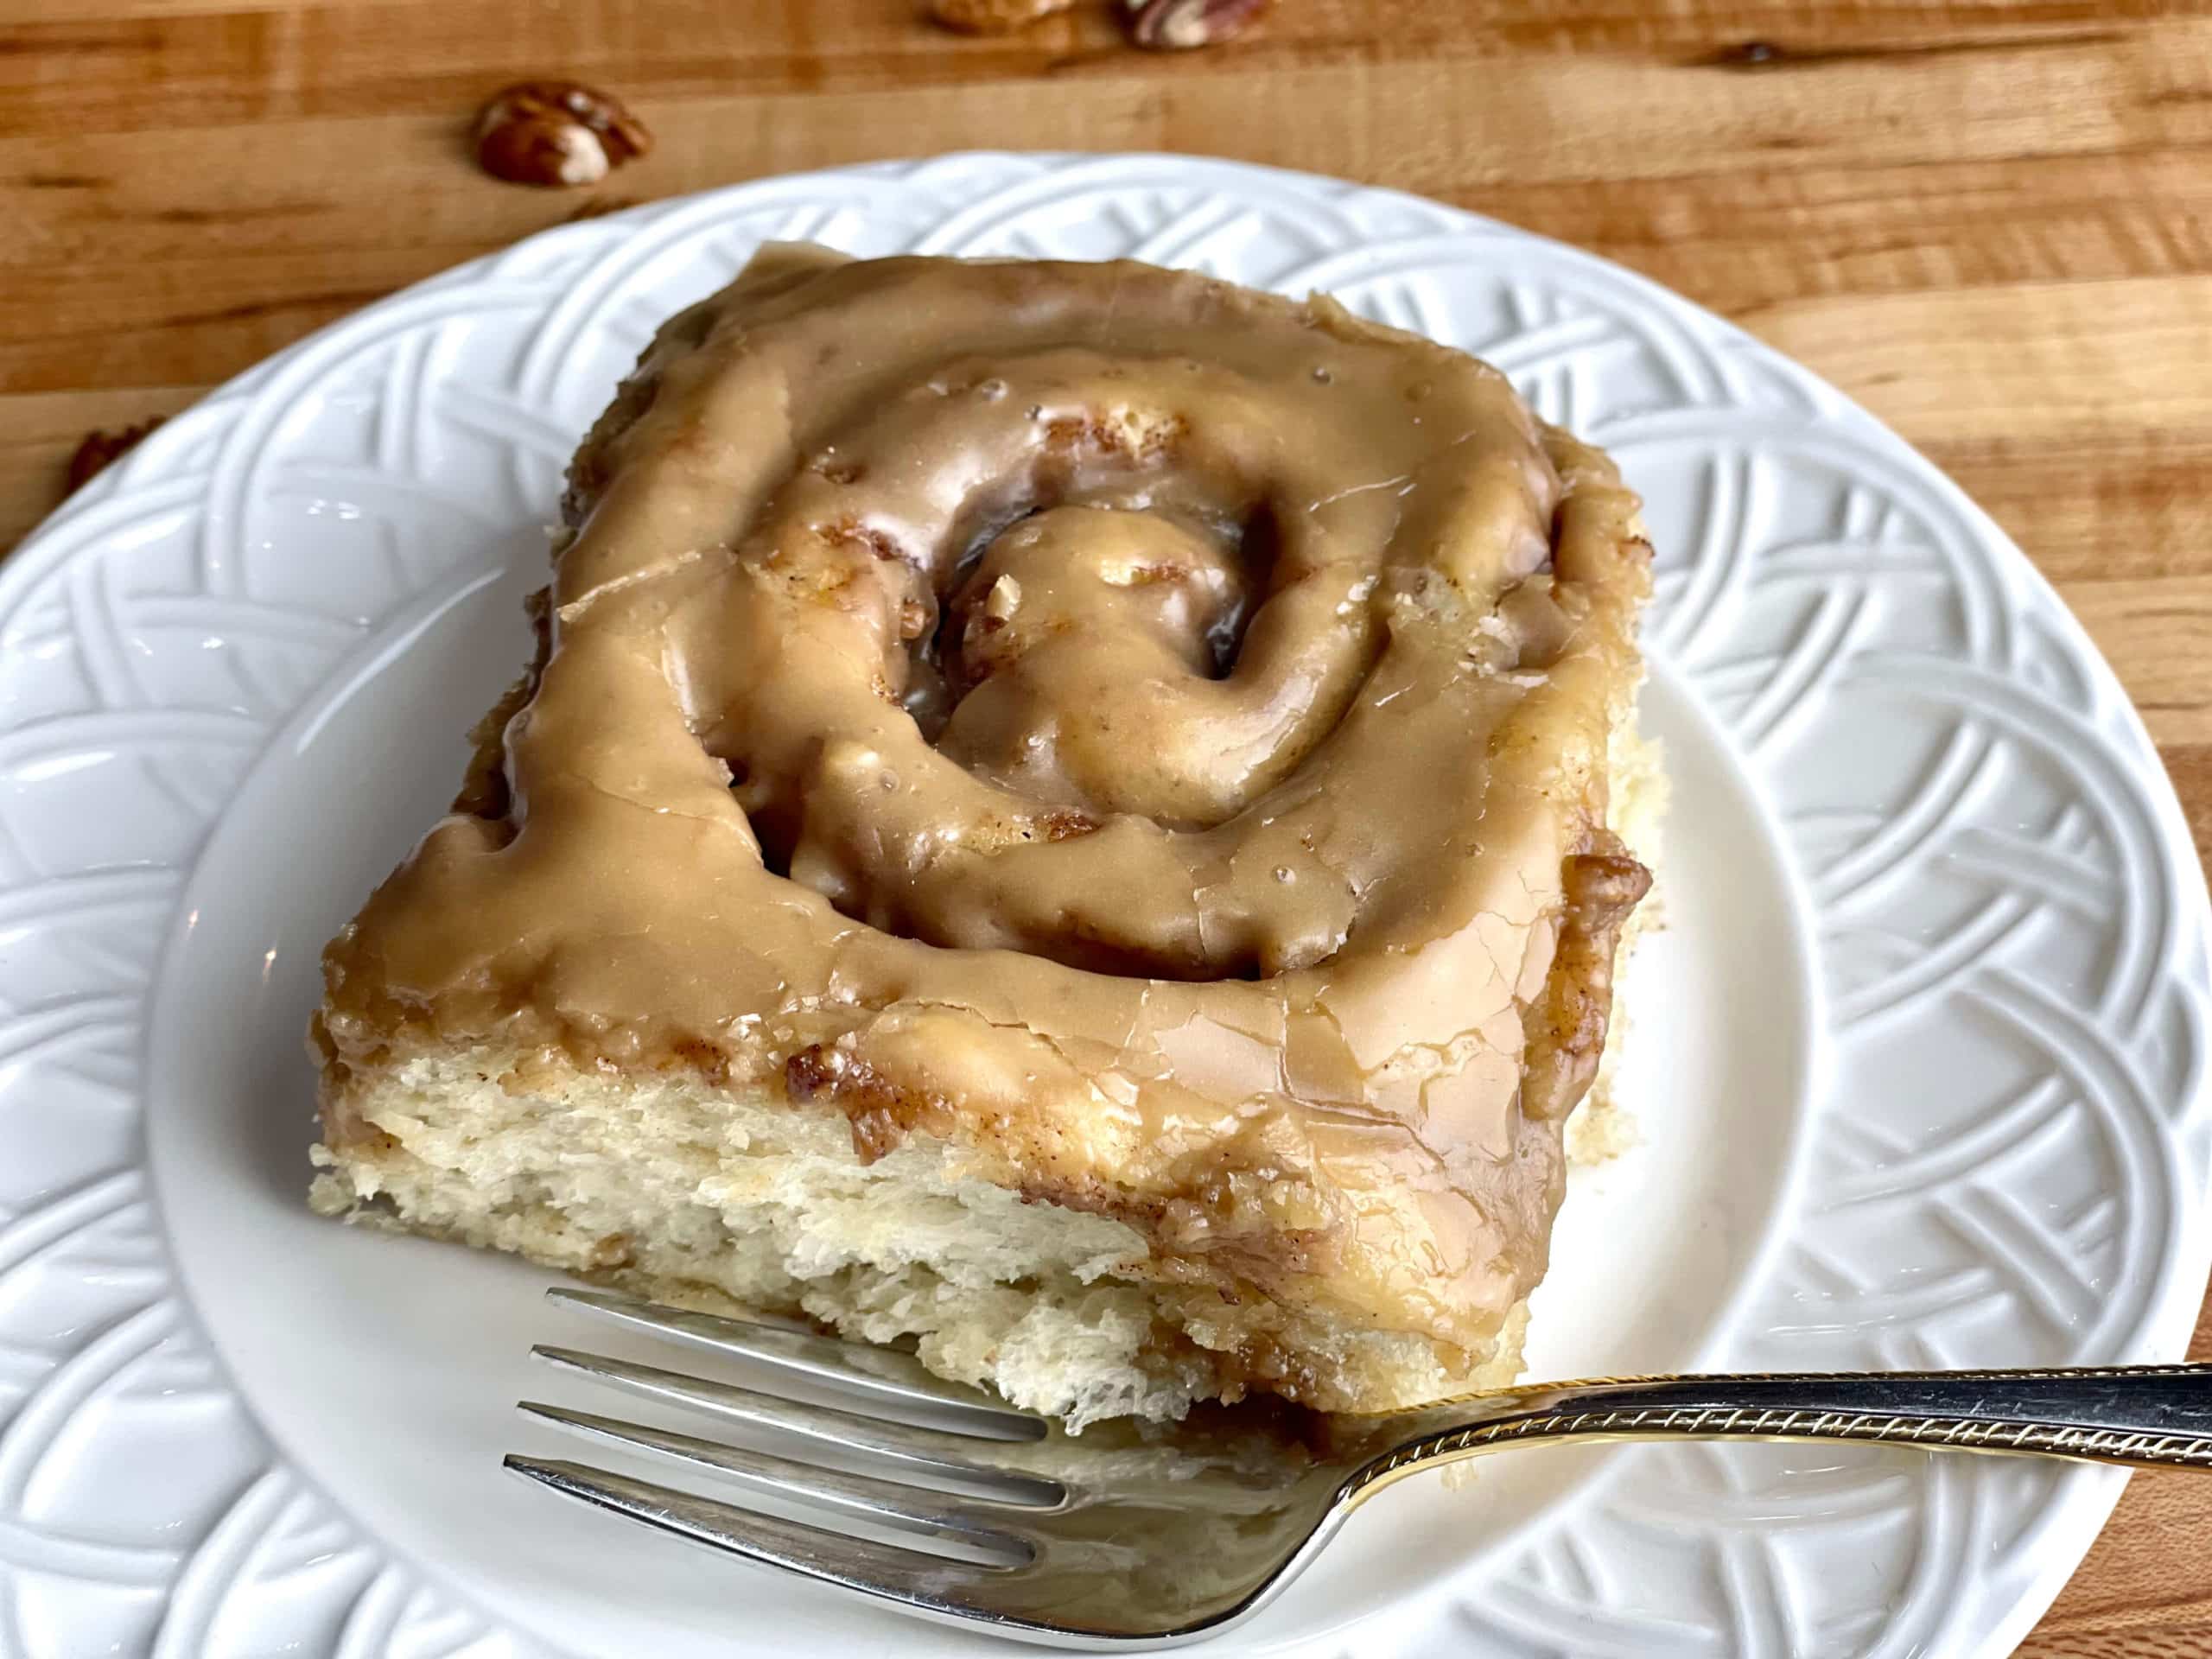
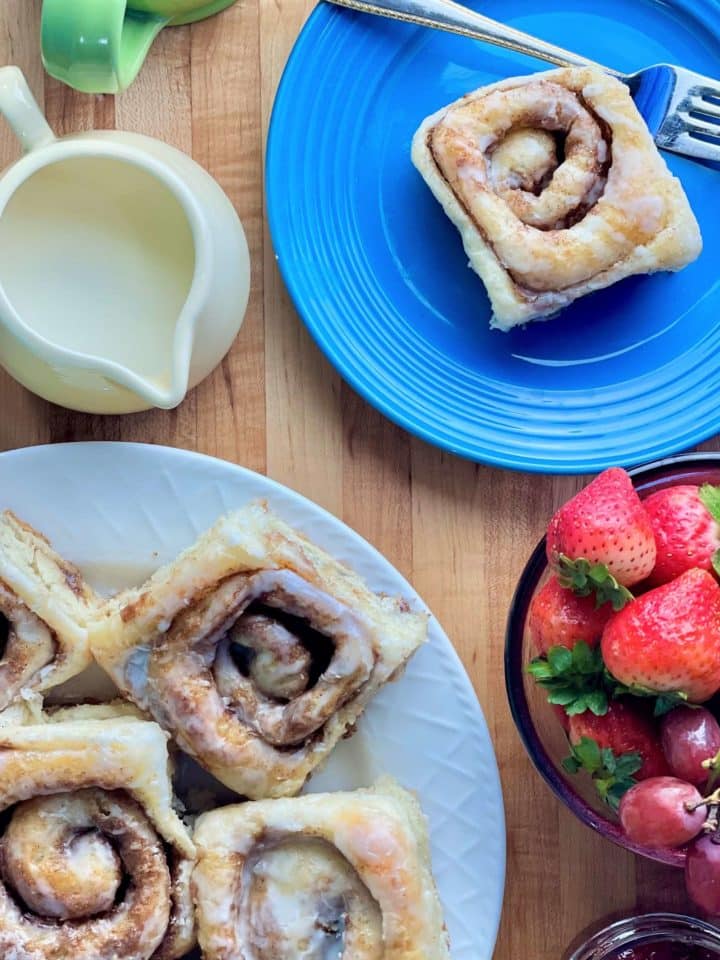
Make-ahead cinnamon rolls from scratch with this easy take and bake cinnamon roll recipe! They're fresh, homemade, and ready to heat and eat straight from the freezer. Make them for your family or give them as a delicious gift this holiday season. Or store them in your freezer so you can have soft and gooey cinnamon rolls whenever you like!
Never Miss a Recipe!

I'm sharing my tried-and-true Amycakes Bakery recipes! Sign up to be the first to know about my favorite recipes, baking tips, and bakery secrets!
⏲️ How to Make Take and Bake Cinnamon Rolls
Many years ago at Amycakes Bakery, we tried several test batches and experiments to get the perfect "Take 'n' Bakes". We wanted cinnamon rolls that freeze well and still bake up with a soft and gooey texture.
Because yeast has a tendency to die off in the freezer (which affects the rise of unbaked rolls), it is best to fully bake your cinnamon rolls just to completion and then freeze them. It's similar to par-baking, and then when ready to serve, we'll finish baking them from frozen until they are heated through.
If you'd prefer a breakfast recipe where you freeze ahead the pastry unbaked, try my homemade cream cheese danish recipe.
Here are the Steps:
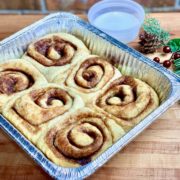
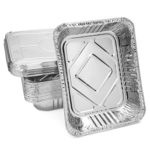
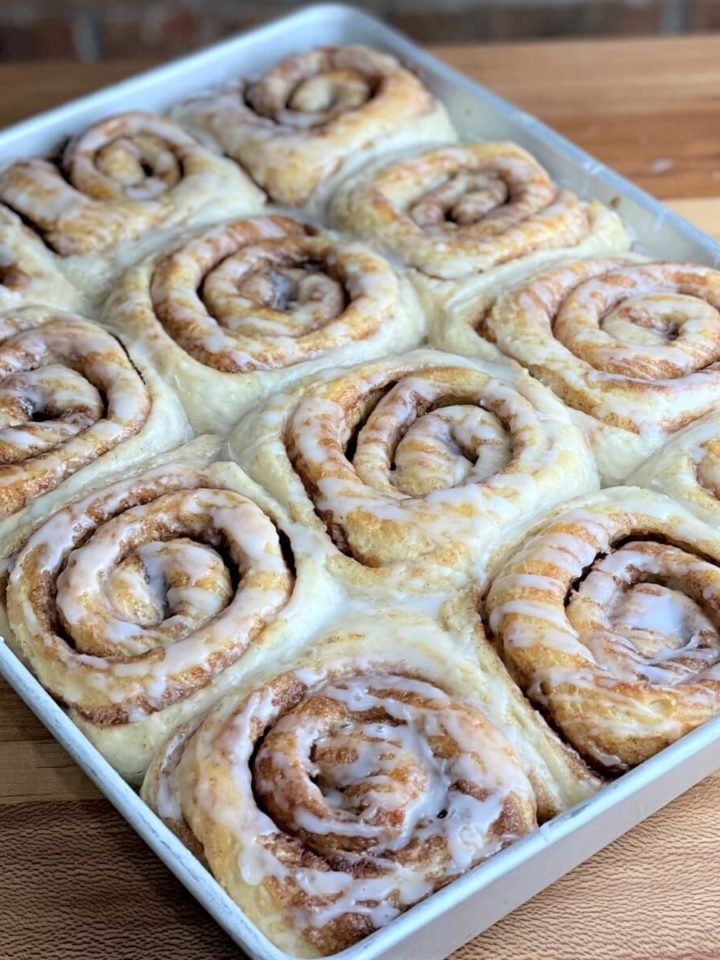
- Bake your risen cinnamon rolls as directed within the recipe until the inside of the cinnamon rolls are fully baked, but the tops of the cinnamon rolls should still be light or very lightly golden. I recommend baking the cinnamon rolls in these foil half-size aluminum pans (9x13) to easily store them in your freezer. Avoid overbaking.
- Top the baked cinnamon rolls with the matching foil lid. (You can also bake the cinnamon rolls in a 9x13x2 cake pan and wrap the top tightly in heavy-duty foil.) Wrap the lidded cinnamon rolls in plastic wrap and freeze (up to 3 months).
- The day you want to serve them, unwrap the cinnamon rolls (leave the foil lid on) and bake the cinnamon rolls from frozen until they are heated through. We want to leave the lid (or foil) on so they don't over-brown. Baking them from frozen keeps that soft and gooey texture.
- Glaze the warm cinnamon rolls and serve.
🥣 The Dough and Filling
The dough and filling in this make-ahead Cinnamon Roll recipe is the same recipe used in my Soft and Gooey Bakery-Style Cinnamon Rolls. You can also use the method described within the recipe below to turn my Maple Pecan Cinnamon Rolls or Mini Cinnamon Rolls into Take and Bakes (or any other cinnamon roll flavors).
About the secret bakery ingredient in this recipe
This bakery recipe uses Instant ClearJel, a type of cornstarch that serves as both a thickener and a binder. It's tasteless and has no artificial ingredients.
You can also use Instant Pudding mix (when it's listed in the recipe), which contains Instant Clearjel as the second ingredient!
It's often used by professional bakers because it produces a smoother and glossier consistency than cornstarch, tapioca, or other starches. Even better, it enhances moisture and texture in cakes and thickens and stabilizes frostings. Here are a few brands I recommend:

Although it's not often available in grocery stores, it's sold in a variety of online stores--just make sure whatever you purchase is labeled as INSTANT (cooktype and original clearjel will not work the same). It's also frequently found in Amish Markets. (Learn more about Instant Clearjel in Baking→)
🎁 The Perfect Cinnamon Roll Gift
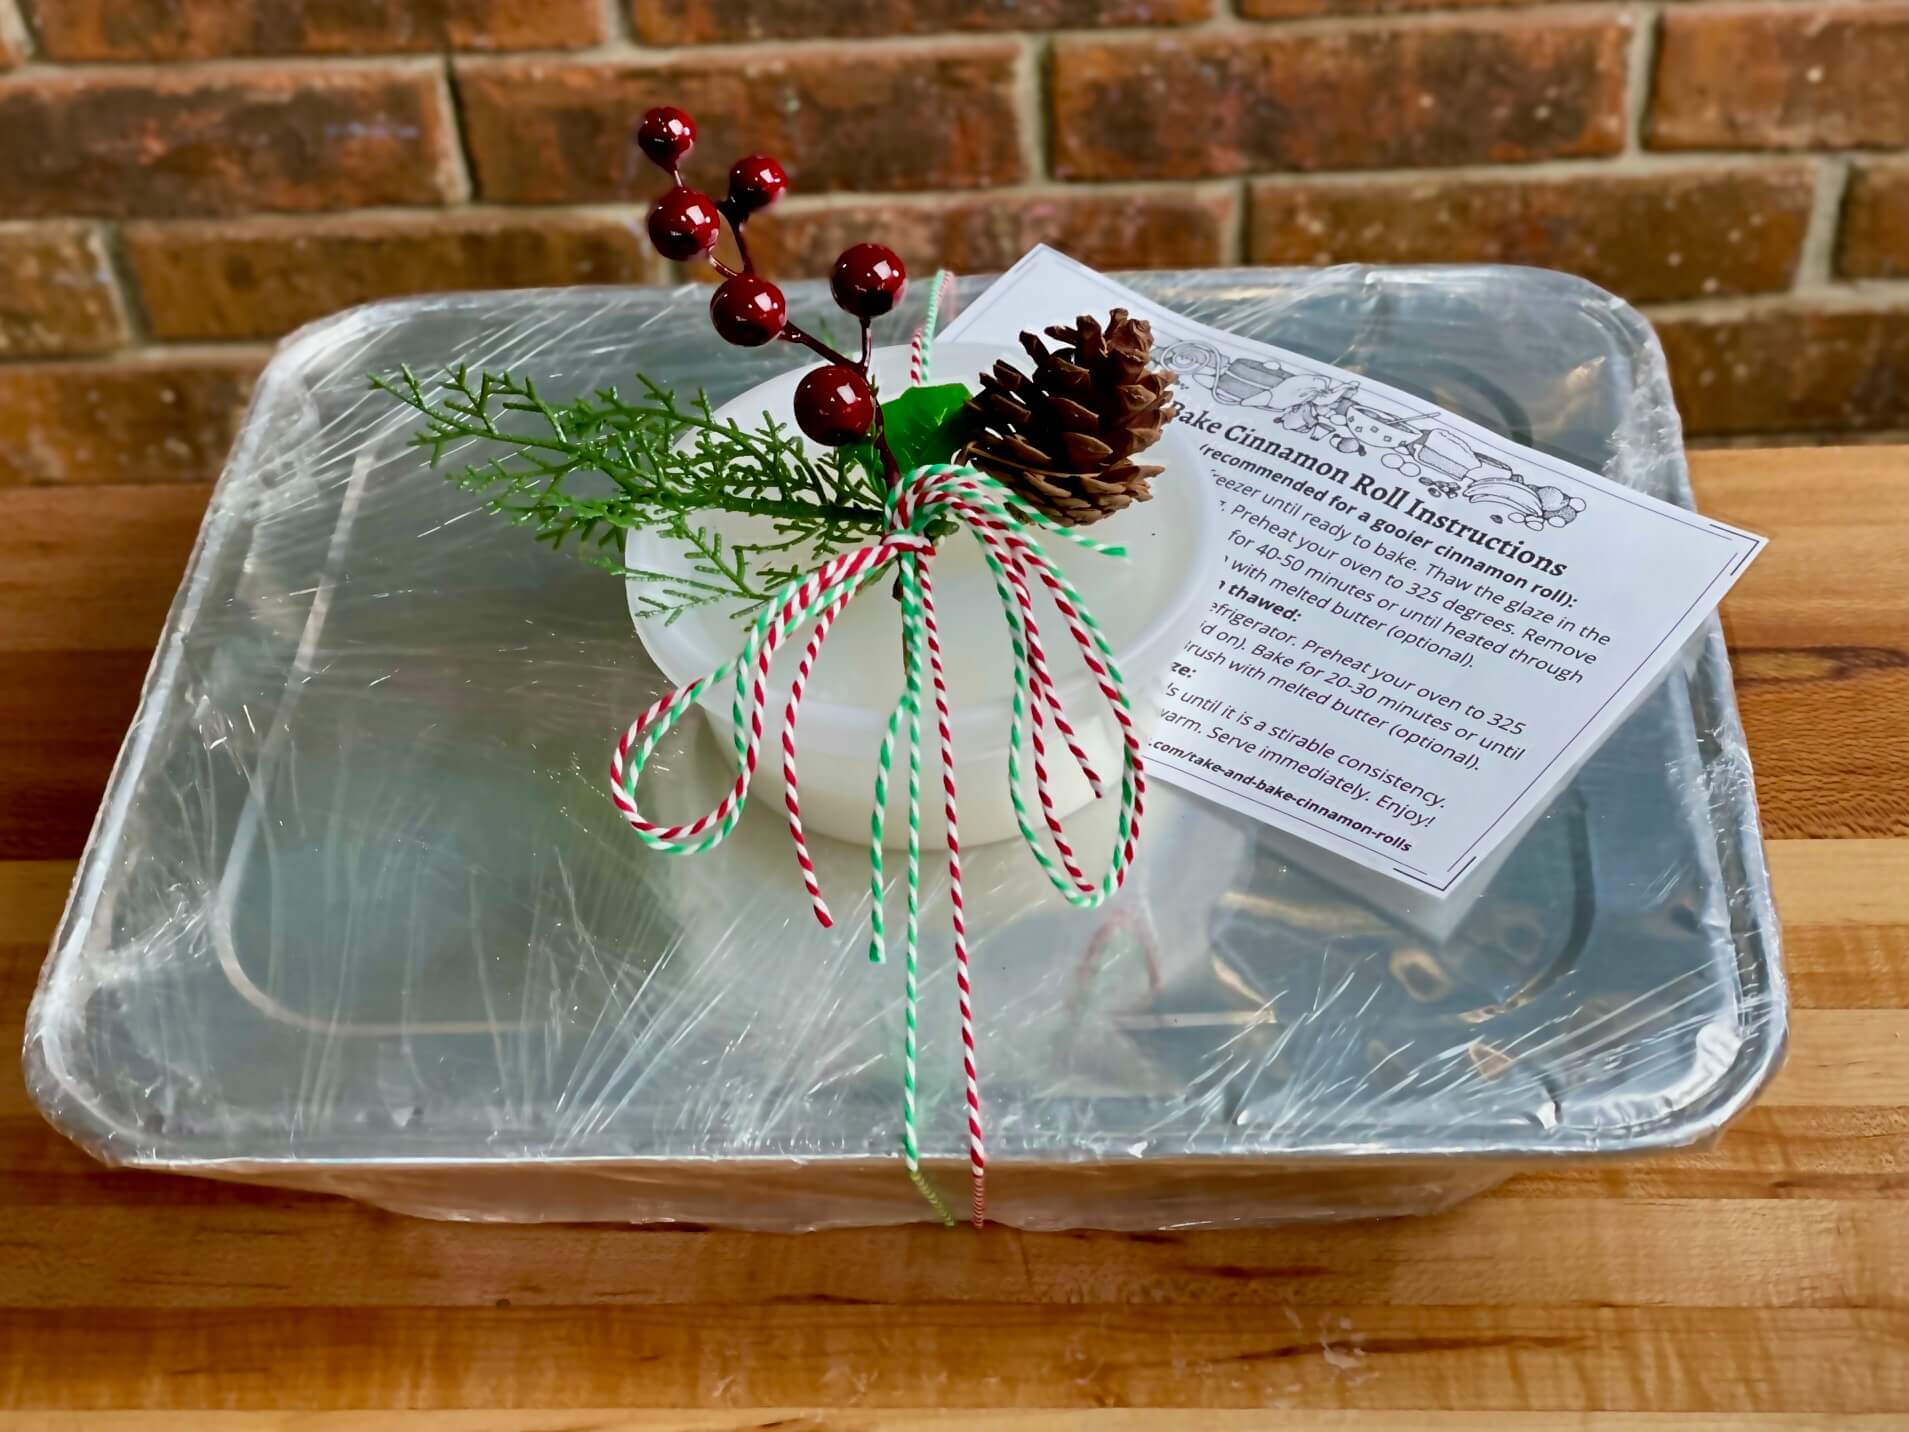
These make-ahead cinnamon rolls make a great gift! You can tie the cinnamon roll pan, glaze, and instructions together with colorful twine and Holiday Greenery/Stems. You can also place the frozen cinnamon rolls with the glaze and instructions inside a food storage bag and tie it with a bow. All the recipient needs to do is pop them in the freezer, and they can enjoy hot and gooey cinnamon rolls whenever they want them!
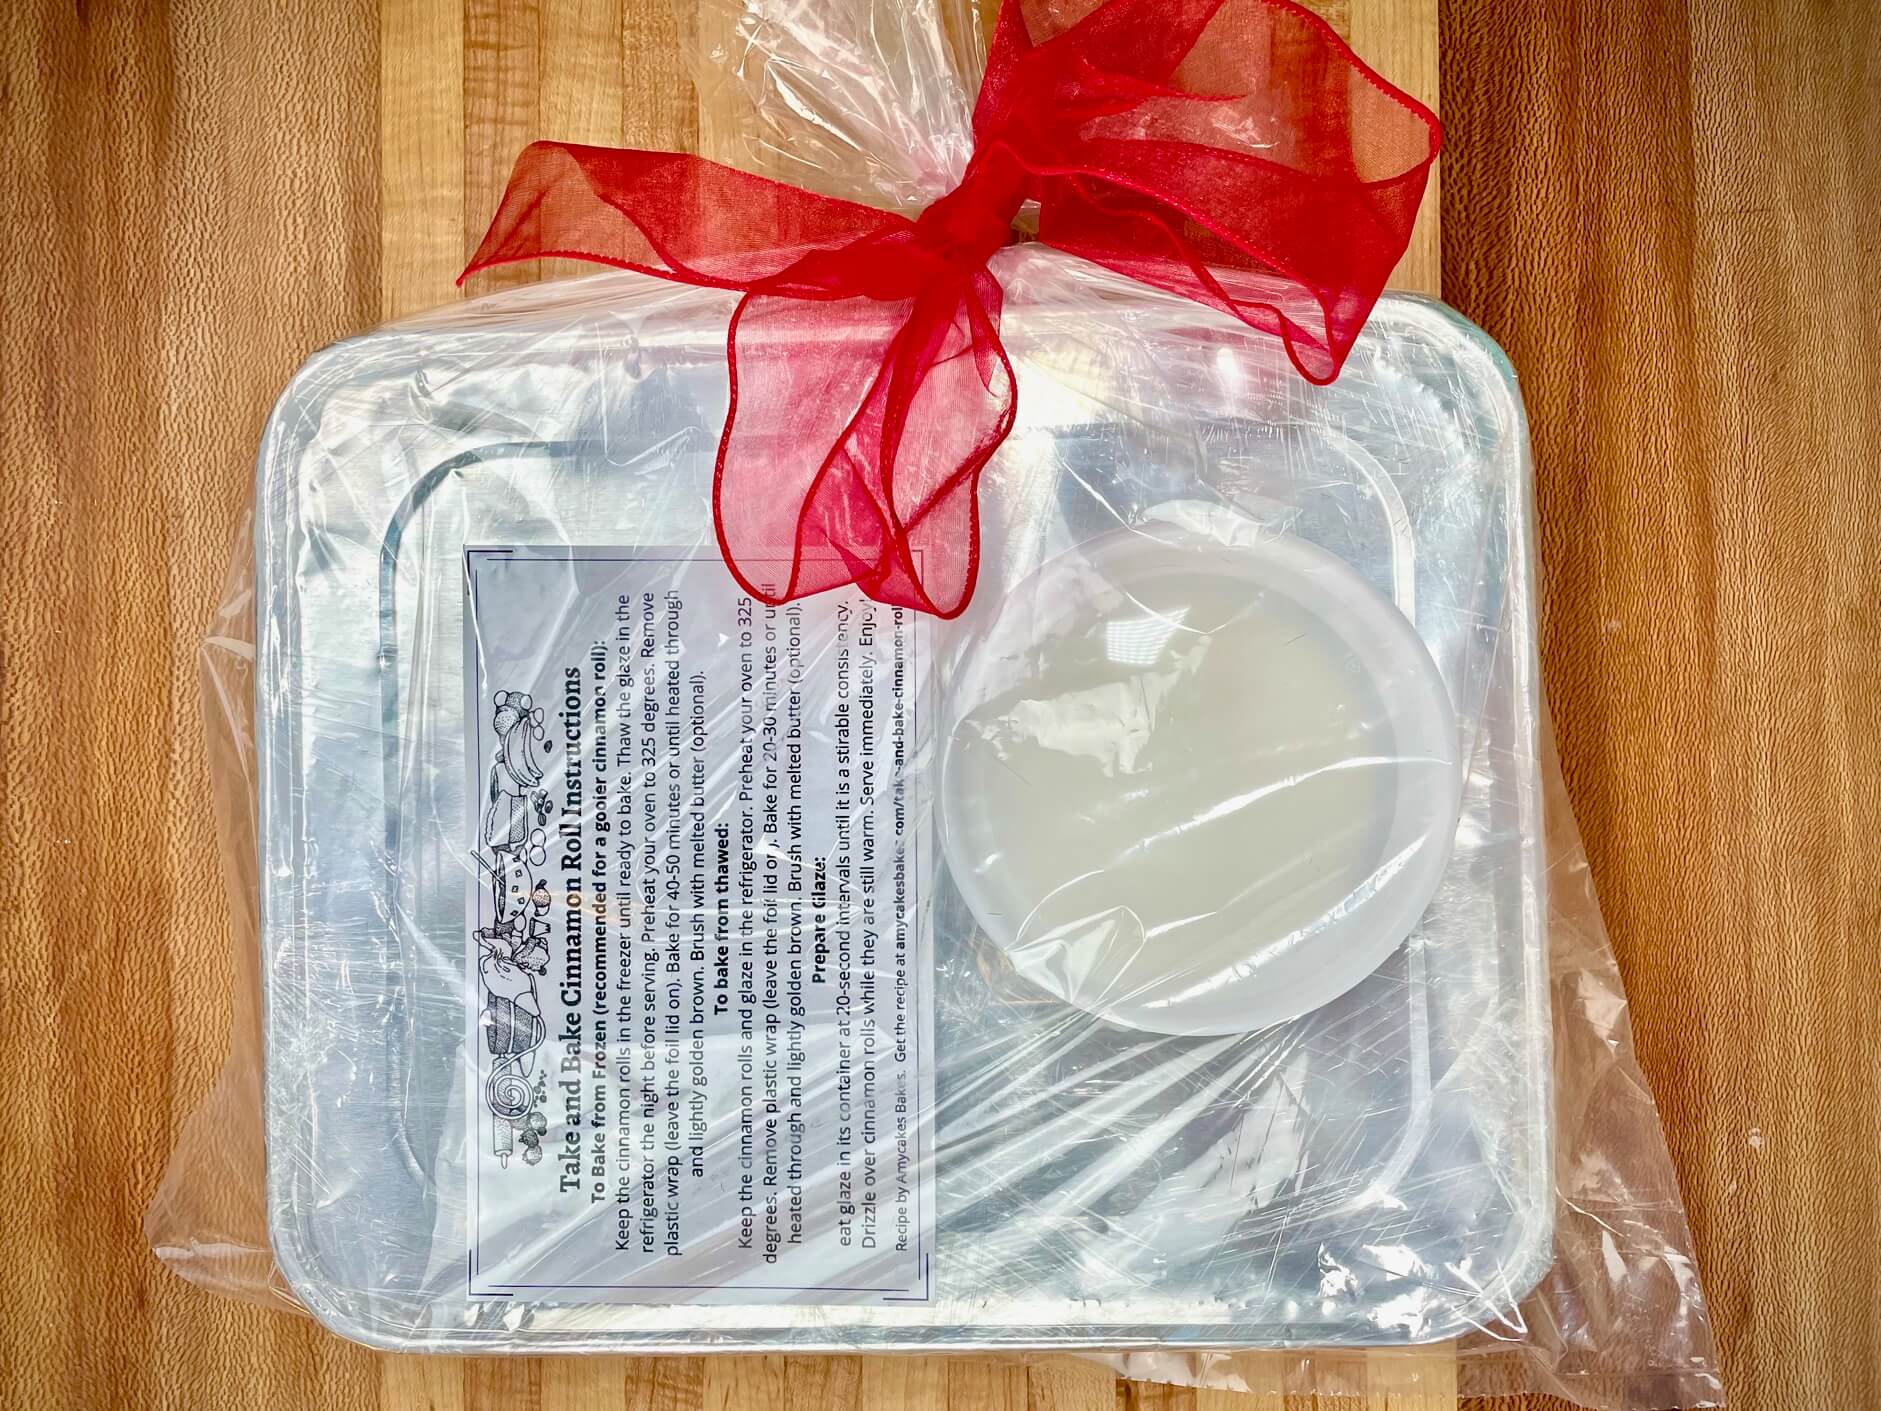
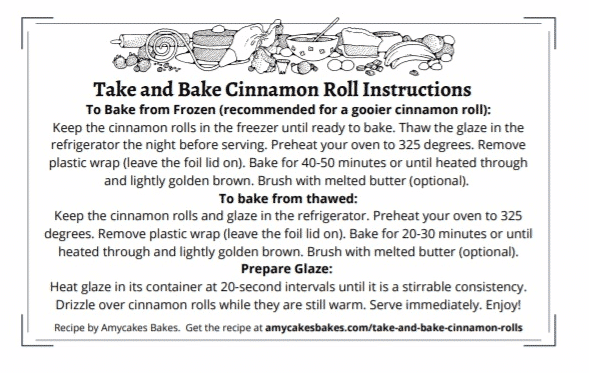
📋 Printable Take and Bake Cinnamon Roll Instructions
Feel free to download this printable to provide easy storage and baking instructions. There are two instructions printed per page, so simply cut the page in half.
I hope you enjoy these make-ahead Take and Bake Cinnamon Rolls this holiday season!
Thanks for Reading. ❤️

📖 Recipe & Step-by-Step Instructions
Take and Bake Cinnamon Rolls: a Bakery Recipe
Equipment
Ingredients
Cinnamon Roll Dough Ingredients
- 400 grams (3 cups) All-Purpose Flour
- 1 ½ teaspoons Instant Clearjel (optional, but I recommend using it as it makes a softer dough. Make sure it's labeled as INSTANT. See Notes section)
- 1 Tablespoon(s) Instant Yeast (I use SAF Instant Yeast)
- 1 large Egg(s)
- ½ teaspoon Salt
- 3 Tablespoons Sugar
- 3 Tablespoons Vegetable Oil
- 1 cup(s) Hot Water (around 120 degrees)
Cinnamon Roll Filling Ingredients
- 227 grams (1 cup(s) packed) Light Brown Sugar
- 1 Tablespoons + 1 ½ teaspoon(s) Cinnamon (I use McCormick brand)
- 1 ½ teaspoons Instant Clearjel (optional, but I recommend using it for gooier cinnamon rolls. Make sure it's labeled as INSTANT. See Notes section.)
- 1 ½ teaspoons All-Purpose Flour
- ½ stick (2 ounces) Salted Butter (softened but not melted)
Glaze Ingredients
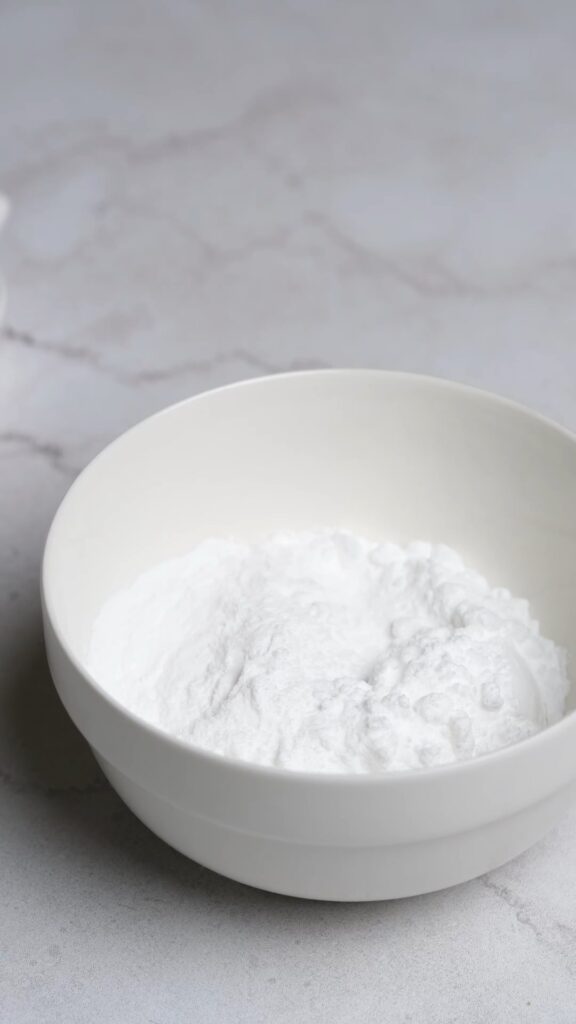
- 141 grams (1 ¼ cups) Powdered Sugar
- 2 Tablespoons room temperature Water
Other Ingredients
- ¼ stick (1 ounce) salted butter, melted
- ¼ cup to ½ cup flour, for dusting (only use what you need)
Instructions
Day One: Make Cinnamon Rolls Dough
- In a medium-sized bowl, whisk the Flour, Instant Clearjel, and Instant Yeast together until well blended. Set aside.
- In a separate large bowl, stir the egg(s), salt, sugar, and oil together until well blended.
- Make sure your water is hot, around 120 degrees. If you don't have a culinary thermometer, this temperature should feel uncomfortable to the touch but not painful). Pour the hot water on top of the egg mixture, but don't stir it together yet. (We want to allow our flour and instant yeast to activate when being mixed with the hot water).
- Immediately add the flour mixture on top of the hot water, and use a sturdy spatula to stir all of the ingredients together until a dough is formed and the ingredients are well blended. The dough will get firmer, stickier, and more difficult to stir as it thickens.
- There's no kneading of this dough, as we don't want to incorporate any additional flour, but we want to stir it until it gets stretchy. Leave the dough in the bowl, and continue to scrape the sides and stir the dough with your heavy-duty spatula for around 2-3 minutes, or until the dough is stretchy and uniform. It will be a very sticky dough.
- Allow the dough to rise at room temperature until double in size, around one hour.
- Loosely wrap the bowl in plastic wrap, and place the risen dough in the fridge overnight, for at least 4 hours but no more than 24 hours.
Day One: Prepare Filling Ingredients
- Stir together the brown sugar and cinnamon. Use your fingers to break apart any large brown sugar pieces, and to make sure the cinnamon is thoroughly mixed in. Wrap this mixture or place it in an air-tight container until Day Two.
- Whisk the Instant Clearjel and Flour together until well blended. Wrap or place in an air-tight container until Day Two.
- If you'd like, you may take your salted butter out of the fridge so that it is softened and ready to roll in the morning.
Day Two: Prepare Pan
- The 1 oz of melted butter for brushing will be used three times. First, brush the foil pan(s) generously with melted butter on the bottom, sides, and inner corners. A 1x batch makes 6 large cinnamon rolls that fit in one foil half-size steam pan. A 2x batch makes 12 large cinnamon rolls that fit in two foil half-size steam pans.
Day Two: Roll Out Cinnamon Rolls
- Generously dust your counter with about ¼ cup of flour.
- Scrape the risen refrigerated cinnamon roll dough on top of the dusted flour. Use your fingers to scrape out any stuck to the bowl and add it to the dough. The dough will be sticky. Avoid pressing the dough into itself or turning it into a ball--this will overwork the dough. We want to roll it out with very little shaping of the dough. Instead, just lightly dust any sticky portions of the dough, and press any sticky edges into the floured counter. Lightly press the dough into a rectangular shape before rolling (I recommend watching this recipe video).
- Roll out the dough into an 9-inch horizontal by 16-inch vertical rectangle. (A 1x batch will be tall and skinny. A 2x batch will be wider than it is tall as seen in the recipe video). Using extra flour only as needed, dust any parts of the dough with flour that sticks to the table or rolling pin.
- If your butter is firm, microwave it for a few seconds until softened but not melted. Mix your softened butter thoroughly with the prepared Instant Clearjel mixture. Immediately spread it onto the rolled-out dough. We mix this right before spreading so that it doesn't have time to thicken before spreading. Spread it evenly all the way to the very edge of the dough.
- Pour the prepared Brown Sugar/Cinnamon mixture on top of the butter and spread it evenly all the way to the very edge of the dough.
- Roll up the cinnamon dough tightly, curving the edges in slightly as you roll (watch the recipe video). This helps maintain a nice roll on the edges and prevents the cinnamon mixture from escaping. When you are left with one inch of dough, pull it up and pinch it tightly against the rolled dough, creating a pinched seam.
- Dust the seam with flour, and turn your dough so it is seam side down against the floured counter. Shape the roll of dough with your hands if needed so that it is even in thickness. Score the dough with a bench scraper, pastry divider, or knife into 6 rolls, then cut the rolls with a bench scraper or sharp knife.
- Place the cinnamon rolls into your prepared pan, with little room between each roll and ½ inch from the edge of the pan. Lightly press down on each roll so that the edges of each roll barely touch each other, and improve their round form if needed. (The cinnamon rolls will rise into whatever shape they are in now. So if you have some oval or misshapen rolls, use your hands to form the edges into a circle before they rise.)
- Brush the cinnamon rolls with melted salted butter, then allow to rise at room temperature until double in size, around one hour.
Bake the Cinnamon Rolls
- Preheat oven to 350 degrees.
- Bake the risen cinnamon rolls in the preheated 350-degree oven on the middle or top rack for 12 minutes, then turn the oven down to 325 degrees. Bake for an additional 6-8 minutes or until the dough bounces back when you tap it lightly with your finger. Check several areas of the rolls for doneness. The inside of the cinnamon rolls should be fully baked, but the top of the cinnamon rolls should still be light or just lightly golden. (If you are baking in a cake pan instead of a foil pan, keep in mind that glass pans and dark pans will take less time in the oven).
- Brush the cinnamon rolls one last time with melted butter.
Freeze the Take and Bake Cinnamon Rolls
- When the cinnamon rolls have cooled slightly (they can still be warm), cover the pan with the foil lid (or make your own covering out of heavy duty foil). Wrap the lidded pan thoroughly with plastic wrap, and freeze up to 3 months.
Make the Cinnamon Roll Glaze
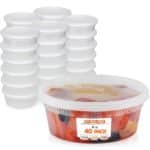
- You can either make the glaze right while the cinnamon rolls bake, or make it ahead and freeze it with the rolls. Whisk the powdered sugar and water together until smooth. When making it ahead of time, pour the prepared glaze in an 8 ounce microwave-safe container and freeze until the day before serving.
Bake and Serve the Take and Bakes
- Thaw the prepared glaze in the fridge the night before serving. Unwrap the cinnamon rolls (leave the foil lid on), and bake in a 325 degree oven for 40-50 minutes or until heated through.
- Meanwhile, heat the glaze in the microwave at 50% power, stirring regularly, until it reaches a drizzling consistency. Drizzle the glaze over the warm cinnamon rolls and serve.
Notes
3 tsp= 1 Tbsp
4 Tbsp= ¼ cup Notes about Instant Clearjel: Read my article Instant Clearjel: a Magical Bakery Ingredient to see why I think this ingredient is worth having in your pantry. Instant Clearjel must always be whisked thoroughly with other dry ingredients before being added to wet ingredients to avoid clumping. (Please make sure what you purchase is labeled as “Instant.” Cooktype Clearjel is a different product that does not work the same in baked goods). Recipe Flavor Variations:
You can also use the baking and freezing method in this recipe with my Maple Pecan Cinnamon Rolls or Mini Cinnamon Rolls or other cinnamon roll recipes. Baking from Thawed:
You can also bake the Take and Bakes from thawed, however they won't be as gooey. Thaw the cinnamon rolls and glaze in the refrigerator. Preheat your oven to 325 degrees. Remove plastic wrap (leave the foil lid on). Bake for 20-30 minutes or until heated through and lightly golden brown.


Lynne says
These were absolutely delicious! And so very easy to make. First, I made two batches. One for myself and one for a friend. Then I made additional batches for gifts to my neighbors. All gifts were very much appreciated! This will turn into a yearly tradition (per request from a couple of people). Thank you Amy for sharing this with all of us.
Amy says
This is wonderful to hear! I'm so glad you enjoyed the recipe and thanks so much for sharing, Lynne! 🙂
Melissa Kellogg says
Amy, curious if you’ve every tried to do them individually. I was wondering about cooking them in a silicone cupcake pan and freezing then popping them out to individually bake them. I am only one person and I don’t need a whole pan at a time even if I wanted them!
Amy says
Hi Melissa! While I haven't tried them individually, we did bake and sell them in packs of two at Amycakes Bakery (in tiny aluminum loaf pans). I think it would work just as well individually--just be sure to bake them the second time covered in foil. The silicone cupcake pan is a great idea! If those are standard-sized cupcake pans, then I think the half-size cinnamon rolls would fit. I am guessing you will need to decrease the baking time. And I'd love to hear if it works out well for you, it's a great idea! 🙂
Laura J says
Love love love this... Going to use it for this year's "cookie" exchange! Excited for something new and unique to bring.
Amy says
What a great idea! Thank you Laura, I hope you enjoy making them! 🙂