Jump to:
🎥 Quick Video
🎥 I hope you enjoy the video above (you may have to hit "play" twice on mobile devices). You can also view all my bakery recipe videos and tips on the following channels:
About This Recipe
Let's be honest--all homemade pie crusts can be a little tricky to perfect. It takes time and practice to roll it out perfectly, but once you've mastered it you'll feel so proud. I've been making pies even before our 11.5 years in business at Amycakes Bakery, and I've tried just about every version of pie crust--all butter, all shortening, and a combination. I've used food processors, graters, and spent hours on crusts that cracked and crumbled.
Never Miss a Recipe!
I'm sharing my tried-and-true Amycakes Bakery recipes! Sign up to be the first to know about my favorite recipes, baking tips, and bakery secrets!
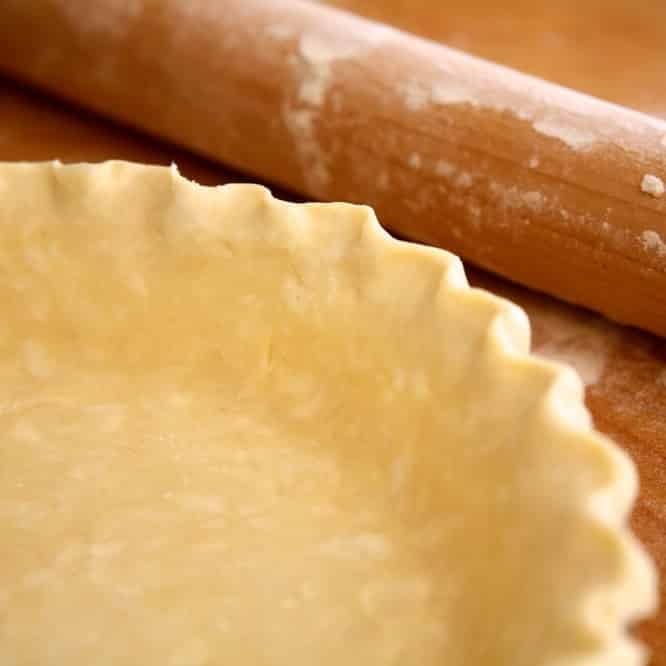
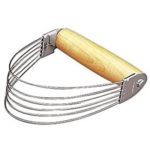
This is my go-to favorite easy pie crust recipe made with egg and vinegar. The best thing about this pie crust recipe is we don't need any fancy equipment! We just need some bowls and an old fashioned pastry cutter. This pie crust recipe has the following qualities I find necessary for a consistent and reliable crust:
- Tender
- Flaky
- Easy to Make
- Flexible and Pliable when Rolling Out (it does not crack easily, though we still need to handle it gently)
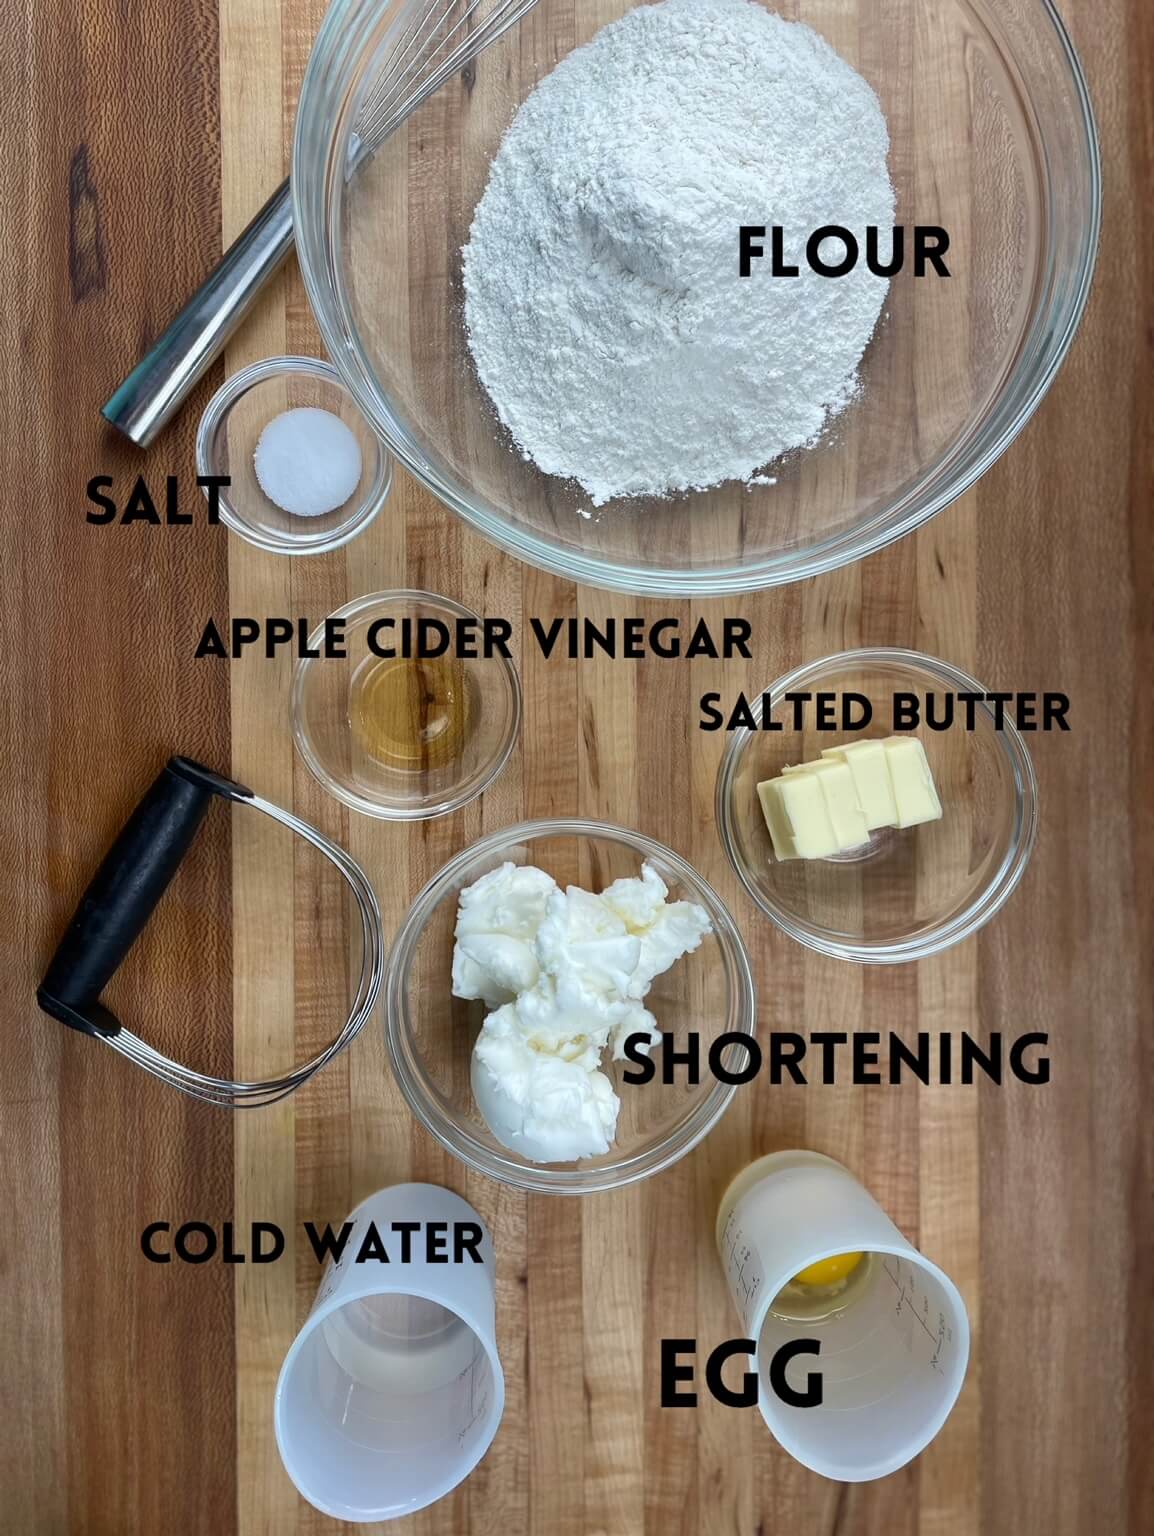
Egg and Vinegar Pie Crust Ingredients
- All-Purpose Flour: I prefer Gold Medal all-purpose flour in my pie crusts because it is pre-sifted, and I recommend using brand or a brand with a similar protein level (see Determining Protein Content in Flour). Adding too much flour can make your pie dough crack and crumble--that's why this pie dough will seem a little sticky when first made, then we let it firm up in the fridge before rolling it out.
- Salt: Salt is an essential ingredient in pie crust. It enhances flavor and balances the sweetness of your pie filling.
- Melted Salted Butter: Melted butter gives your pie crust extra flavor and richness. It also firms up the dough after refrigeration, and it gives the baked crust a nice golden color.
- Shortening: Shortening is an all-around great pie crust ingredient because it lends tenderness, flakiness, and its ability to be rolled out without cracking. As much as I LOVE butter, shortening will simply give your dough structure that butter can’t. It holds its shape better when baking and is easier to roll out.
- Egg: The egg in this recipe acts as a binder that allows for a flakier, more delicate crust. It also binds all of your ingredients together so that you can roll out your pie dough without it breaking apart.
- Apple Cider Vinegar: Don't worry, you will not taste the vinegar in your baked crust! Apple cider vinegar is added to relax the gluten proteins in your dough and tenderize it. You can also substitute it with an equal amount of white vinegar.
- Cold Water: For pie crusts that are flaky, cold water is a must. Adding warm liquid would melt the shortening that we carefully cut into our flour for flakiness. Another good rule of thumb for a flaky crust: Don’t overmix your dough.
Make Your Pie Crust in Advance
I highly recommend making this pie crust the day before you want to roll it out, then allow it to chill in a covered bowl in the refrigerator overnight (if you don't have that much time, give it at least 2 hours in the fridge). You can also make the dough and freeze it, allowing it to thaw in the fridge before using.
You can also roll out and freeze your pie crusts in their pie tins until you're ready to bake them--freeze your pie crusts wrapped in plastic wrap in their pie tin for up to three months! (I recommend letting your rolled out crust firm up in the freezer before wrapping it to avoid damaging your crust). They only take 10-15 minutes to thaw at room temperature--you still want the crust to feel cold when you stick it in the oven.
Tips for a Perfectly Rolled Out Pie Crust
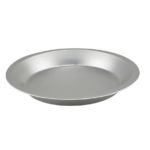
- Use sturdy pie tins! I learned this a long time ago--while flexible foil pie tins are easy to find and cheap, your baked pie crust (and filling) is more likely to crack with a flexible thin pie tin. That doesn't mean you need to buy expensive pie tin--I usually buy my metal pie tins from Dollar Tree, though it looks like they are currently unavailable online. You can still use aluminum pans, but I'd recommend pans that say reusable or heavy-duty pie tins.
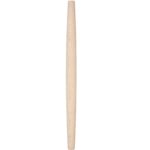
- Flour is our friend (when we roll out the pie dough). Unlike my bakery-style cinnamon rolls, where I suggest using as little flour as possible, I roll out my pie crust with plenty of flour to keep the pie dough from sticking to the rolling pin or counter.
- Turn and lift the pie crust frequently as you roll it out. (Watch my recipe video below to see what I mean). By lifting the crust frequently we can dust the counter with more flour as needed, so that it never sticks to the table. As I roll, I rotate the dough every so often, adding flour underneath or on top of the dough as needed. This keeps it from sticking and helps create a circle shape of dough.
- Cut your rolled out dough into a circle at least 4 inches larger than your pie tin. We want our crimped pie crust edge to be about ¼ inch wider than the pie tin rim--this will help prevent shrinkage when the crust bakes, which is common with a homemade crust.
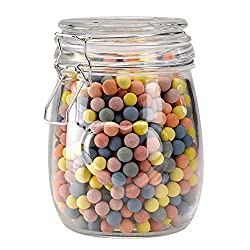
- Use Pie Weights to keep your baked pie shell from shrinking! I prefer ceramic pie weights, and I fill my pie shell all the way to the top before baking--that means I use this whole jar of Rainbow Pie Weights in one 9" pie. You can also use uncooked dried baked beans--they aren't quite as heavy, so there might be a little bit of shrinkage, but they still do a great job of keeping your pie shell in place.
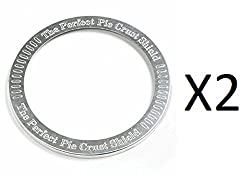
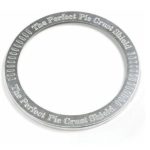
- Use a Pie Shield to keep the crust edges from over-browning. Pies and pie crusts take a long time in the oven, and I use pie shields on every crust (I detail this more within the recipe below).
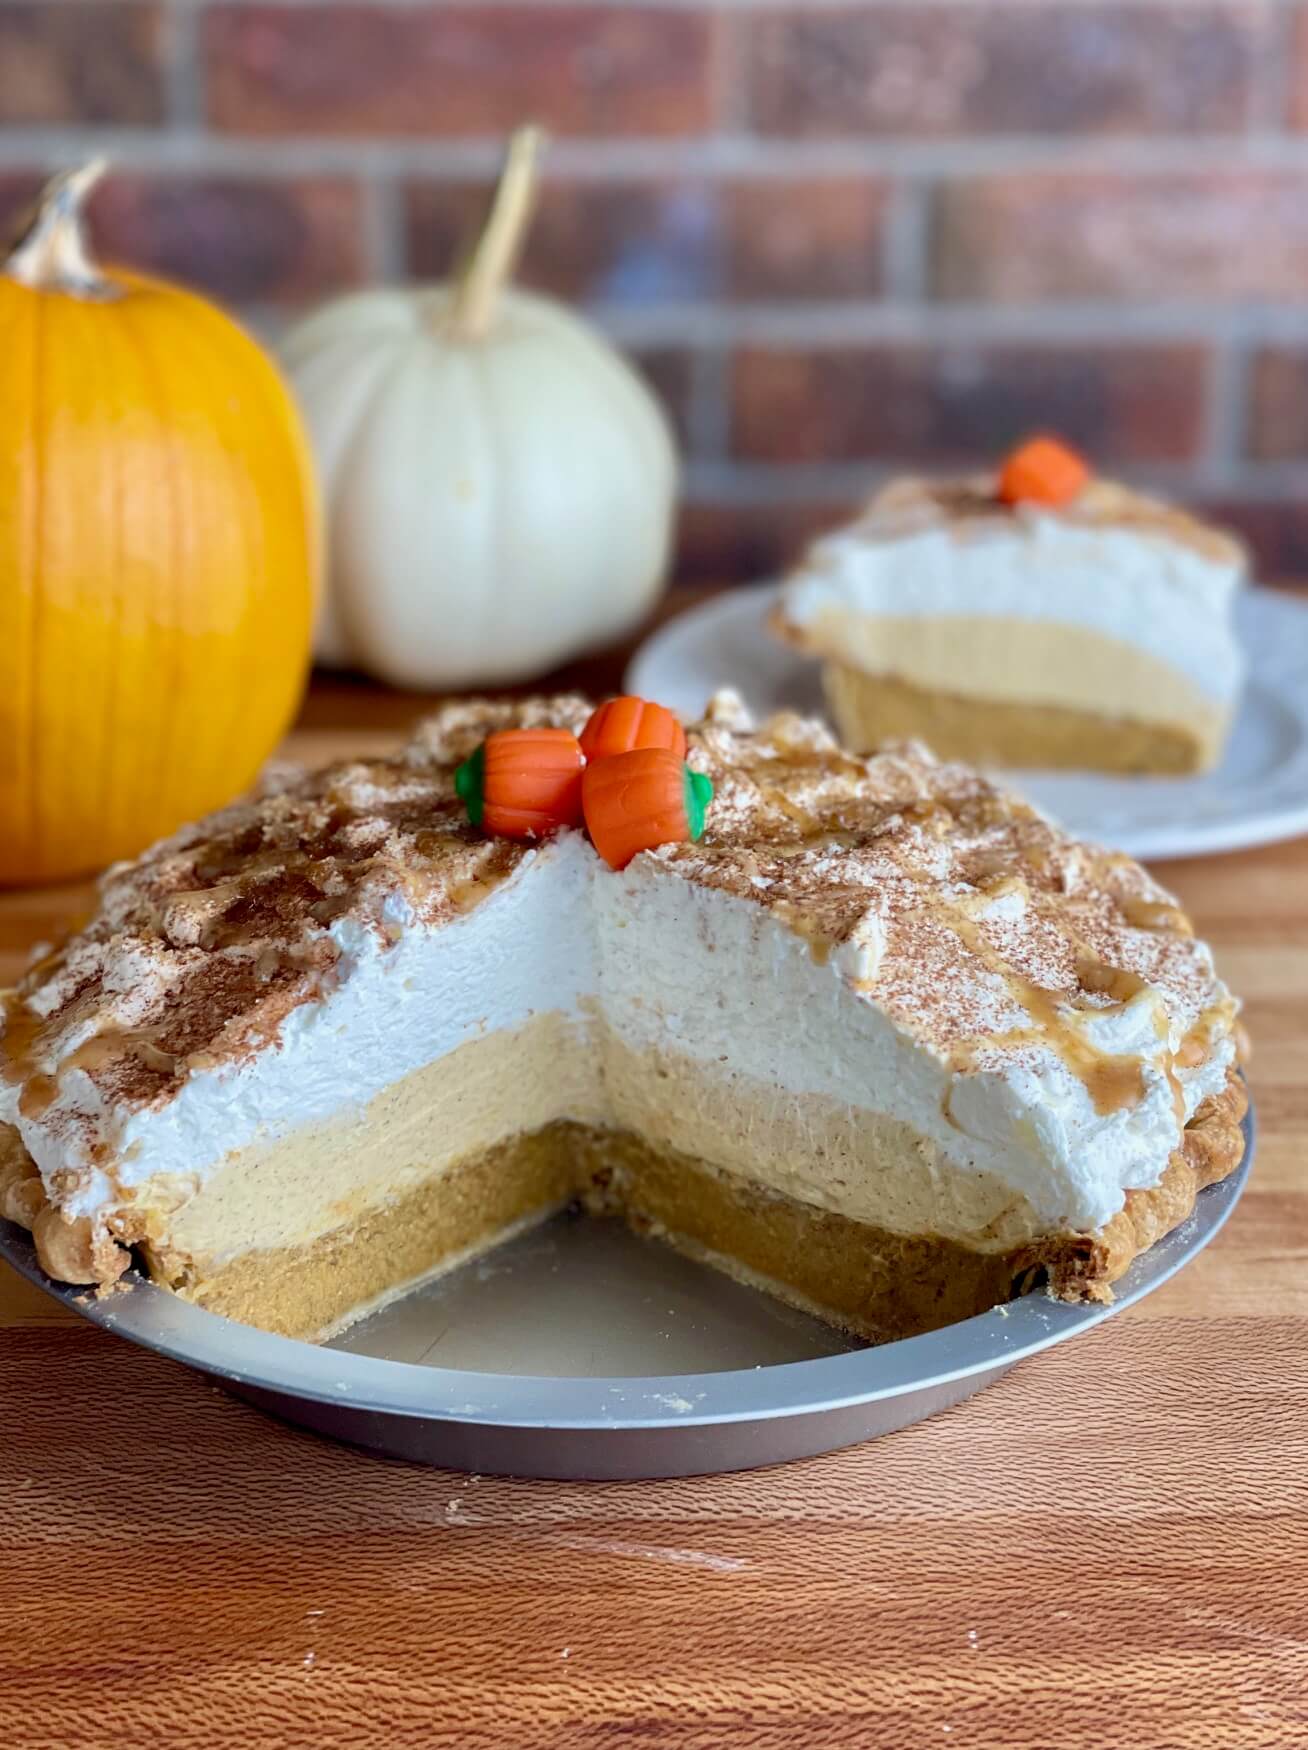
Watch me make this dough and roll it out from start to finish in the recipe video below. This crust is wonderful with my Triple Layer Pumpkin Pie recipe or try it with easy homemade cherry filling.
Thanks for Reading. ❤️

📖 Recipe
Pie Crust with Egg and Vinegar
Ingredients
- 2 ounces (½ stick) Salted Butter (melted then cooled slightly)
- 1 large Egg (lightly beaten)
- ½ cup cold water
- 2 teaspoons apple cider vinegar
- 341 grams (2 ½ cups + 3 Tablespoons ) all-purpose flour (I recommend Gold Medal)
- 1 ½ teaspoons salt
- 170 grams (¾ cup + 2 Tablespoons) shortening
Instructions
- Whisk the lightly beaten egg, cold water, vinegar and cooled melted butter together (the butter should be room temperature or lukewarm at most, but not solidified). Stick this liquid in the freezer or fridge while you prepare the flour part of the dough so that it stays cold.
- In a separate large bowl, whisk the flour and salt together. Add the shortening to the flour and use a pastry cutter to cut the shortening into the flour until the shortening is pea-sized or smaller.
- Get your cold egg mixture from the fridge and whisk (it should feel very cold to the touch). If some of your butter has solidified, simply whisk it back into the mixture so that it is a uniform liquid.
- Pour the cold egg mixture over the flour/shortening, and use a spatula to fold and combine the two mixtures just until it comes together into a dough and no flour remains. Do not overwork the dough. The dough will be sticky.
- Refrigerate overnight if possible, or for at least 2 hours. Divide the dough in half and roll each out to ⅛ inch thickness to make two 9" crusts. I like to roll out the dough so that it is 4" larger than my pie pan, so that I have plenty of pie crust for the pan and the fluted edge.
- Wrap and Freeze the pie shells until you are ready to bake them, or refrigerate at least 30 minutes before baking.
How to Blind Bake (partially bake) the Crust (for pies that will be baked again)
- Preheat oven to 350 degrees
- Bake the pie crust from cold (frozen crusts take about 15 minutes to thaw at room temperature).
- Crumble a square of parchment so that it is flexible. Place the parchment in the cold pie crust and fill the pie shell to the top with ceramic pie weights (you can also use unbaked dried beans).
- Bake on the bottom rack in a 350 degree oven for 10 minutes, then carefully add a pie shield so that the edge of the crust doesn't overbrown.
- Keep the pie weights in the crust, and continue to bake the pie with the pie shield for 15-20 more minutes until the pie crust is close to fully baked (baking time will vary depending on the thickness of your crust and the pie tin you use). If the bottom of the crust has some under-baked areas, that is fine, as it will continue to bake when you bake it a second time with the filling. I recommend using a pie shield the entire time during your second bake of the pie.
Fully Baking a Pie Shell (for cream pies)
- Follow the instructions above for Blind Baking a pie crust, but continue to bake for an additional 5-10 minutes until the bottom of the crust is completely baked and lightly golden--keep the pie shield on (baking time will vary depending on the thickness of your crust and the pie tin you use). I prefer to bake my pie shells with the pie weights in them the whole time to avoid shrinkage.


Jessica says
Hi Amy,
I made your pie dough today it’s in the fridge until tomorrow when I make my pies but it seems really wet and sticky because of all the egg and water and butter mixture. Will it be okay tomorrow or firm up in the fridge at all ? Because it doesn’t feel firm. I also made 2 other recipes for dough and they are like almost hard to touch.
Amy says
Hi Jessica! The pie crust is sticky at first since the butter is melted. It should look like the dough in my video from around 0:40- 0:50. Once it sets up in the fridge overnight, the butter hardens within the dough, making it much firmer. I use plenty of flour on my surface when rolling out the dough if there are any sticky areas. I hope that helps!
Johnny says
Hi Amy,
I will be making a cherry pie with a lattice top crust. Is the blind bake timing the same, or should I bake it for less time since the top crust will need to bake?
Amy says
Hi Johnny, thanks for checking! You can follow the recipe instructions labeled "How to Blind Bake (partially bake) the Crust (for pies that will be baked again)." That's how I do my fruit pies, even when they get an unbaked crust on top before their second bake. 🙂