
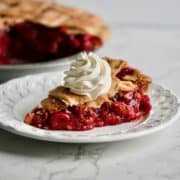
This tart cherry pie is packed with 3 whole pounds of frozen red tart cherries, so every slice is tall and loaded with that bright, tart cherry flavor. It's made with my favorite secret bakery pie ingredient, which keeps the filling thick and glossy, so it slices beautifully.

Jump to:
At Amycakes Bakery, we bought frozen red tart cherries by the giant case, and I still think there's no better cherry for a cherry pie. Everyone who eats this pie tells me it's the best cherry pie they've ever had!
You don't need a deep-dish pan to make it look this impressive. I mound the filling high in a regular 9-inch pan, and the crust stretches past the edge, so it looks like a 10-inch pie once it's baked. Every slice is tall and loaded with cherries, which makes it a showstopper on any holiday dessert table.
Never Miss a Recipe!
I'm sharing my tried-and-true Amycakes Bakery recipes! Sign up to be the first to know about my favorite recipes, baking tips, and bakery secrets!
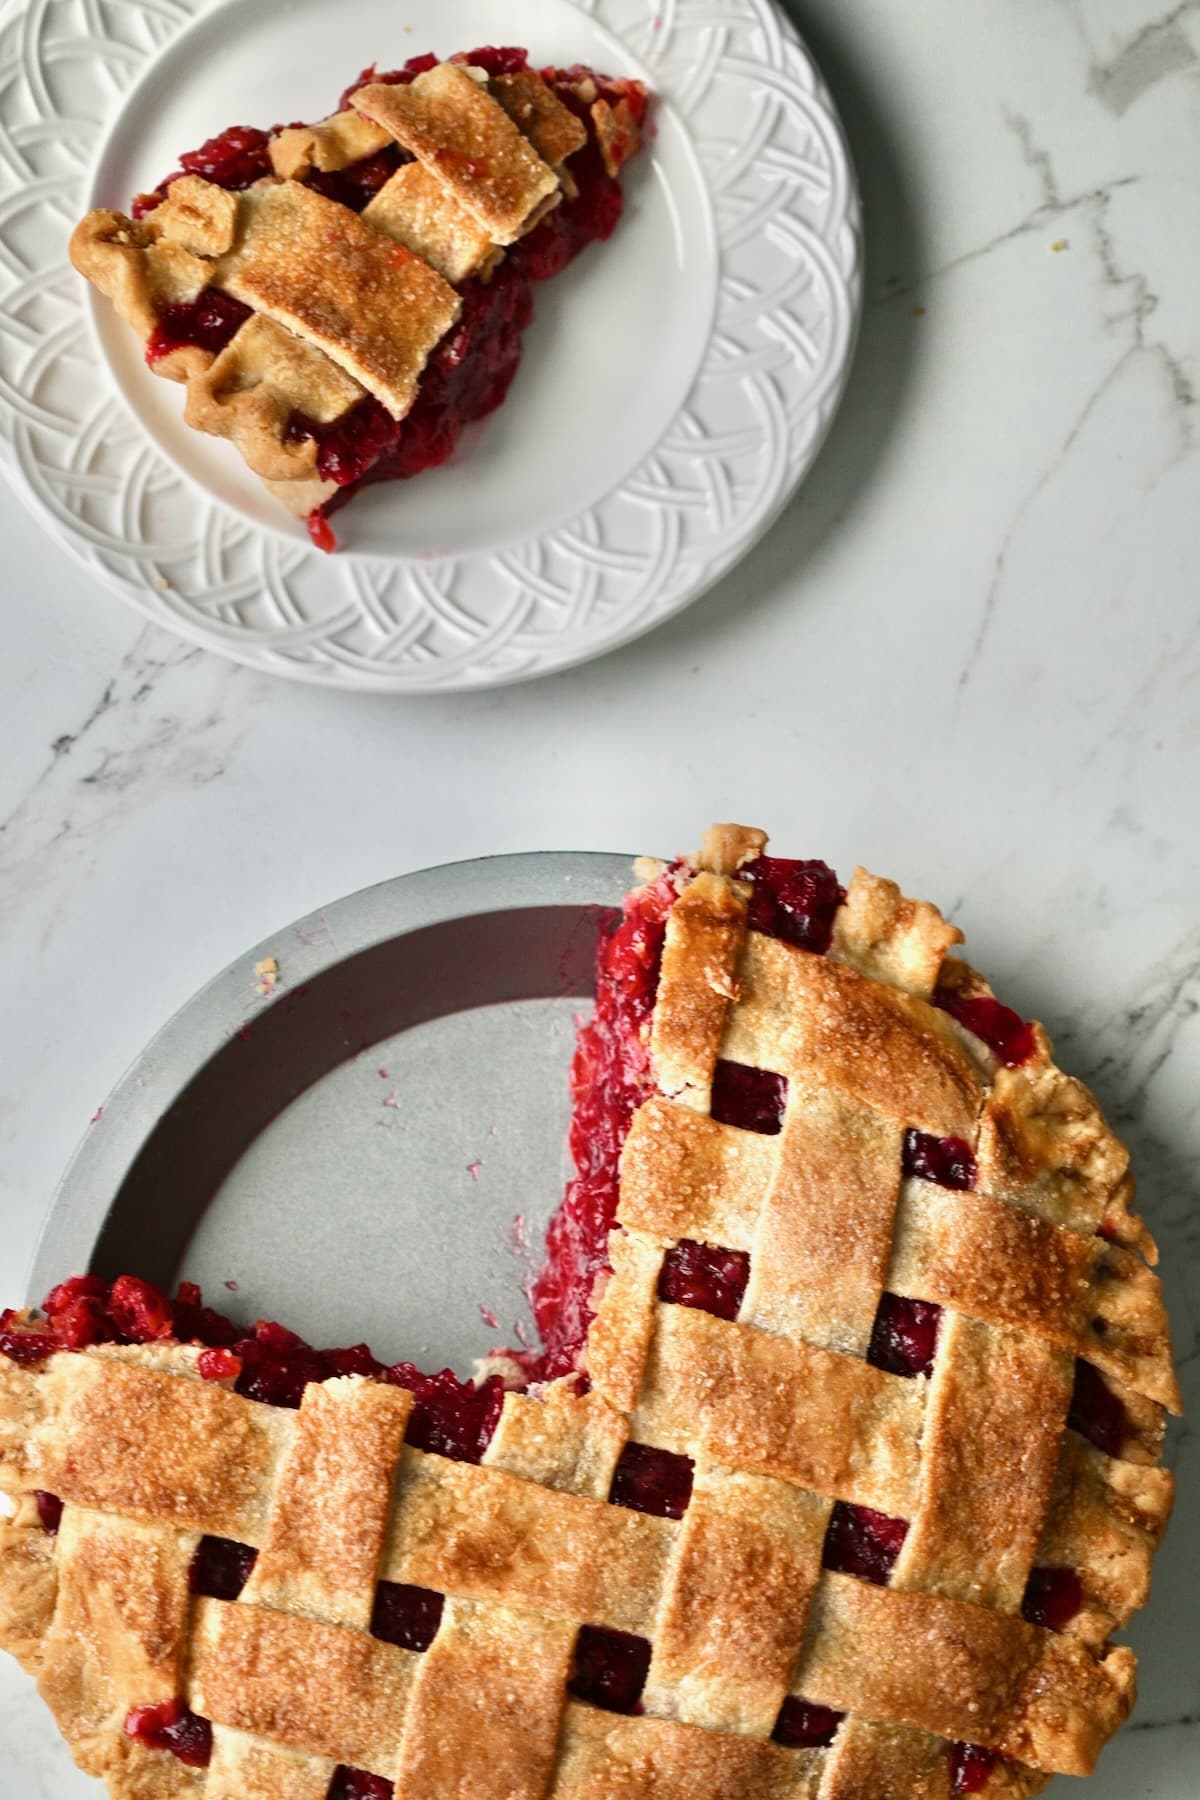
What Makes This Cherry Pie Different
- 3 pounds of frozen red tart cherries for that classic tart cherry pie flavor
- A preheated baking steel or stone, so you never have to blind bake the crust
- Instant Clearjel, my favorite secret bakery ingredient, for a thick, glossy filling that slices beautifully
I'll walk you through each one as you keep reading!
Equipment You'll Need
Pie Pan

Why I use it
This pie holds 3 pounds of cherries, so a sturdy pan matters more than a deep one. I use the Cooking Concepts 9-inch tin pie pans from Dollar Tree. We bought them in bulk at my bakery because they hold their shape under all that weight.
They aren't always in stock, so I've linked a good option on Amazon too.
Baking Steel (recommended)

Why I use it
A preheated baking steel pushes heat straight into the bottom of your pie pan, so your bottom crust bakes all the way through without blind baking (baking the empty crust first). Steel moves heat even faster than a stone, so it's my pick for the most golden, crisp bottom crust. But a baking stone or pizza stone works as an alternative!
Just make sure your steel or stone is safe to at least 400°F. Don't have either one? Check the FAQ below for how to make this pie without one.
Pie Shield

Why I use it
A pie shield keeps your crust edges flaky and golden brown instead of dark. The crimped edge always browns faster than the top of the pie, and this little ring covers just the edge so the rest of the pie can keep baking.
Mine is the Mrs. Anderson's 9.5-inch shield, which fits my 9-inch Dollar Tree tins with a little room to spare. Most other brands work too.
Silicone Pastry Brush

Why I use it
A silicone pastry brush spreads a thin, even layer of egg wash, and there's no chance of bristles ending up on your pie.
Other equipment you'll need:
- Large bowl with a lid - For thawing the cherries with sugar overnight. Plastic wrap works too!
- Whisk - To whisk the Instant Clearjel and sugar together really, really well.
- Rubber spatula - For gently stirring the thickener into the cherries without smushing them.
- Offset icing spatula - To smooth the filling into a dome. A knife or spoon works too.
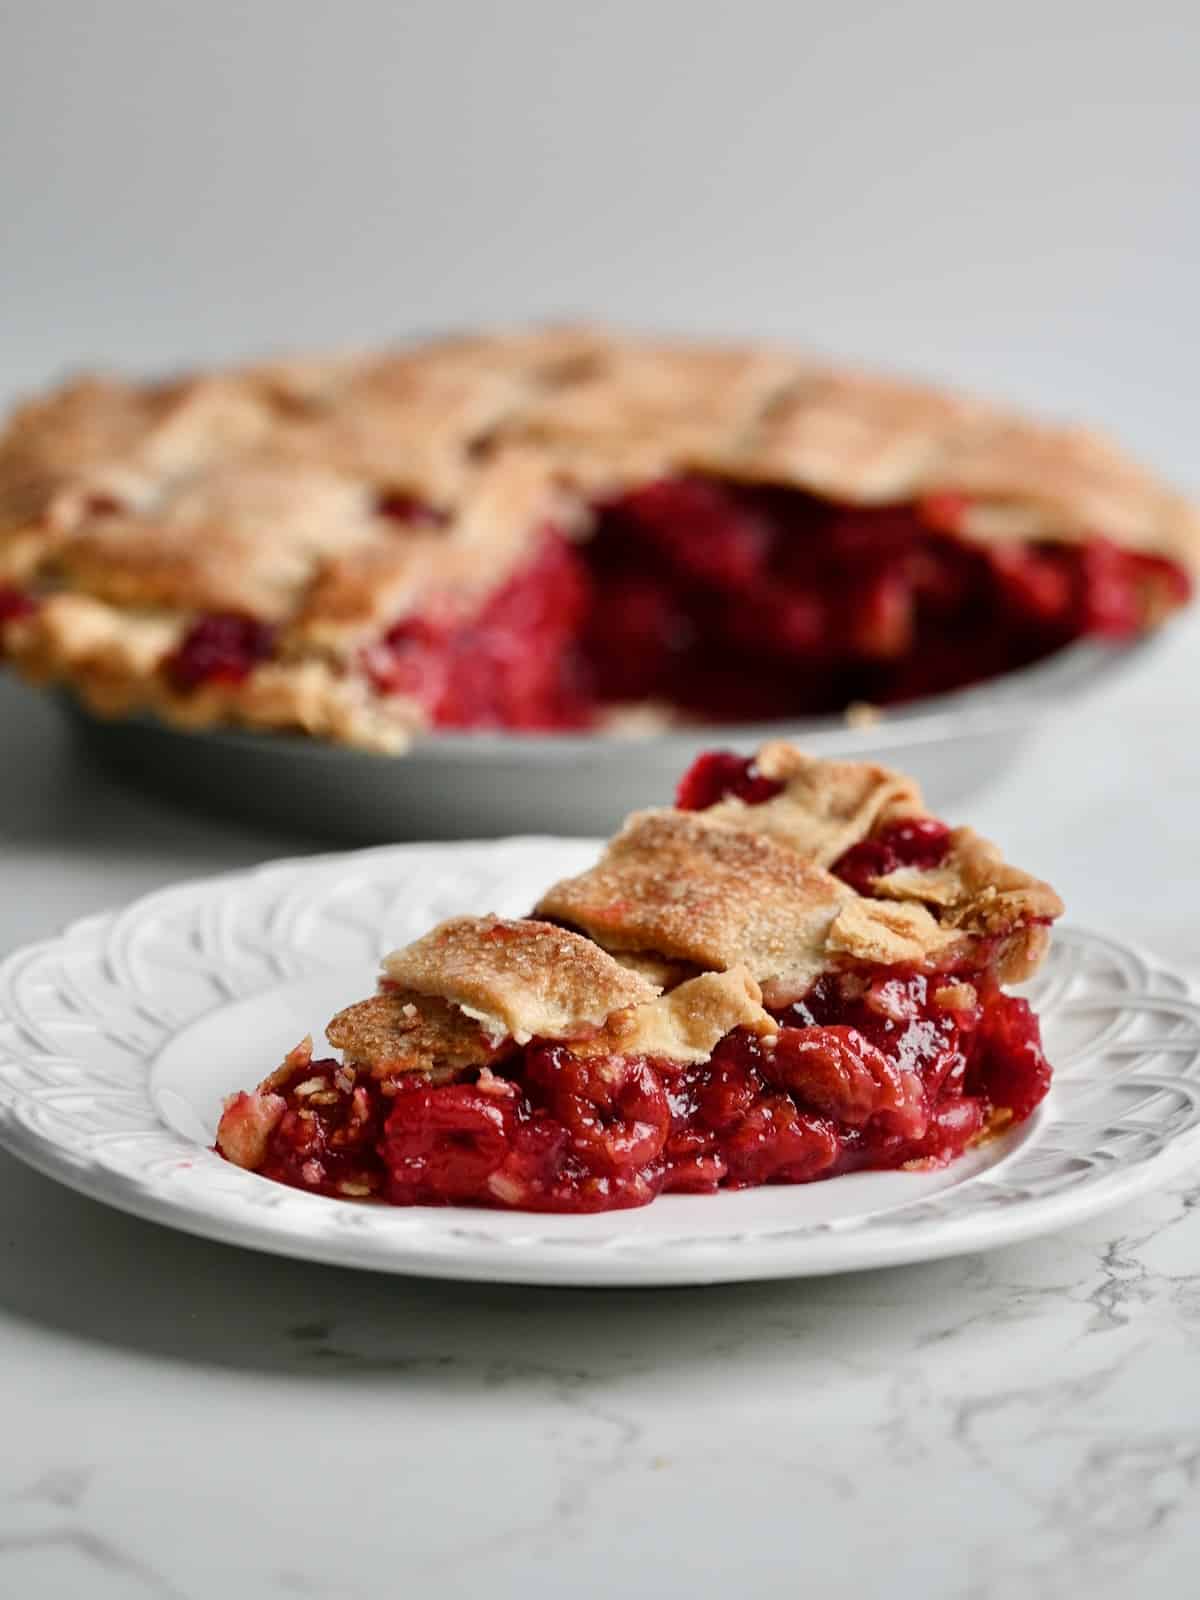
Key Ingredients
Frozen Red Tart Cherries
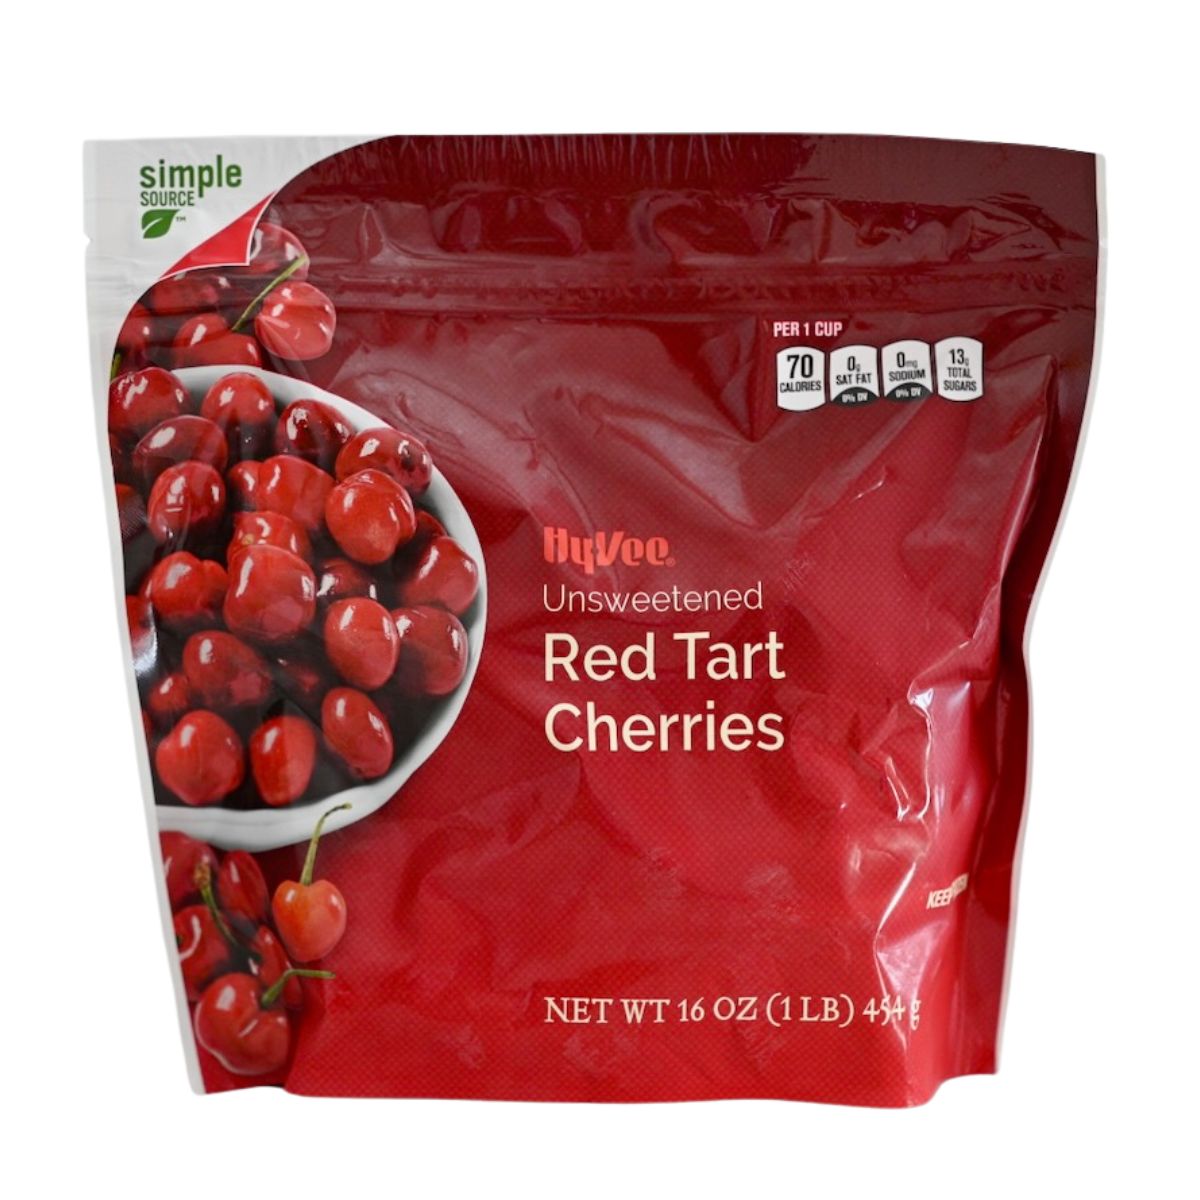
Use frozen red tart cherries, not sweet cherries, for that classic tart cherry pie flavor.
Tart cherries (also called sour cherries) are the classic pie cherry. They're bright red and tangy, while dark sweet cherries are milder and sweeter. That tartness balances the sugar and gives you that signature tart cherry pie flavor you can't get from other cherries.
They can be a little tricky to find, but they're so worth the hunt! In my town, I find them at Hy-Vee, and they're not at my Walmart, so check which stores carry them near you. (Bakery owners, you can order them by the case through your food service provider. That's what we did at my bakery.)
Instant Clearjel

Always whisk Instant Clearjel with at least an equal amount of sugar before it touches the cherries and cherry juice.
Instant Clearjel is a modified cornstarch that thickens instantly, with no cooking needed. Most pie fillings are runny until they bake, so you're left guessing whether they'll set. This one is thick before it ever goes in the oven, so you know your pie will slice beautifully.
It's also glossy instead of cloudy like flour, and it freezes really well. Since you don't cook the cherries first, the filling doesn't shrink in the oven, so your top crust stays tall. Once your cherries thaw overnight, the filling only takes about 15 minutes. No standing over a hot stove for this filling. Easy peasy!
The sugar separates the tiny Instant Clearjel grains so they can't clump together when they hit the juice. This recipe whisks it with plenty of sugar, so you're covered!
I use Medley Hills Farm, and I also recommend Nuts.com. Make sure your label says "Instant," since cook-type Clearjel won't work the same way.
Salted Butter
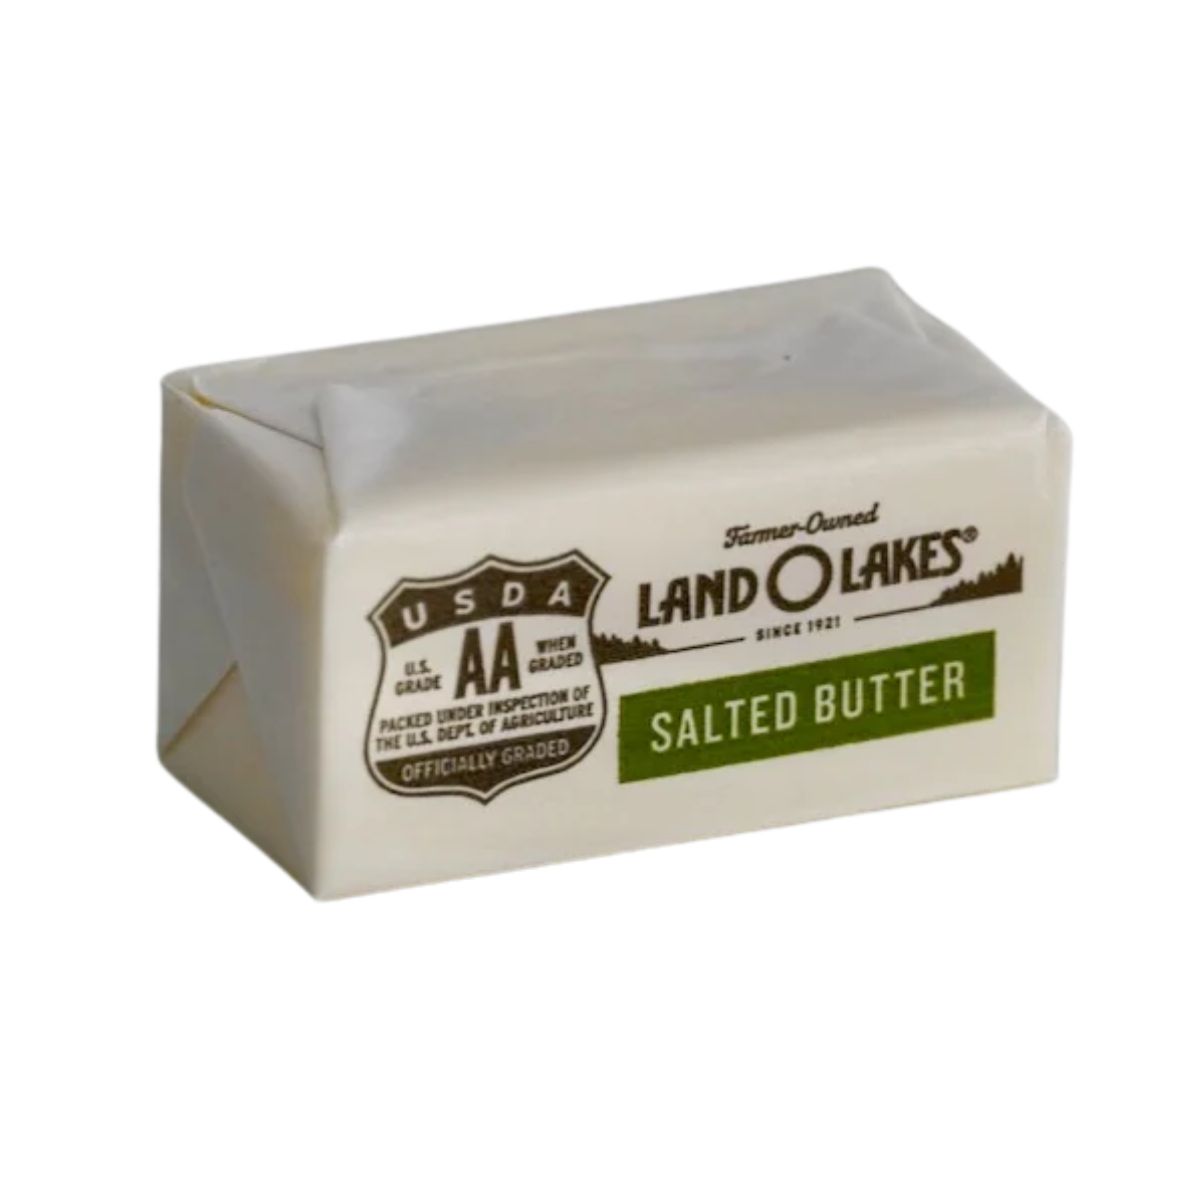
Stir the melted butter right into the filling instead of dotting it on top, so every bite is buttery.
It firms up into tiny butter flakes when it hits the cold cherries, and that's perfectly fine! I don't love the oily sheen that butter dotted on top leaves behind, and stirring it in spreads it evenly through the whole pie.
I always use salted butter for the best flavor. If you only have unsalted, add a scant ⅛ teaspoon of salt to the melted butter before stirring it in.
Your Favorite Double Crust Pie Dough

Any double crust recipe or refrigerated store-bought crust works great here.
I use my Egg and Vinegar Pie Crust. It's flaky and so pliable, which makes it easy to roll out and work with. And it's delicious!
Additional ingredients you'll need:
- Granulated sugar - Divided. Part of it goes on the frozen cherries overnight to bring out their juices, and the rest gets whisked with the Instant Clearjel. You'll also need a little more for sprinkling on top of the pie.
- 1 large egg - The egg white gets brushed on the bottom crust, and then the yolk gets whisked back into the leftover white for a thin egg wash on top.
- Turbinado sugar (optional) - A sprinkle on top adds a little crunch and a subtle golden sparkle.
Video
make ahead
Make Ahead, Store, and Freeze
This tart cherry pie is best baked a day ahead, or at least a few hours before serving. As the filling cools, it sets up even more, so it cuts into clean, tall slices.
If you'll eat it within 2 days, leave it at room temperature. Don't wrap it, or the crust can get soggy. Once it's completely cool, set it in a pie box or a container that isn't completely sealed, so it can breathe. You can also keep it in the fridge.
To freeze it, put the cooled pie in a pie box or container with a couple of paper towels underneath the pie tin. Wrap the whole box thoroughly in plastic wrap and freeze. When you're ready to serve, let it thaw at room temperature overnight, then unwrap it and give it some air. The paper towels soak up moisture as it thaws, so your crust stays flaky.
Read This Before You Bake
Follow these tips for the best results with your tart cherry pie.
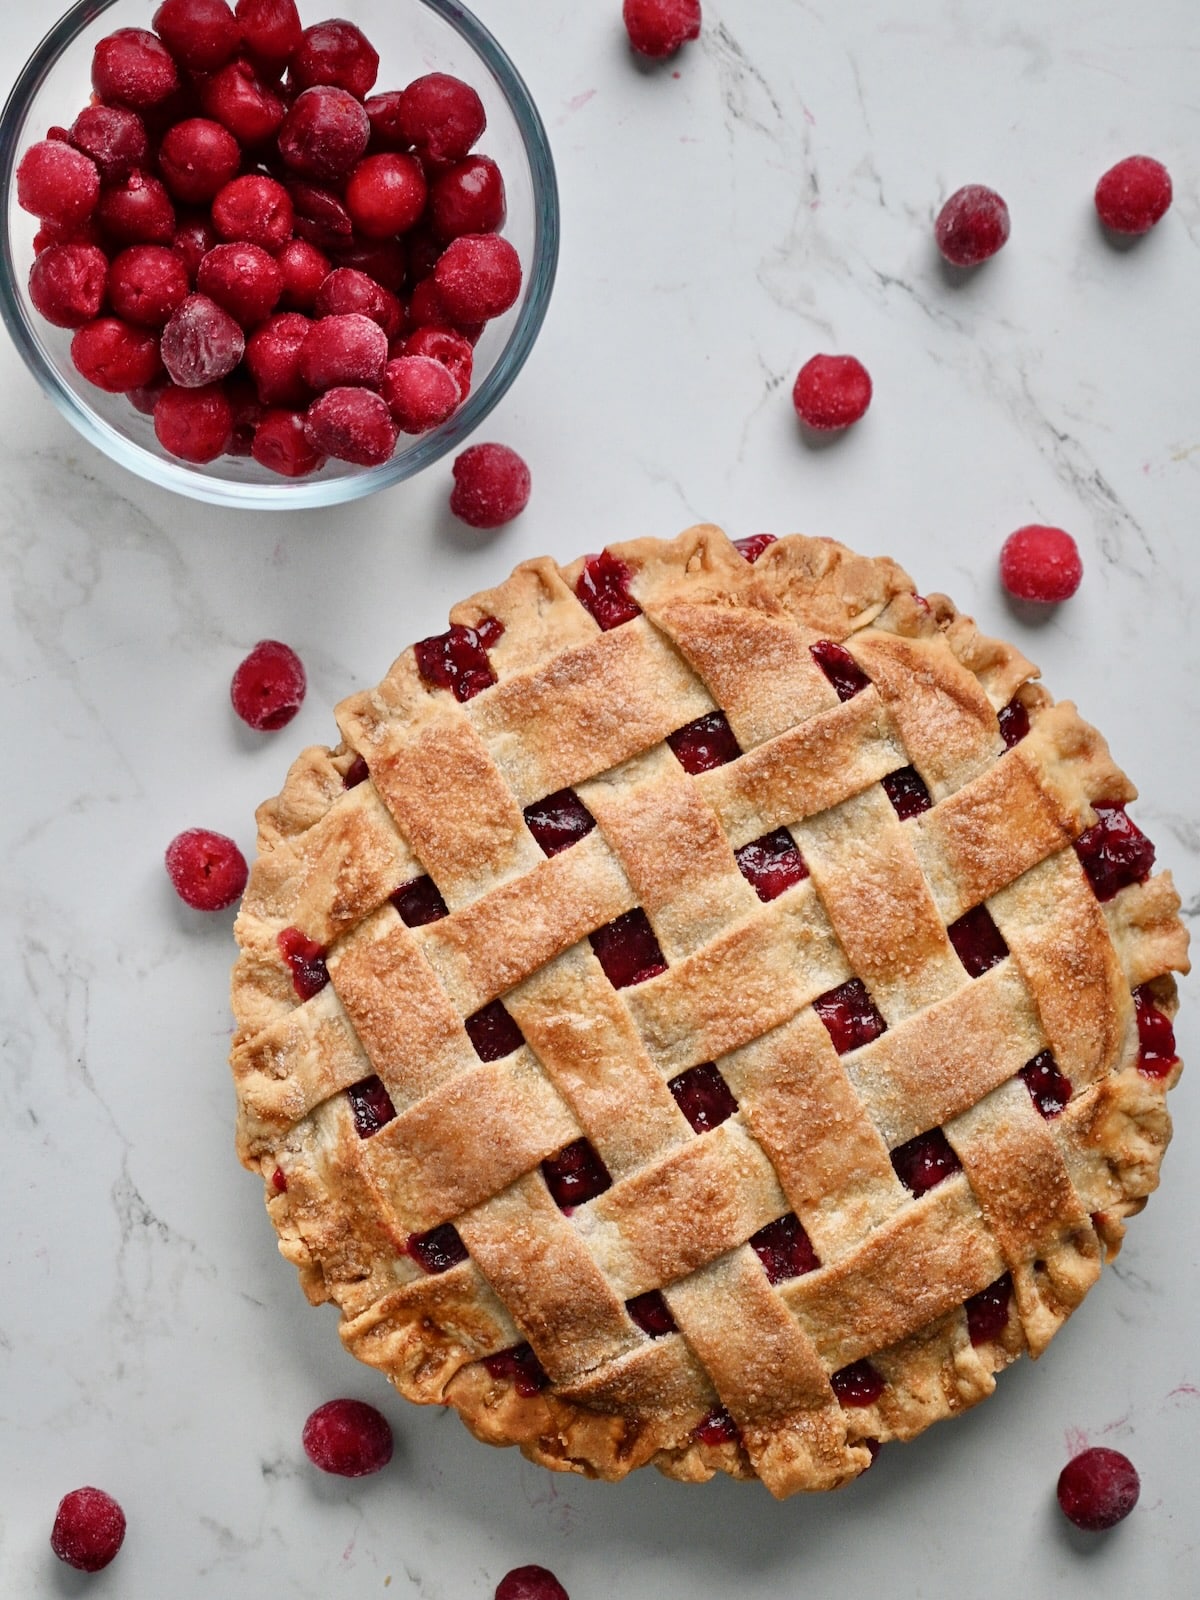
- Start the night before. Your pie crust needs to rest overnight, and so do your cherries. The sugar slowly pulls the juice out of the cherries as they thaw in the fridge, so by morning they're juicy and ready to go.
- Bake it on a preheated baking steel or stone on the bottom rack. I used to blind bake every pie crust (which means baking the empty crust before adding the filling, so it doesn't turn out soggy). But thanks to my baking stone, the filling goes straight into the unbaked crust, the pie goes onto the hot stone, and the bottom bakes all the way through. It saves me so much time!
What's a baking steel or baking stone, you ask? A baking steel is a thick, flat sheet of steel, and a baking stone is a thick slab of ceramic. Both sit on your oven rack, soak up heat as they preheat, and hold onto it. When you set your pie on top, that heat goes straight into the bottom of the pan, so your bottom crust bakes all the way through instead of staying raw and soggy under all that juicy filling. Steel moves heat even faster, so it's my pick for the most golden bottom crust. Just make sure whatever you choose is safe to at least 400°F. - Put your steel or stone on the bottom rack, then preheat it for a full hour. If you're using a stone, put it in a cold oven and let them heat up together, since a cold stone in a hot oven can crack. The full hour makes sure your steel or stone is hot all the way through. I turn my oven on as soon as I start, and the hour lines up perfectly with everything else..
- Choose the right pan. A flimsy pan can bend under 3 pounds of cherries and crack your crust, and a glass dish can crack on a hot baking steel or stone. If your metal pan is thicker than mine, it may need a few extra minutes, and if it's darker, it may brown a little faster. Let the bubbling filling and golden crust be your guide rather than the timer.
- Roll the bottom crust thin, then seal and chill it. Roll it to less than ¼ inch thick, so it bakes through fast enough on the hot steel or stone. Then brush it with egg white and chill it while you make the filling, so the egg white is set and the crust is nice and cold when the cherries go in.
- Stir the cherries gently to keep them whole. Add the Instant Clearjel and sugar mixture in thirds, stirring gently with a spatula after each one until it's completely mixed in. The filling thickens instantly, and stirring gently keeps your cherries whole instead of smushed.
- Only egg wash the top. The crimped edge browns beautifully on its own, so skip it. Sprinkle sugar on the egg wash right away, while it's still wet, so the sugar sticks.
- Keep the pie shield on the whole time, and watch for bubbles. The edges brown faster than the top, so the shield stays on from start to finish. Your pie is done when the crust is golden and the filling is bubbling a little at the edges. That bubbling tells you it's heated all the way through.
FAQ
Frozen red tart cherries give this pie the best flavor and that tall, mounded filling, but you can use canned tart cherries in water if you can't find frozen.
Full disclosure: I have tested this exact swap in my Cherry Cake Filling, but I haven't tested canned cherries in this pie yet. If I were in your shoes and couldn't find frozen tart cherries, this is exactly how I would do it:
- Use four 15-ounce cans of tart cherries in water in place of the 48 ounces of frozen cherries.
- First, strain the cherries, reserving the cherry water. Then add enough cherry water back to the strained cherries to make 48 ounces (it's about 1 cup of cherry water).
- Skip the overnight step. Instead, whisk all of the sugar (both portions) together with the Instant Clearjel, then gently stir it into the cherries.
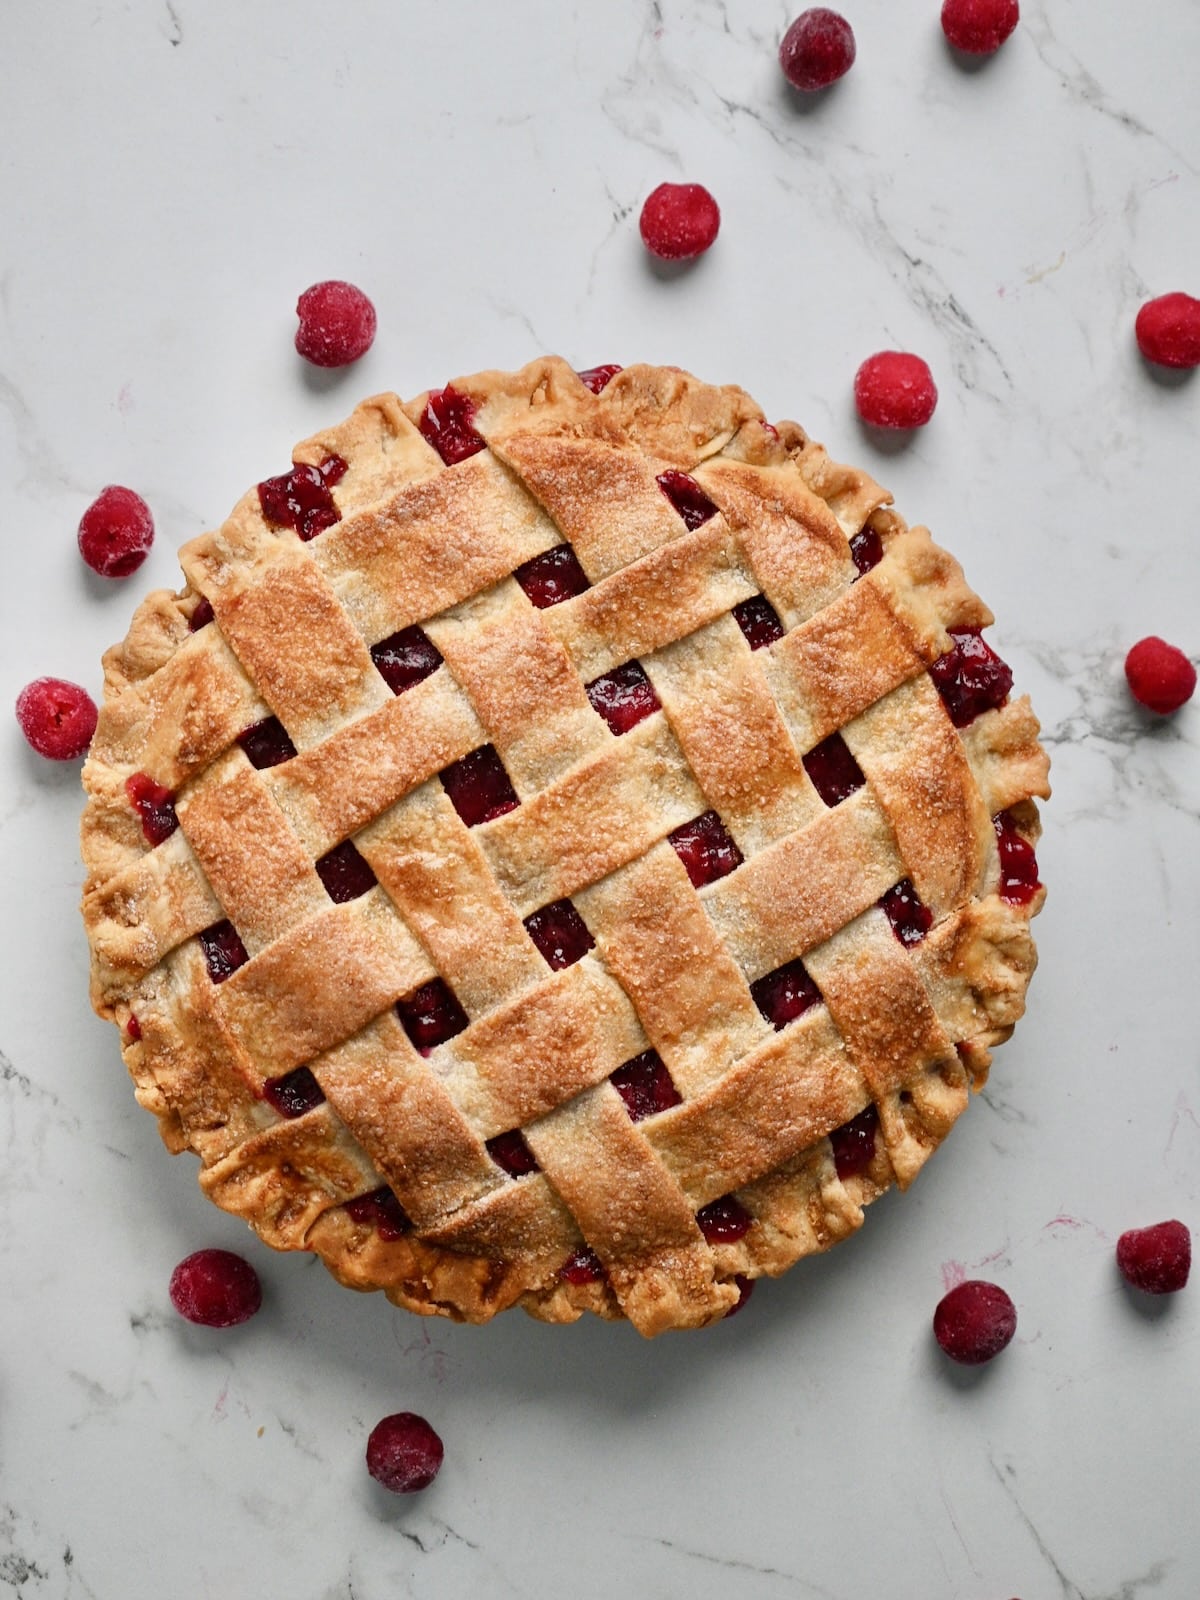
The crust should be golden brown and the filling should be bubbling a little at the edges of the pie. That bubbling tells you the filling has heated all the way through.
Nope! Rolling the crust thin and baking the pie on a baking steel or stone that's been preheating on the bottom rack for an hour should bake the bottom crust all the way through.
No, while a baking steel is my favorite way to bake the bottom crust all the way through, you can also par bake the bottom crust first. Use the directions in my Egg and Vinegar Pie Crust recipe card. Then add the filling and bake as directed.
More Pie and Cake Recipes You'll Love
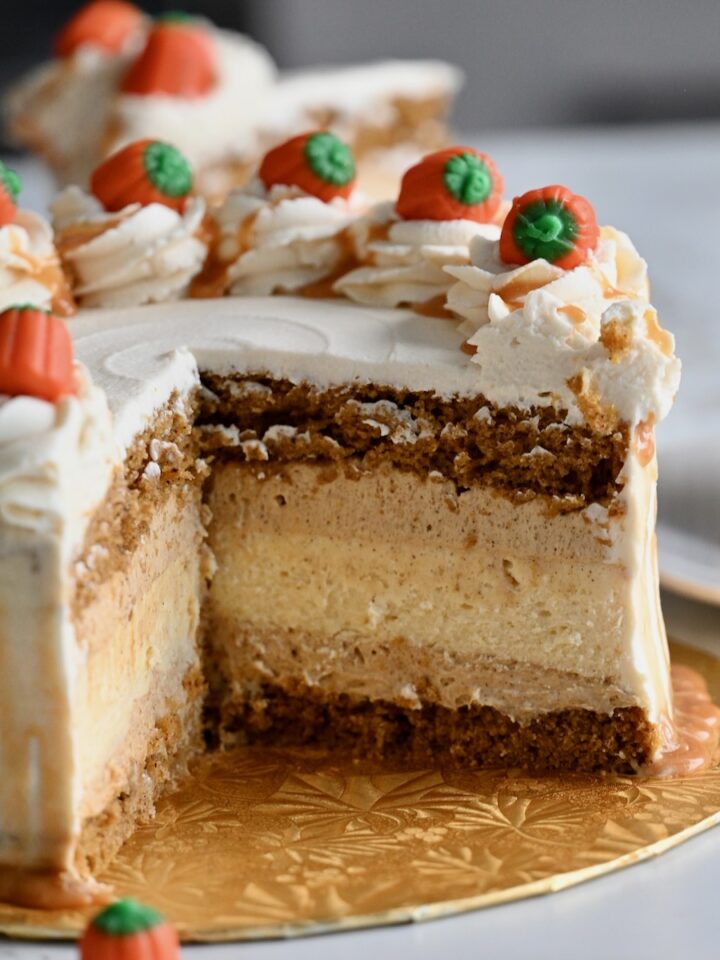
If you love this tart cherry pie, you'll love these treats for your holiday table too!



And if you love cherries in your cakes too, try my Cherry Cake Filling.
Serve your pie with ice cream or my stabilized whipped cream.
If you make this pie, please leave a star rating below. It means the world to me and helps other bakers trust the recipe! 🍒
Thanks for Reading. ❤️

📖 Recipe & Step-by-Step Instructions
Tart Cherry Pie
Equipment
- 9-inch sturdy metal pie pan
Ingredients
For the Cherries (start the night before)
- 48 oz (1361 grams, about 10 cups) Frozen Red Tart Cherries (three 1-pound bags)
- 200 grams (1 cup) Granulated Sugar
Additional Cherry Filling Ingredients
- 250 grams (1 ¼ cups) Granulated Sugar
- 96 grams (¾ cup) Instant Clearjel (make sure it's labeled "Instant")
- 43 grams (3 Tbsp) Salted Butter (melted)
For the Crust
- 1 prepared double crust pie dough (my Pie Crust made with Egg & Vinegar or your favorite, made the night before)
- 1 large egg (separated)
- Granulated sugar (for sprinkling)
- Turbinado sugar (for sprinkling - optional)
Instructions
The Night Before
- Make your pie crust dough and refrigerate it overnight.
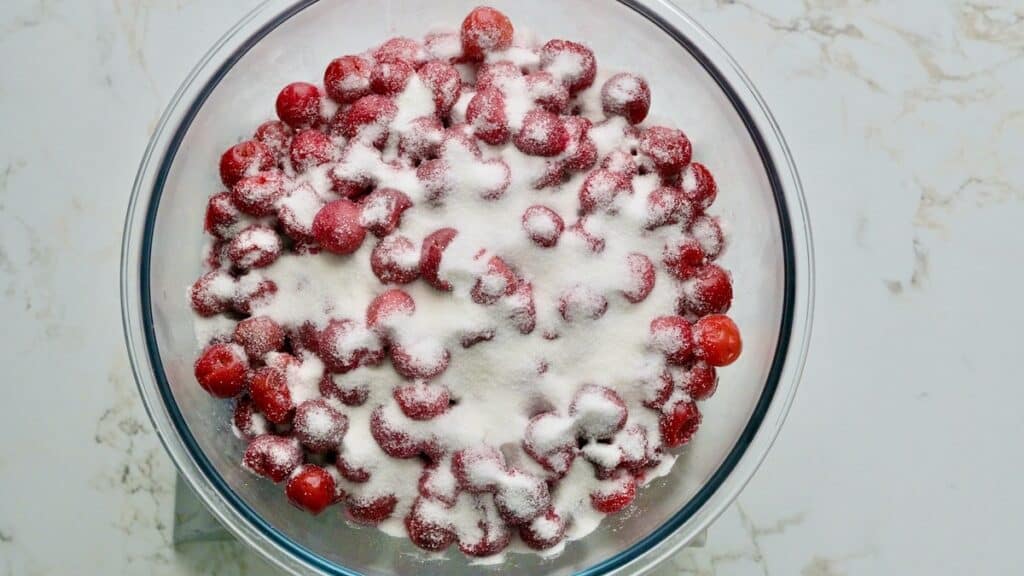
- Pour the frozen cherries into a large bowl and stir in the 200 grams (1 cup) of granulated sugar. Cover the bowl and refrigerate overnight to thaw.

Make the Pie
- Stir the thawed cherries and leave them at room temperature for about an hour while you prepare the crust. (optional, but it makes sure they are fully thawed with the sugar fully melted)
- Place your baking steel or stone on the bottom rack of the oven, then turn the oven on to 400°F. Let it preheat for 1 full hour.
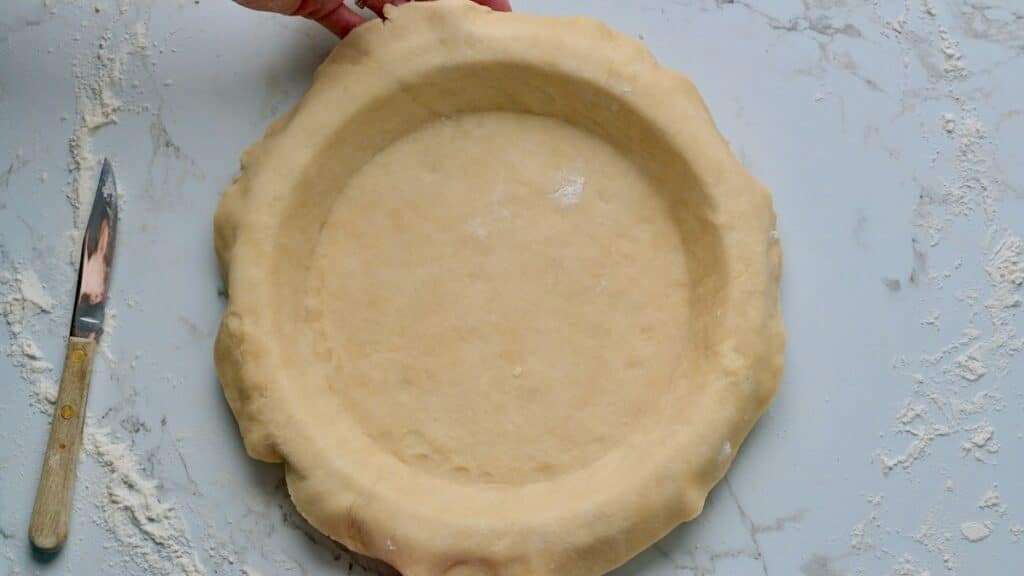
- Roll out the bottom crust less than ¼ inch thick and fit it into a 9-inch pie pan. Separate the egg. Brush the bottom crust with a thin layer of egg white, then refrigerate the crust while you make the filling. Whisk the yolk back into the leftover egg white and save it for an egg wash on your top crust.
Make the Tart Cherry Filling
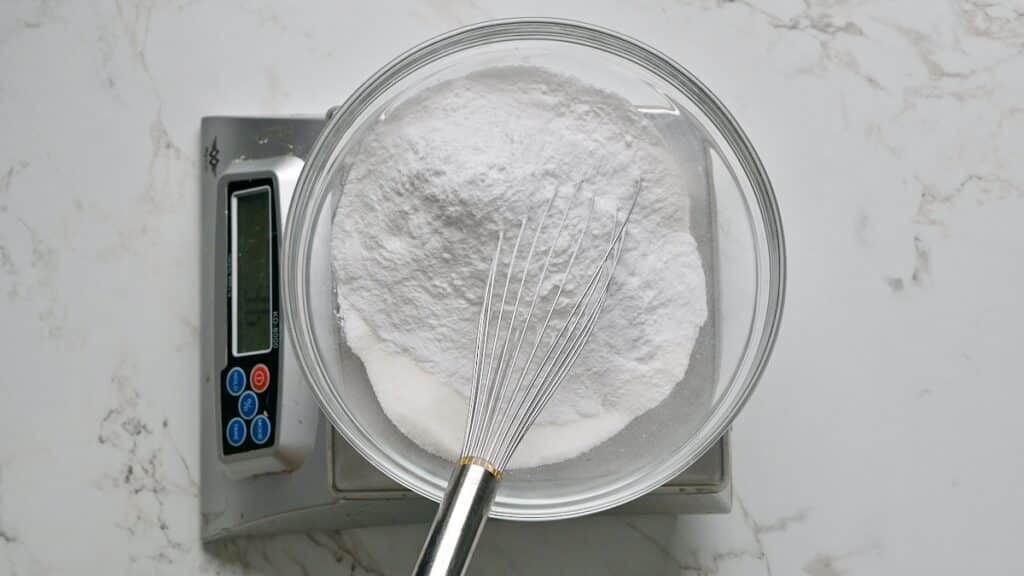
- In a separate bowl, whisk the 250 grams (1 ¼ cups) of sugar and the Instant Clearjel together really, really well.
- Melt the salted butter in the microwave until completely melted.
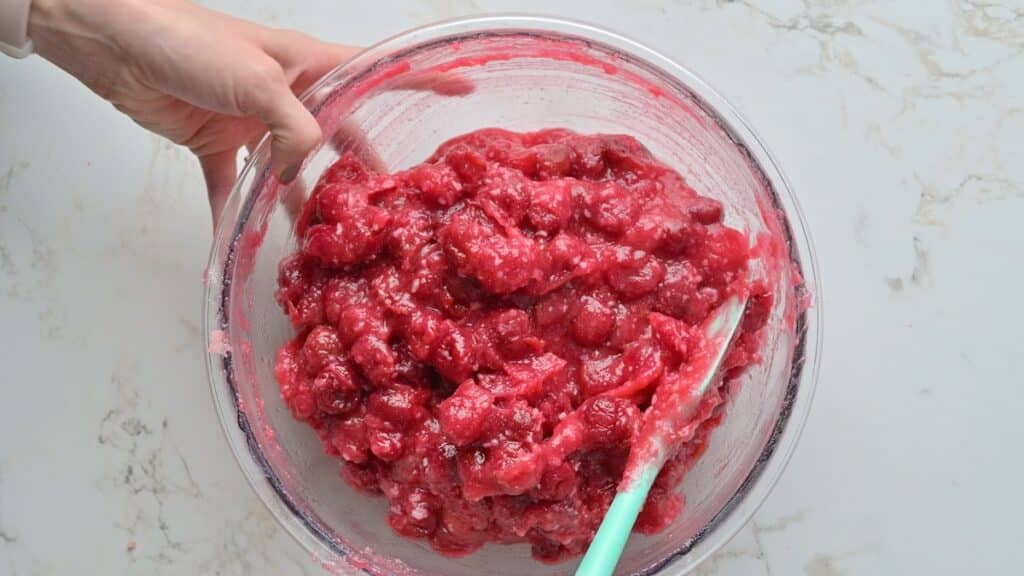
- Gradually add the thickener mixture to the juicy cherries in thirds, stirring gently with a spatula after each addition. Stir gently so you don't smush the cherries, but mix thoroughly until the thickener is completely incorporated. The filling will thicken instantly.
- Pour the melted butter over the filling and stir until it's completely incorporated. You'll see tiny flakes of butter, and that's perfectly fine.
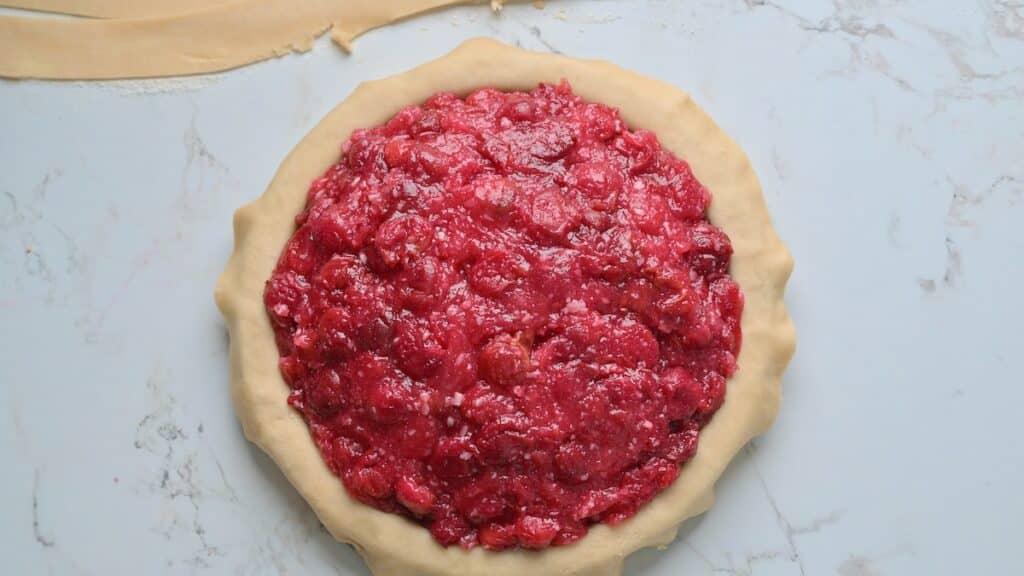
- Pour the filling into the chilled bottom crust. Use an offset icing spatula, knife, or spoon to smooth it into a dome, with the filling piled highest in the middle.
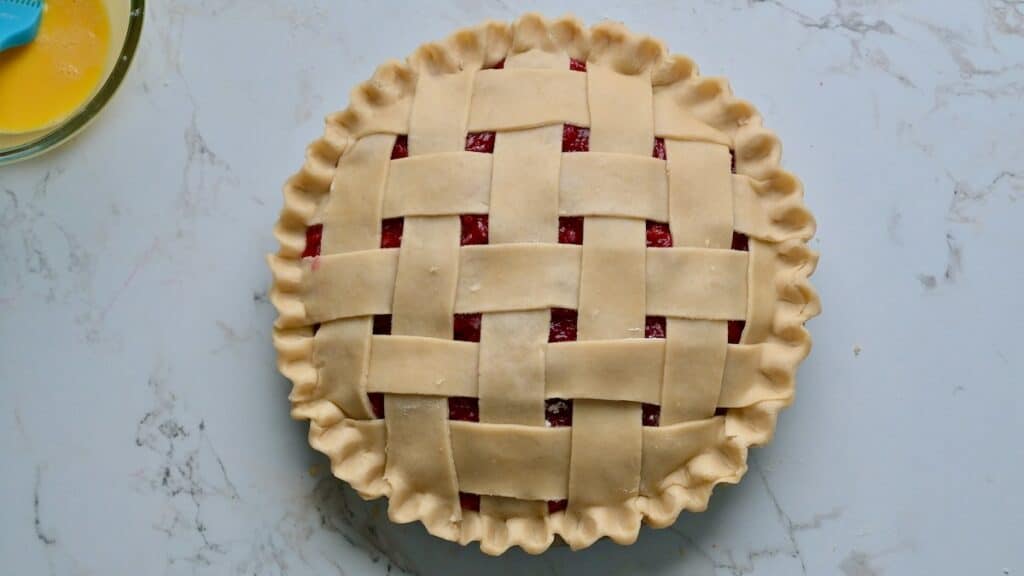
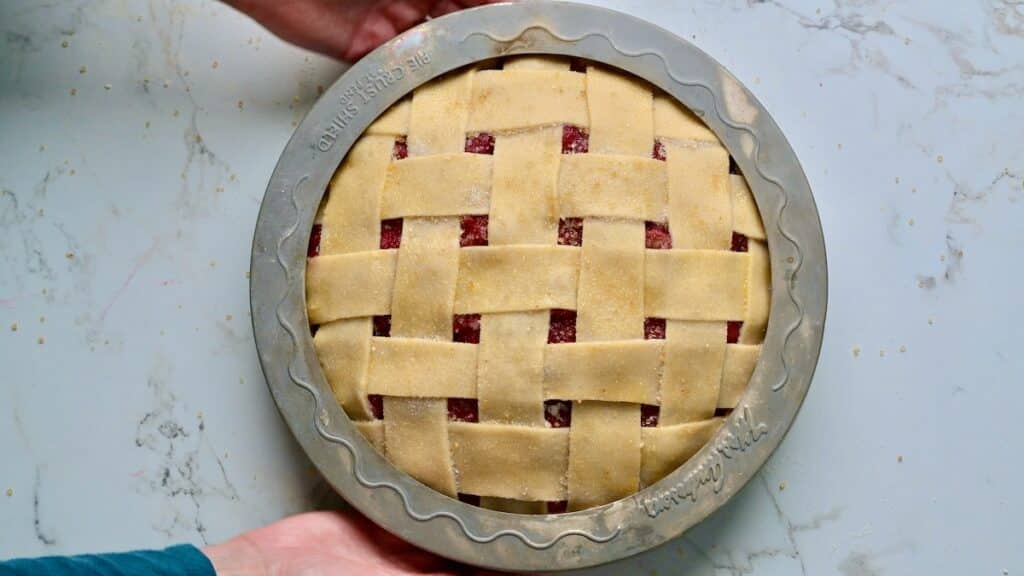
- Roll out the top crust and add it however you like. I do a thick lattice. Crimp the edges.
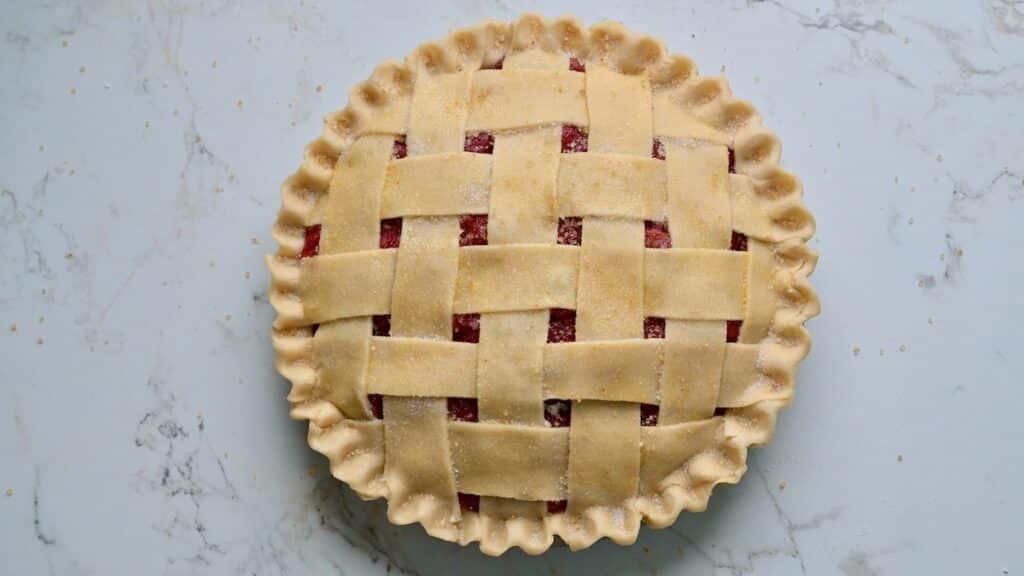
- Brush a very thin layer of the saved egg wash over the top crust only. Don't egg wash the crimped edge. Immediately sprinkle with granulated sugar, plus turbinado sugar if you like.
- Gently set a pie shield over the crimped edge. Place the pie on the preheated baking steel or stone and bake for 35 minutes.
- Turn the oven down to 350°F and bake for another 30 minutes, or until the crust is golden brown and the filling is bubbling a little at the edges. Keep the pie shield on.
- Carefully remove the pie from the oven. Gently remove the pie shield. If the pie shield sticks, carefully cut it free with a knife after the pie has cooled.
- Let the pie cool for at least a few hours, or bake it a day ahead, so the filling sets up before slicing. Serve with ice cream or stabilized whipped cream. Enjoy!
Notes
- Almond extract (optional): I don't add it to mine, but some people love a hint of almond with cherry. If that's you, stir ¼ teaspoon almond extract into the melted butter before adding it to the filling.
- Butter: I always use salted butter for the best flavor. If you only have unsalted, add a scant ⅛ teaspoon of salt to the melted butter before stirring it in.
- Instant Clearjel: Read my article Instant Clearjel: A Magical Bakery Ingredient to learn more. Always whisk it with at least an equal amount of sugar before adding it to the cherries, or it will clump. Make sure it's labeled "Instant," since cook-type Clearjel is a different product.
- Canned cherries: If you can't find frozen red tart cherries, see the FAQ above for how to use canned tart cherries in water.
- Pie pan: Use a sturdy metal pie pan. A thicker pan may need a few extra minutes, and a darker pan may brown faster, so go by the golden crust and bubbling filling. If you're using a baking steel or stone, don't use a glass pie dish, since a chilled glass dish on a hot steel or stone can crack.
- Baking steel or stone: Place it on the bottom rack and preheat it for a full hour. Make sure it's safe to at least 400°F. If you're using a stone, always put it in the oven before you turn it on, so it heats up with the oven. No steel or stone? See the FAQ in the post for how to par bake the crust instead.
- Storage: Leave at room temperature, unwrapped, for up to 2 days, or see the post for refrigerating and freezing.


I'd love to hear your thoughts