
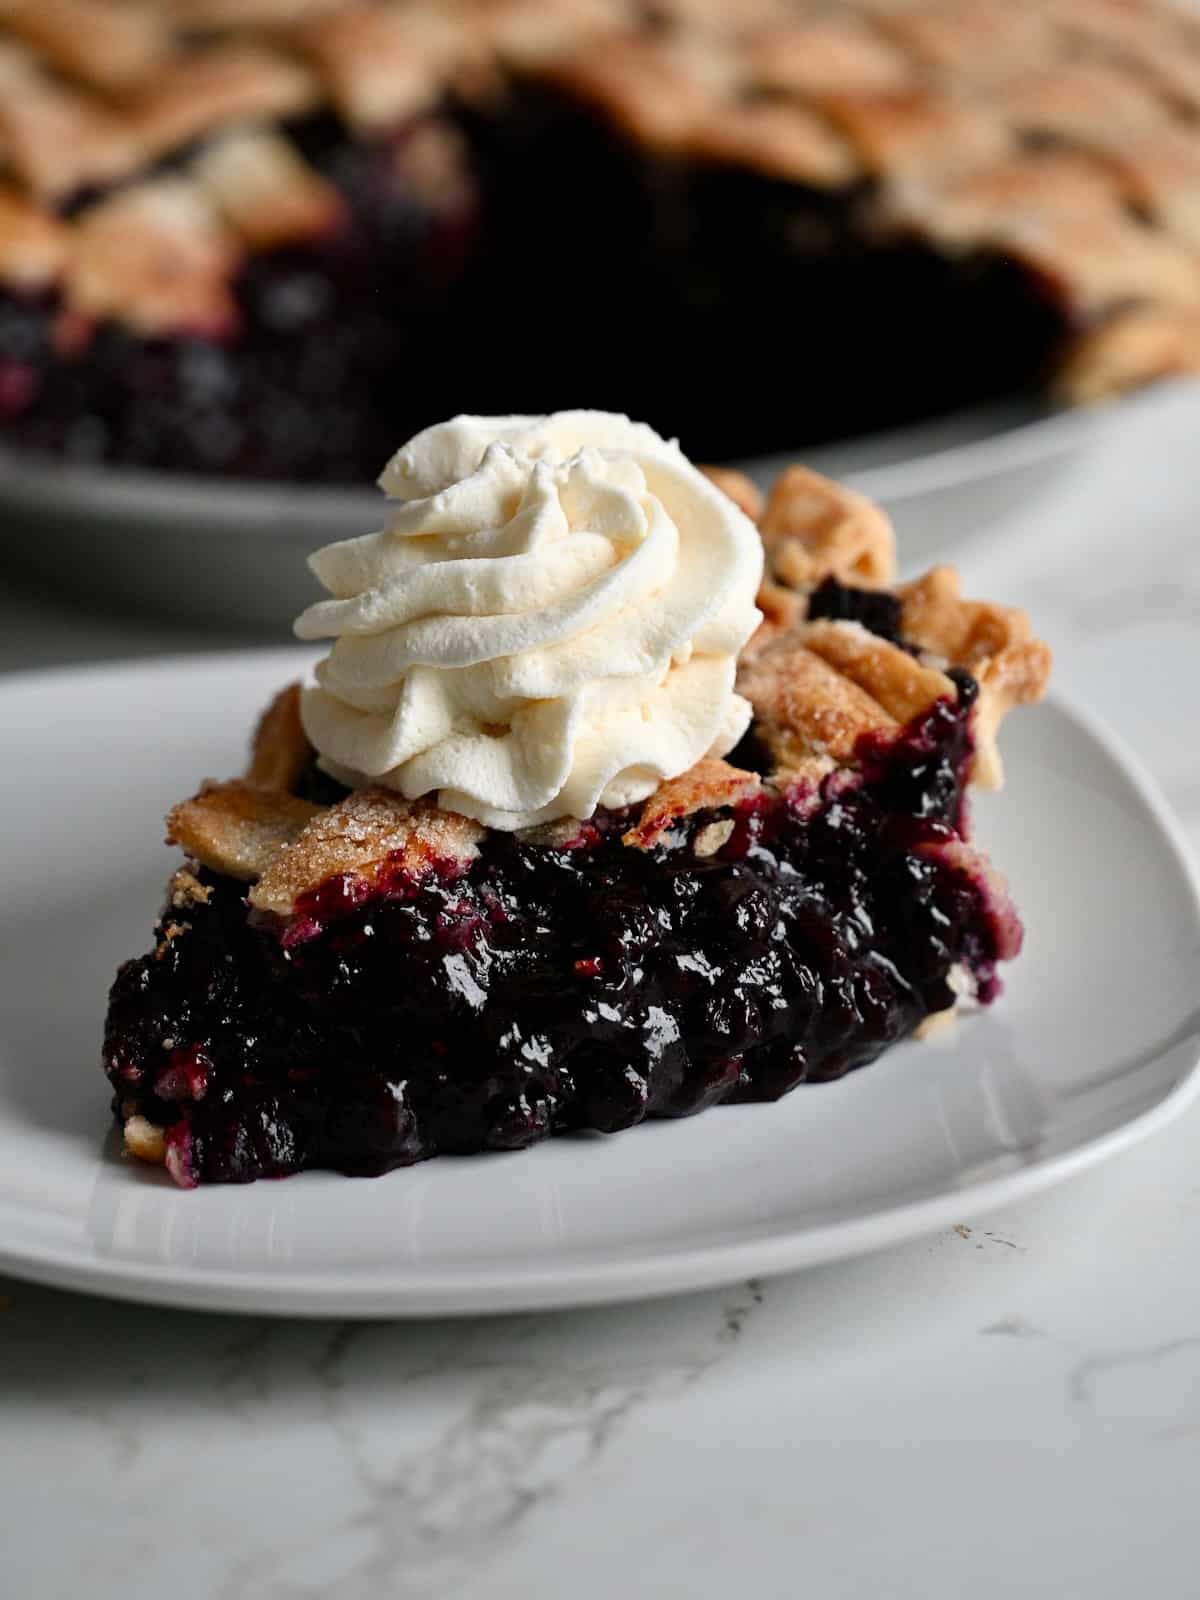
This wild blueberry pie is all about the blueberries. A whole 3-pound bag of frozen wild blueberries goes into one pie, so it bakes up big, juicy, and blueberry forward. Thaw your blueberries in the fridge the night before, and you can whip up the no-cook filling in less than 10 minutes.

Jump to:
We sold this blueberry pie at Amycakes Bakery, and it's my husband's favorite fruit pie. A splash of lemon juice brightens up the berries, and everyone who tries it loves it.
It's a great summer pie, but since it starts with frozen berries, you can bake it any time of year. We've often served it at Thanksgiving, and it's welcome at every holiday.
Never Miss a Recipe!
I'm sharing my tried-and-true Amycakes Bakery recipes! Sign up to be the first to know about my favorite recipes, baking tips, and bakery secrets!
What Makes This Blueberry Pie Recipe Different
- A full 3-pound bag of frozen wild blueberries, for bold blueberry flavor in every bite
- A preheated baking steel or stone under the pie for a fully baked bottom crust, with no blind baking
- Instant Clearjel, a special type of cornstarch that sets the filling before baking even starts
Equipment You'll Need
Pie Pan

Why I use it
Three pounds of berries is a lot of weight for a pie pan, so I reach for something sturdy. My go-to is the Cooking Concepts 9-inch tin pie pan from Dollar Tree. At my bakery, we stocked up on these by the case, since they keep their shape and don't bend when you carry a full pie.
Dollar Tree sells out sometimes, so there's a similar Amazon pan linked here too.
Baking Steel (recommended)

Why I use it
Set your pie on a hot, preheated baking steel, and it pushes heat up into the pan from underneath, so the bottom crust cooks through completely. Steel heats up and passes that heat along faster than a stone, which is why it's my first choice for a golden bottom crust. A pizza stone or regular baking stone does the job too.
Whatever you use, check that it's rated for 400°F or higher. If you have neither, the FAQ below covers how to bake this pie without one.
Pie Shield

Why I use it
The crimped edge of a pie always gets done first. This little ring sits over just the edge, so it stays golden while the center and filling catch up.
I use a Mrs. Anderson's 9.5-inch shield on my 9-inch Dollar Tree tins, and it fits with a bit of extra room. Other brands will work fine.
Silicone Pastry Brush

Why I use it
With a silicone brush, you can paint on a whisper-thin coat of egg wash, and you'll never find a stray bristle stuck to your crust.
Other equipment you'll need:
- Large bowl with a lid - The blueberries thaw in it overnight with sugar. Covering it with plastic wrap is fine too.
- Whisk - For blending the sugar and Instant Clearjel until it is completely blended.
- Rubber spatula - To stir the thickener into the blueberries gently, so they stay whole.
- Offset icing spatula - For smoothing the filling into a mound. A spoon or butter knife does the same job.
Key Ingredients
Frozen Wild Blueberries
Wild blueberries give you the most blueberry flavor, and one 3-pound bag is exactly enough for the whole pie.
Wild blueberries are smaller than the regular blueberries you see in the produce section, so you get more berries packed into every slice. I love them for their stronger blueberry flavor and their texture.
I've used both Great Value wild blueberries (Walmart's brand) and Wymans frozen wild blueberries for this pie. If you can't find wild blueberries, regular frozen blueberries make a good substitute. They're a little bigger and firmer, but the pie will still be delicious.
Instant Clearjel

Whisk the sugar and Instant Clearjel together really well before you mix it into the thawed blueberries.
Instant Clearjel is a special cornstarch with no flavor and no added ingredients. Regular cornstarch needs heat to thicken and can turn cloudy, but Instant Clearjel thickens right away with no heat, and the filling stays clear and glossy.
That's what makes this a no-cook filling. The blueberries thaw overnight and let out some of their juice before they ever go into the crust, so they don't shrink down as the pie bakes. The filling keeps its height in the oven, and the top crust bakes up tall.
The sugar spreads out the fine Instant Clearjel powder, so it can't form clumps when it meets the blueberry juice. Make sure your package says "Instant," because the cook-type version won't thicken this filling. I buy Medley Hills Farm, and Nuts.com is another good choice.
Salted Butter
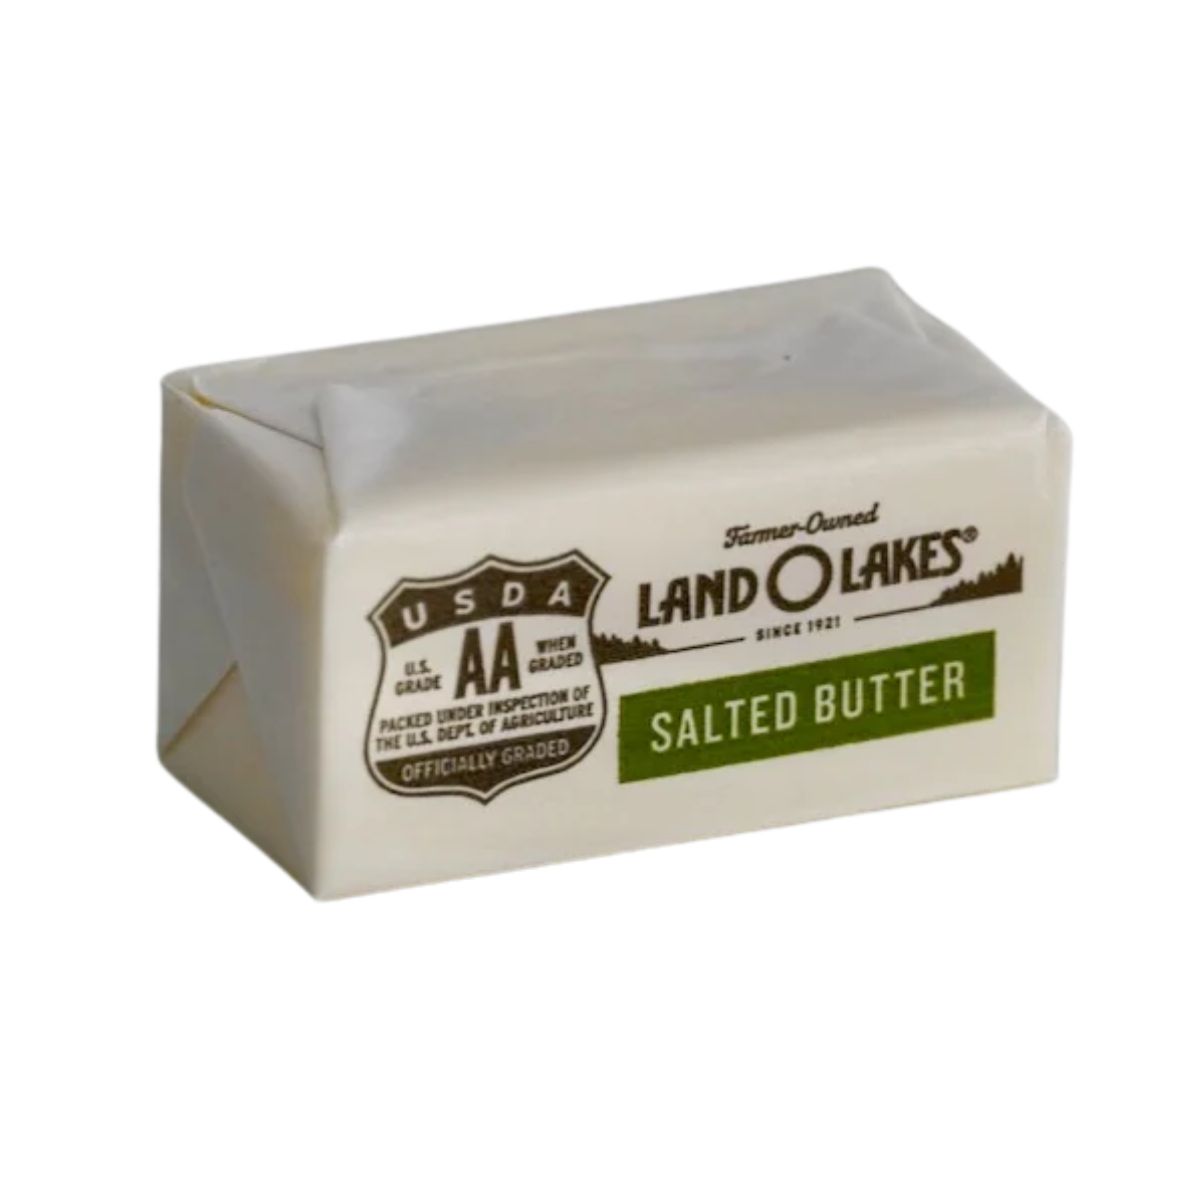
Stir melted butter right into the filling, so the butter flavor reaches every bite.
Stirring melted butter into the filling spreads it through the whole pie. If your berries are cold, the butter may turn into tiny flecks, and that's perfectly fine.
Salted butter is what I always reach for, since it adds more flavor. For unsalted butter, stir in a scant ⅛ teaspoon of salt after melting it.
Your Favorite Double Crust Pie Dough

Use whatever double crust you love, homemade or a refrigerated store-bought crust.
My favorite is my Pie Crust with Egg and Vinegar. It bakes up flaky with a delicious buttery flavor, and the dough is easy to roll and work with.
Additional ingredients you'll need:
- Lemon Juice - Bottled lemon juice is all you need, so there's no zesting or squeezing. It brightens up the blueberries and makes their flavor pop.
- Granulated sugar: You'll use it in three places. Some goes on the frozen blueberries the night before to draw out their juice, the rest is blended with the Instant Clearjel for the filling, and a little more is sprinkled over the top crust before baking.
- 1 large egg, separated. Brush the white over the bottom crust to seal it, then whisk the yolk into what's left of the white for a light egg wash on the top crust.
- Turbinado sugar (optional): Its big golden crystals add crunch and a soft sparkle to the top crust.
Video
make ahead
How to Make Ahead and Store Blueberry Pie
This pie is easy to spread out over a few days, so no single day feels like a lot of work. Here's how I like to do it when I'm serving pie on a Friday:
- Tuesday: Make the pie crust dough and let it rest in the fridge overnight.
- Wednesday: Roll out the bottom crust, fit it into your pan, and refrigerate it. Put the frozen blueberries, sugar, and lemon juice in a bowl in the refrigerator to thaw.
- Thursday: Make the no-cook filling, fill the crust, add the top crust, and bake.
- Friday: Slice and serve!
For big holidays like Thanksgiving, I make my crusts, roll them out, and freeze them right in their pie tins about a week ahead. Then I just thaw them before filling. It's a huge time saver when the oven is busy.
You can freeze the baked pie if you need to, but I'd much rather make the crust ahead and bake the pie fresh.
If you plan to finish it within 2 days, keep it at room temperature. Once it's completely cool, cover it loosely so moisture can escape. A pie box or cake dome works great, or just lay a piece of plastic wrap over the top so it rests loosely on the pie. Sealing it in an airtight container traps moisture and makes the crust soggy, which we want to avoid.
Read This Before You Bake
These tips make the biggest difference for a tall, juicy blueberry pie with a golden crust.
- Give yourself a head start the night before. The pie dough needs a night in the fridge to rest, and the blueberries need a night to thaw. As they sit with the sugar, they release their juice, so they're ready for the filling the next day.
- Put your pie on a preheated steel or stone, set on the bottom rack. For years, I blind baked my pie crusts (that means baking the crust by itself before filling it, so the bottom doesn't come out soggy). Now the filling goes right into the raw crust, the pie sits right on that heat, and the bottom crust bakes through on its own. It's one less step every time.
- Heat your steel or stone for a whole hour. That hour gives it time to get hot all the way through, so it's ready to bake the bottom crust. A stone should always go in before you turn the oven on, so it warms up with the oven, since a sudden temperature jump can crack it. I turn on the oven first thing, and by the time the pie is assembled, the hour is about up.
- Use a sturdy metal pan. Three pounds of blueberries can bend a flimsy pan and crack the crust, and glass can break from the sudden heat of a steel or stone. Thick metal pans can take a little longer to bake, and dark ones can brown a bit sooner. Watch the crust and the bubbles more than the clock.
- Keep the bottom crust thin and cold. Roll it thinner than ¼ inch, so it can cook through from the heat underneath. Brush on a light coat of egg white, then pop it in the fridge as you mix up the blueberries. The egg white seals the crust, and starting cold helps it stay flaky.
- Stir in the thickener a little at a time. Add the Clearjel and sugar mixture in three additions, stirring gently between each one until it disappears into the berries. The filling thickens right away, and a gentle hand keeps those little wild blueberries whole.
- Egg wash just the top crust, which gives it a beautiful golden brown color. Leave the crimped edge bare, since it browns nicely without help. Sprinkle the sugar on while the egg wash is still wet, so it sticks.
- Leave the pie shield on for the whole bake. The edge would get too dark without it. The pie is ready when the top is golden and you see the filling bubbling around the edges, which tells you the center is heated through.
FAQ
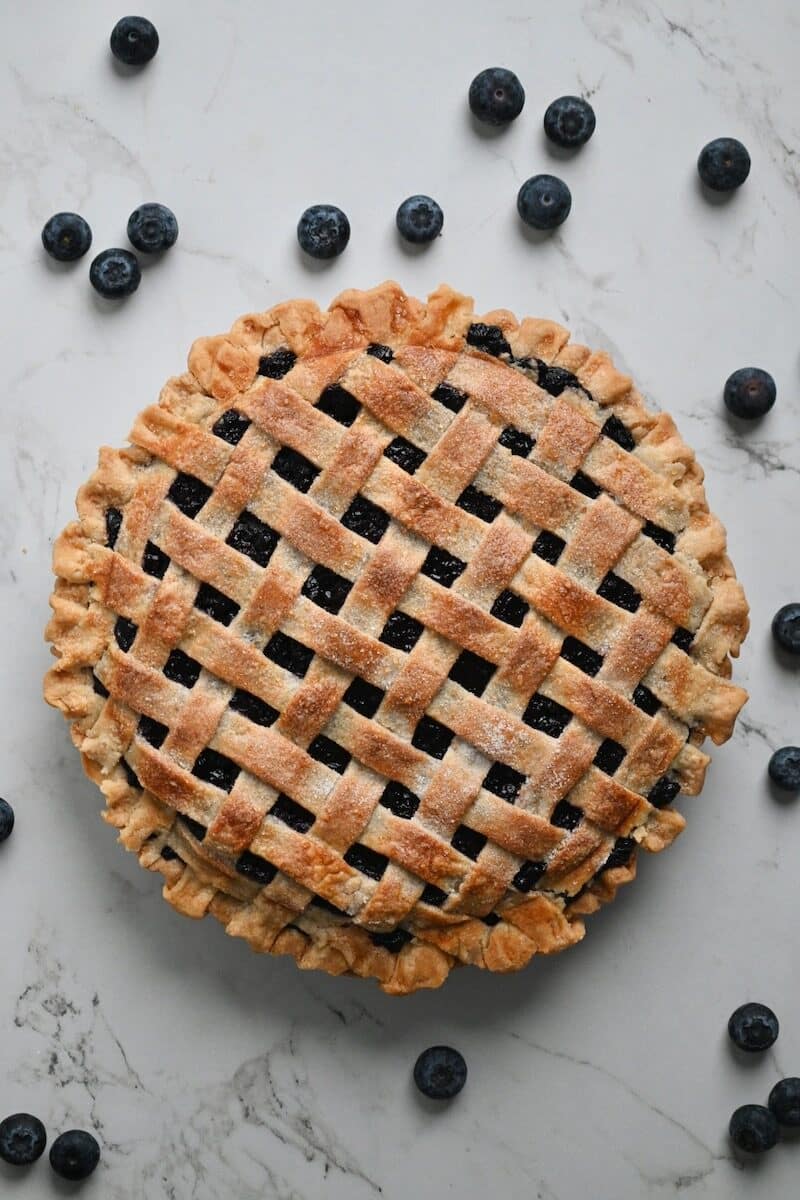
Look for a golden brown top crust and filling that's bubbling around the edges. Those bubbles tell you the center has heated through.
I don't recommend it with this recipe. Fresh blueberries release their juice differently than frozen ones, so the filling won't come out with the same consistency. Frozen blueberries are frozen at their peak ripeness, so they give you consistent flavor in every season.
Yes! A thin bottom crust, baked on a steel or stone that has preheated for an hour on the bottom rack, bakes through without blind baking.
Yes. A baking steel is my favorite way to get a fully baked bottom crust, but you can par bake the bottom crust instead. The directions are in the recipe card of my Egg and Vinegar Pie Crust.
You can! I usually leave it out so the wild blueberry flavor stays front and center. For a subtle fall twist, whisk ¼ teaspoon of ground cinnamon into the sugar and Instant Clearjel before stirring it into the blueberries.
More Pie and Cake Recipes You'll Love
More of my favorite pies and cakes to bake next:


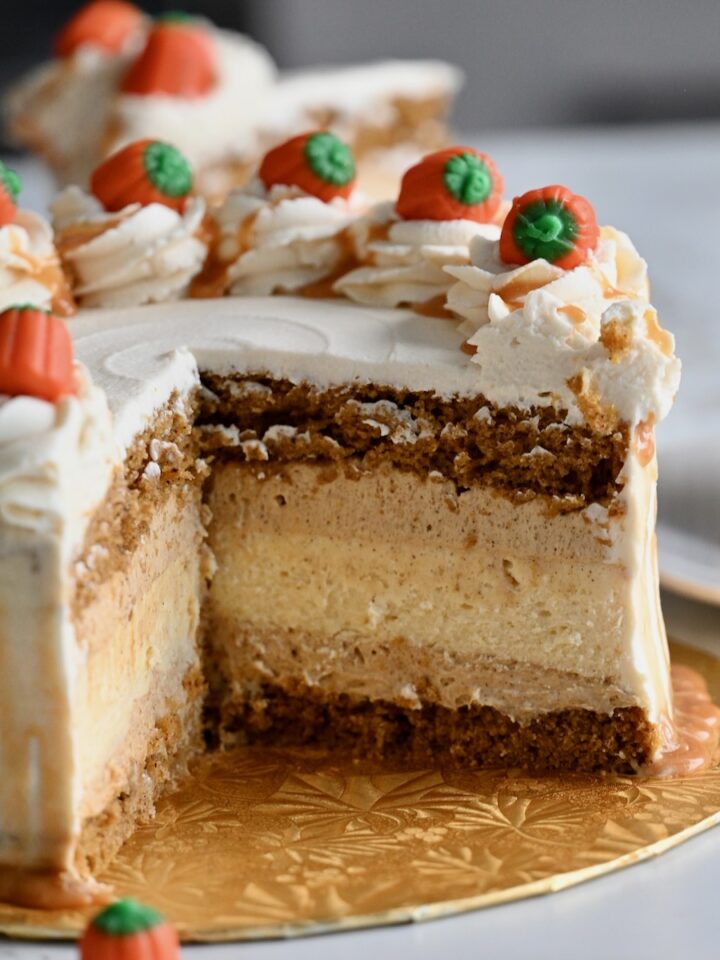

For even more blueberries, spread my Blueberry Cake Filling between your cake layers.
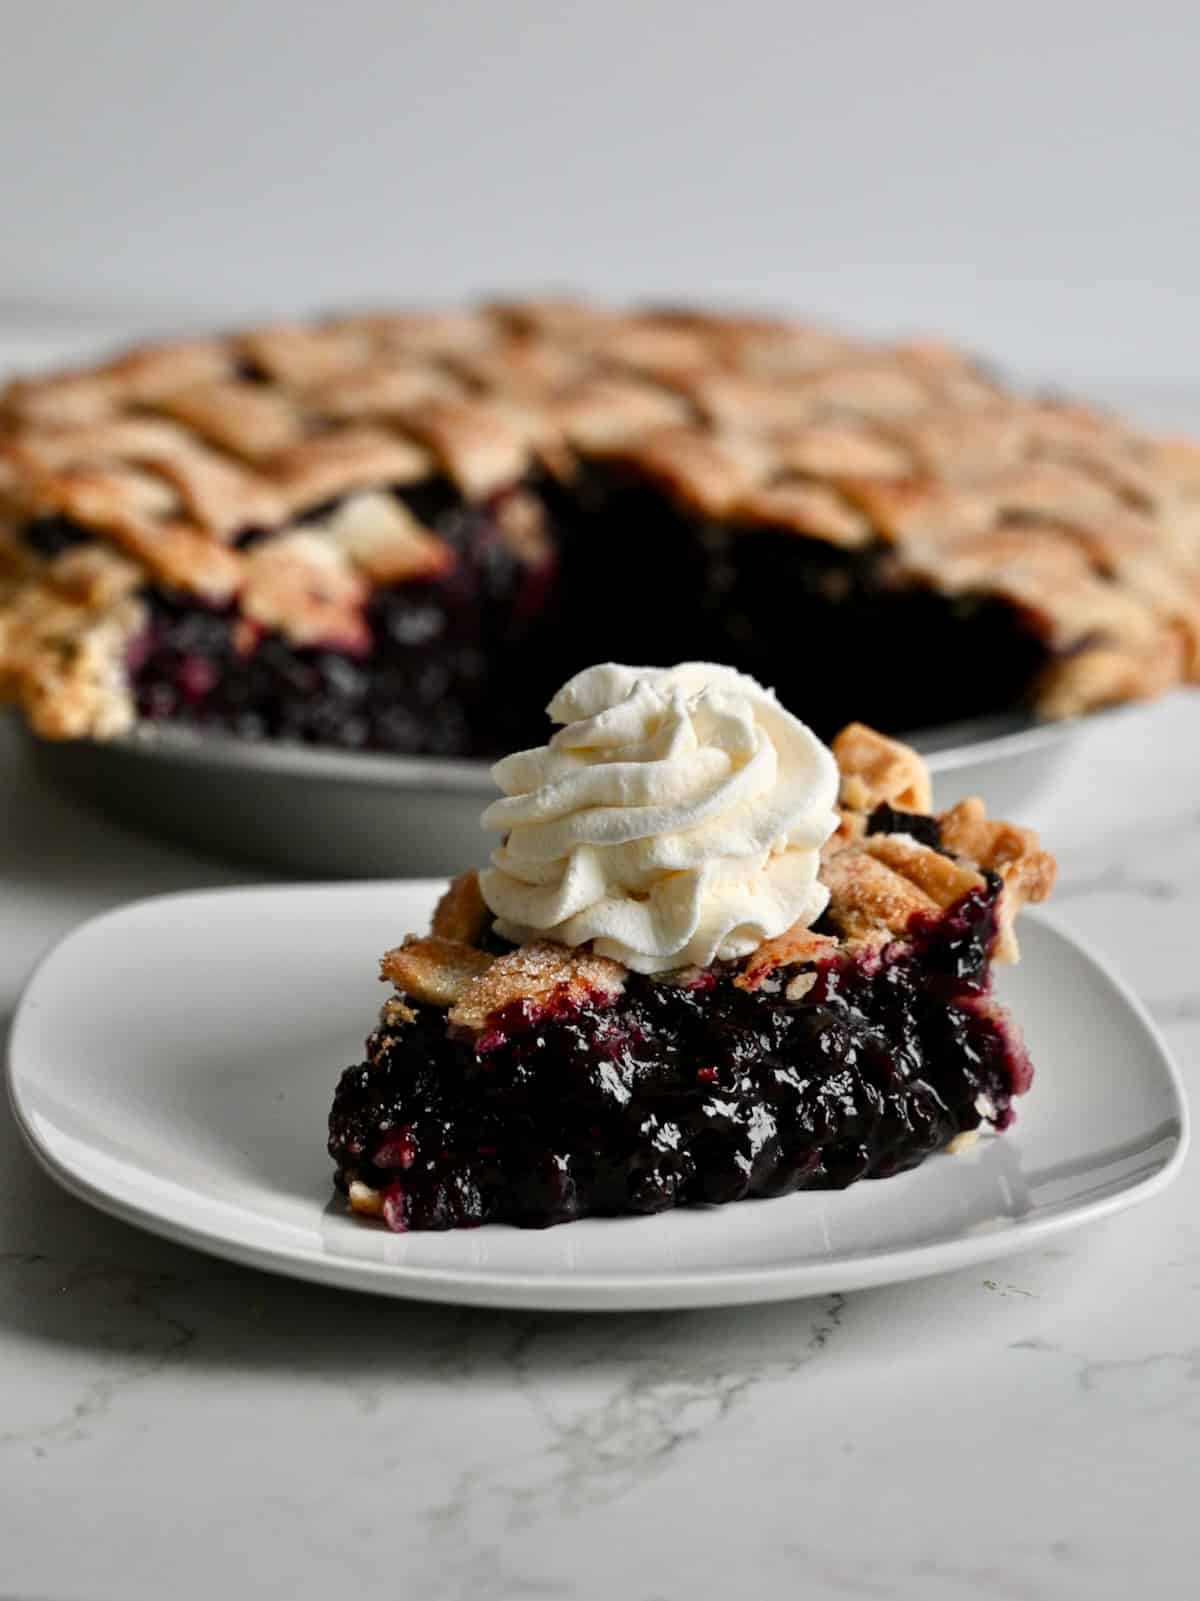
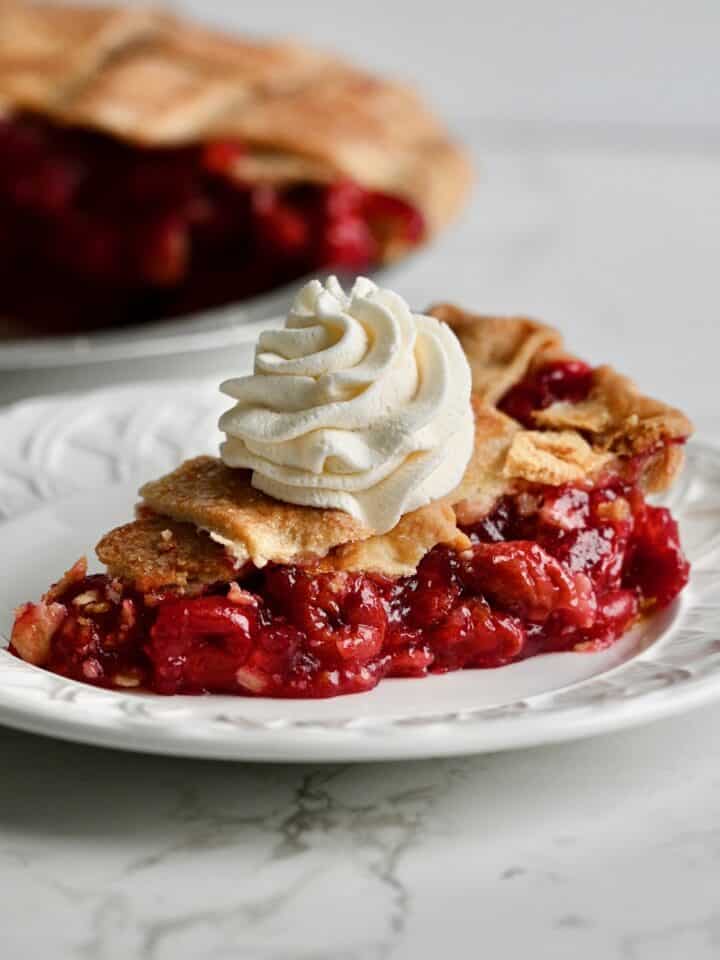
This homemade blueberry pie is wonderful with a scoop of vanilla ice cream or a big spoonful of my stabilized whipped cream.
If you make this pie, please leave a star rating below. It means the world to me and helps other bakers trust the recipe! 🫐
Thanks for Reading. ❤️

📖 Recipe & Step-by-Step Instructions
Wild Blueberry Pie with frozen blueberries
Equipment
- 9-inch sturdy metal pie pan
Ingredients
For the Blueberries (start the night before)
- 48 oz (1361 grams) frozen Wild blueberries (one 3-pound bag)
- 142 grams (⅔ cup plus 2 tsp) Granulated Sugar
- 2 tablespoon Lemon Juice (bottled is fine)
Additional Blueberry Filling Ingredients
- 170 grams (¾ cup plus 1½ Tbsp) Granulated Sugar
- 88 grams (⅔ cup plus 1 tsp) Instant Clearjel (make sure it's labeled "Instant")
- 43 grams (3 Tbsp) Salted Butter (melted)
For the Crust
- 1 prepared double crust pie dough (my Pie Crust made with Egg & Vinegar or your favorite, made the night before)
- 1 large egg (separated)
- Granulated sugar (for sprinkling)
- Turbinado sugar (for sprinkling - optional)
Video
Instructions
The Night Before
- Make your pie crust dough and refrigerate it overnight.
- Pour the frozen wild blueberries into a large bowl and stir in the 142 grams of granulated sugar and the lemon juice. Cover the bowl and refrigerate overnight to thaw.
Make the Pie
- Stir the thawed blueberries and leave them at room temperature for about an hour while you prepare the crust. (optional, but it makes sure they are fully thawed with the sugar fully melted)
- Place your baking steel or stone on the bottom rack of the oven, then turn the oven on to 400°F. Let it preheat for 1 full hour.
- Roll out the bottom crust less than ¼ inch thick and fit it into a 9-inch pie pan. Separate the egg. Brush the bottom crust with a thin layer of egg white, then refrigerate the crust while you make the filling. Whisk the yolk back into the leftover egg white and save it for an egg wash on your top crust.
Make the Blueberry Pie Filling
- In a separate bowl, whisk the 170 grams of sugar and the Instant Clearjel together really, really well.
- Melt the salted butter in the microwave until completely melted.
- Gradually add the thickener mixture to the thawed blueberries and blueberry juice in thirds, stirring gently with a spatula after each addition. Stir gently so you don't smush the blueberries, but mix thoroughly until the thickener is completely incorporated. The filling will thicken instantly.
- Pour the melted butter over the filling and stir until it's completely incorporated. If your berries are cold, you may see tiny flecks of butter, and that's perfectly fine.
- Pour the filling into the chilled bottom crust. Use an offset icing spatula, knife, or spoon to smooth it into a dome, with the filling piled highest in the middle.
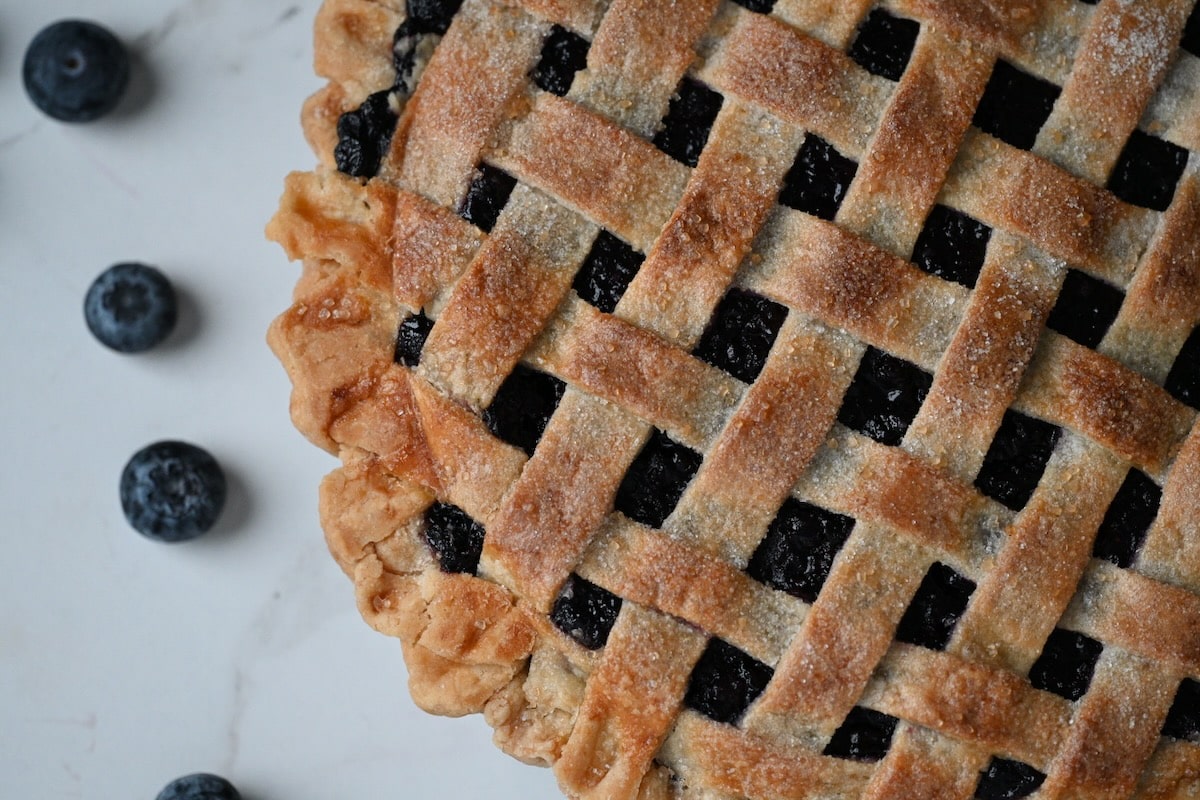
- Roll out the top crust and add it however you like. I do a thick lattice. Crimp the edges.
- Brush a very thin layer of the saved egg wash over the top crust only. Don't egg wash the crimped edge. Immediately sprinkle with granulated sugar, plus turbinado sugar if you like.
- Gently set a pie shield over the crimped edge. Place the pie on the preheated baking steel or stone and bake for 35 minutes.
- Turn the oven down to 350°F and bake for another 30 minutes, or until the crust is golden brown and the filling is bubbling a little at the edges. Keep the pie shield on.
- Carefully remove the blueberry pie from the oven. Gently remove the pie shield. If the pie shield sticks, carefully cut it free with a knife after the pie has cooled.
- Let the pie cool for at least a few hours, or bake it a day ahead, so the filling sets up before slicing. Serve with ice cream or stabilized whipped cream. Enjoy!
Notes
- Wild blueberries: If you can't find wild blueberries, regular frozen blueberries work in a pinch. They're a little bigger and firmer, but the pie will still be delicious.
- Butter: I always use salted butter for the best flavor. If you only have unsalted, add a scant ⅛ teaspoon of salt to the melted butter before stirring it in.
- Instant Clearjel: Read my article Instant Clearjel: A Magical Bakery Ingredient to learn more. Always whisk it with at least an equal amount of sugar before adding it to the blueberries, or it will clump. Make sure it's labeled "Instant," since cook-type Clearjel is a different product.
- Pie pan: Use a sturdy metal pie pan. A thicker pan may need a few extra minutes, and a darker pan may brown faster, so go by the golden crust and bubbling filling. If you're using a baking steel or stone, don't use a glass pie dish, since a chilled glass dish on a hot steel or stone can crack.
- Baking steel or stone: Place it on the bottom rack and preheat it for a full hour. Make sure it's safe to at least 400°F. If you're using a stone, always put it in the oven before you turn it on, so it heats up with the oven. No steel or stone? See the FAQ in the post for how to par bake the crust instead.
- Storage: Once the pie is completely cool, keep it at room temperature for up to 2 days, loosely covered with plastic wrap, a pie box, or a cake dome. Avoid airtight containers, which make the crust soggy. See the post for make-ahead tips.


I'd love to hear your thoughts